Hi! I’ve always dreamed of having a beautiful stream in my garden—a peaceful water feature that brings life and relaxation. At first, I thought building one would be complicated, but then I discovered stream bowls. They make the whole process super easy and fun! In this guide, I’ll share with you how you can build your own charming stream, whether connected to a pond or standing alone. Let’s get started!
Contents
Build Your Own Stream: Easily with Stream Bowls!
Whether connected to a pond or standing alone, thanks to so-called stream bowls, you can easily build your own stream. We’ll show you how it’s done.
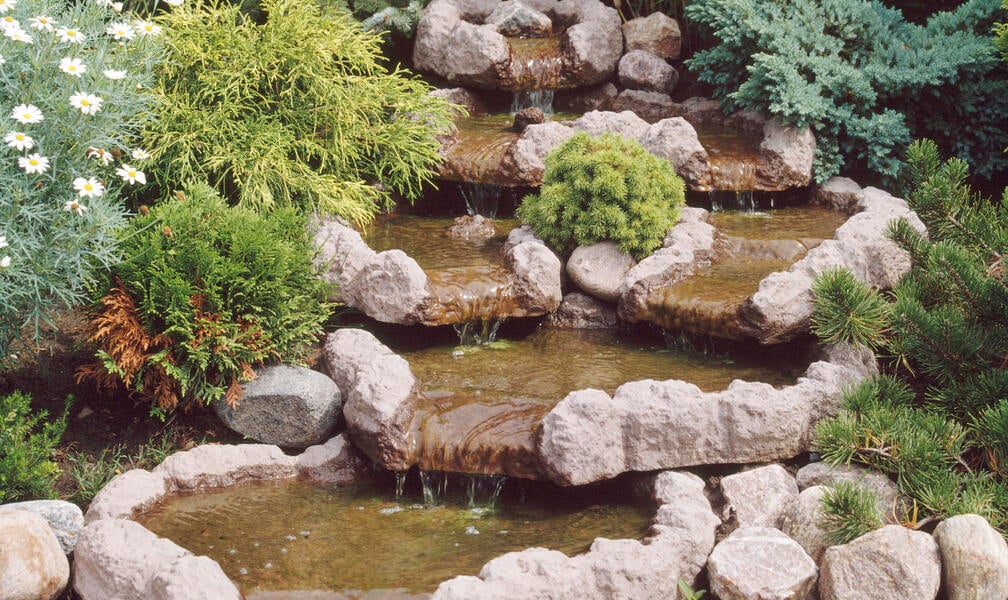
A stream is a dream feature for many gardeners — as a highlight for the garden pond, a showpiece for the terrace, or a special design element in the garden. But it doesn’t have to stay a dream, because with a little know-how, you can easily build a stream yourself. Whether naturally designed with large pebbles or with commercially available stream bowls: when it comes to shaping your water feature and choosing materials, your imagination knows no bounds. Our tip: If you want a natural look, go for a gently curved shape with small indentations.
Stream Building: The Essentials at a Glance
You can build a stream using special stream bowls or pond liner. You’ll also need a pump and a hose that transports water from the pump to the source. If your garden has no natural slope, you can create one yourself using soil and sand. Shape the mixture in terraces to fit the stream bowls well. Pebbles add extra stability.

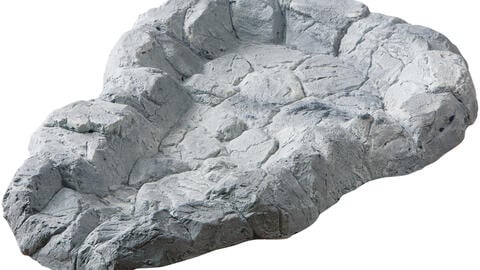
These sandstone-look (left) and natural stone-look (right) watercourse bowls are made of shatterproof GRP (glass fibre reinforced plastic)
How to Build a Stream
A terraced setup works especially well. This way, even when the pump is off, some water remains in the terraces to keep plants from drying out. You can use pond liner or stream bowls as materials. Compared to stream bowls, pond liner is cheaper and offers more flexibility in shape and size. For pond liner streams, a depth of 10 to 20 centimeters and width of 20 to 40 centimeters is a good guideline, but you can adjust this to your liking. The downside: building a stream with pond liner is more labor-intensive.
With stream bowls, however, building a stream yourself is a breeze. These bowls are prefabricated pieces you can buy individually or as kits and combine or extend as you wish. You just place and connect the individual bowls, and the stream is ready. Depending on your budget, stream bowls come in plastic, concrete, stainless steel, or natural stone.
To operate your stream, you basically need a pump placed in the adjacent pond or catch basin. Consulting a specialist to find the right pump power is advisable. Make sure to use a pond pump that can handle debris to avoid frequent filter cleaning. The hose transporting water from the pump to the source should be kink-resistant and have an inner diameter between ¾ inch (20 mm) and 1½ inch (40 mm) to ensure optimal pump performance.
Building a Stream with Stream Bowls: Step by Step
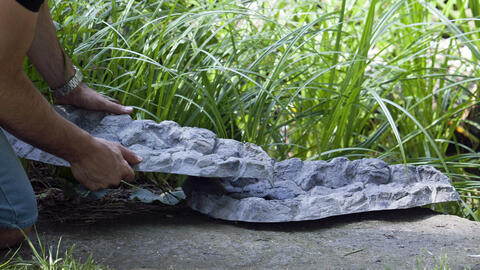
First, lay out the stream bowls in the right order. This helps you see which shapes fit your stream and how much space you need. Also, make sure the pieces overlap by a few centimeters — these overlaps ensure a loss-free water flow, creating a lovely babbling sound.
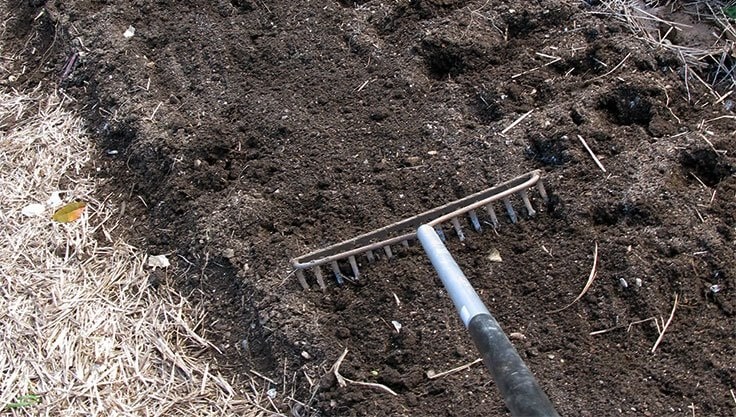
Next comes the trickier part: creating a slope for the stream. If your garden lacks a natural incline, you’ll need to build one using a soil and sand mix, piling it up into a small embankment. Shape the embankment in terraces so you can fit the stream bowls snugly. Compact the ground well before placing the bowls to prevent shifts later. To secure the pieces, fill underneath with sand and soil.
When decorating, let your creativity run wild and design the stream to match your garden style. Large pebbles placed inside and alongside the bowls add stability. The gaps between stones and bowl walls are perfect for planting.
Plants Add Natural Charm
Small marsh plants like marsh marigold thrive in the water. To protect them from being washed away, plant them in small depressions or baskets made of plastic or jute. For the adjacent dry areas, use riparian plants. Avoid shrubs and trees, as their roots can damage liners or prefab elements.
Building a stream with stream bowls was easier than I expected, and it added such a wonderful natural element to my garden. Whether you choose plastic, concrete, or natural stone bowls, the steps are simple and the result is stunning. I hope this guide inspires you to create your own little oasis—just like I did. Enjoy your peaceful new stream and happy gardening!


