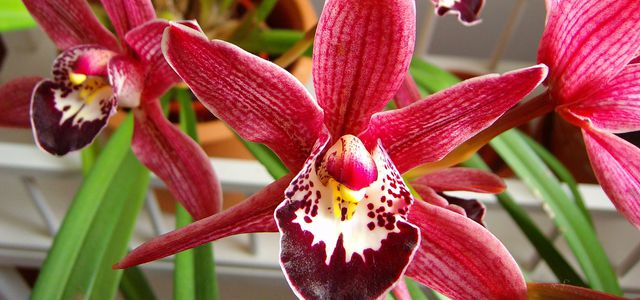
Regular repotting will keep your tropical orchid healthy and in bloom every year. With a little flair, changing the pot of the fragile plant is no problem. We show you what is important
Contents
Repotting orchids: better in the dormant season
Orchids are trendy, their large decorative flowers look elegant in any room. To ensure that your orchid continues to produce many flowers, you should repot it every two to three years.
After flowering, the orchid has a resting phase during which you can replant it. In the following growth phase the plant will form new strong roots.
Many of today’s cultivars are very robust, so they can tolerate a change during the flowering period. However, it meant stress to the plant and it may drop the flowers or buds.
Almost all orchids available here are bred for long flowering times, so the flowering time of each orchid varies. Some bloom in the fall or winter, others not until early summer. In any case, it is important to use a special substrate for orchids. The substrate for orchid you can get in most garden centers (or online, for example, at **Amazon). It does not contain soil, but coarse chunks of wood and tree bark.
But first make sure which variety your orchid belongs to – some varieties especially native orchids are not perching plants and need soil.
A lot of tact when repotting
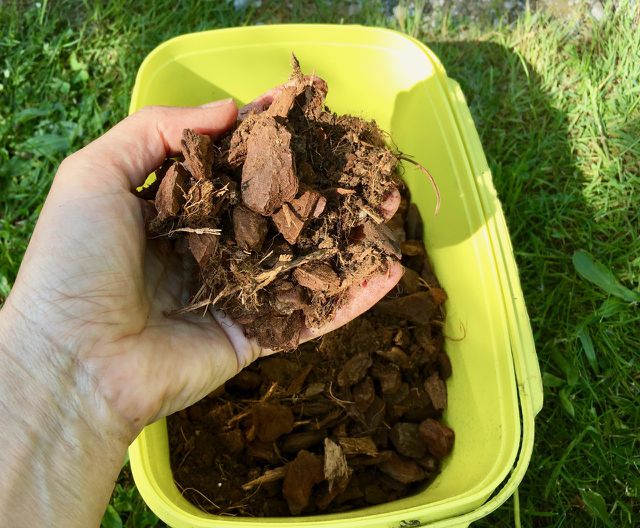
The roots of the orchid are susceptible to mold, so the substrate in any case should not rot. Rot bacteria will attack the delicate roots, and the substrate will also become compacted over time, taking away space from the roots.
To repot your orchid you will need:
- Newspaper to place underneath
- New pot, slightly larger than the old pot depending on root length. As a rule, the orchid does not need spacious pots, it likes it rather narrow.
- Orchid substrate
- a sharp pair of garden shears
- a bucket for the old substrate
- Prepare the workplace, depending on the size of the orchid you will need some space.
- Now try to loosen the roots from the pot with a bit of dexterity. The roots and leaves of the orchid are not very flexible and therefore break easily. Small injuries of the leaves and roots can be disinfected with charcoal powder.
- Press the pot all around to loosen the roots and substrate from the pot wall. It may also help to roll the pot lightly between the palms of your hands.
- Now carefully try to pull the orchid out of the pot. Support the orchid stem with one hand and pull the pot away with the other. The roots must not tilt or they will break off, so you must pull straight. You may need a second person to assist you. In difficult cases, you can carefully lay the pot on its side and then pull it.
- It may be that the roots have grown through the holes in the pot. Try to pull them out one by one.
- If that fails and the roots are too knotted, you will need to cut the pot open. You can easily cut the usually very thin-walled orchid pots with sharp household scissors.
Repotting orchid: plenty of air and light
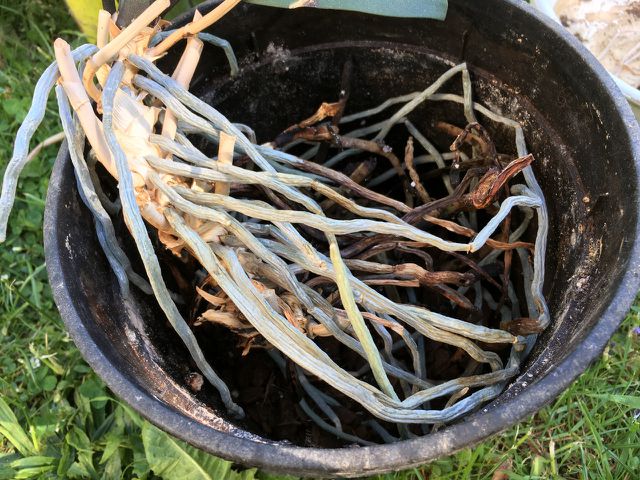
Now you have already done the most difficult part.
- Pour the old substrate into the bucket provided, you can dispose of it afterwards either in the organic waste or compost.
- Continue to hold the orchid by the stem in one hand. Now it’s time to loosen the remains of the substrate from the root system. Only very stubbornly overgrown pieces can stay on. The more thoroughly you can remove the old substrate, the less mold can attack the roots.
- You can also give the roots a lukewarm shower to wash out the substrate residues.
- With a sharp pair of scissors, cut off all dry or rotten roots, but be careful not to damage any living roots. You can recognize dried roots by the fact that they are much thinner and more rigid than the fleshy roots. Rotten roots, on the other hand, are squishy.
- You’ve already got the new pot handy and covered the bottom with a thin layer of substrate.
- Now it gets tricky again. You have to “thread” all the roots into the new pot. Furthermore, you have the orchid stem in one hand. Here you may need support again.
- Try to turn the long roots into the pot with twisting movements, then the orchid stem comes.
- If the orchid is now in the new pot, fill the substrate between the roots until the pot is filled and the orchid is firmly in place.
- Only after about a week should you water the orchid again as usual, fertilizing is not necessary until after a month. This will allow any minor injuries to the plant to heal.
Note: In most cases, the orchid has formed aerial roots, i.e. roots that protrude from the pot. You do not need to put these in the pot, they can continue to stay outside. Orchids can “breathe” through the roots. Photosynthesis is not limited to the leaves, the roots can also produce chlorophyll, which is why they appear greenish. If the orchid needs new water, the roots shimmer silver.
Therefore, orchids, full the popular variety Phalaenopsis or butterfly orchid also have a transparent pot. Orchid pots you can get in the garden center or online


