Gardening is a great activity for young and old. We have therefore put together a few ideas for gardening with children. Of course, we have also thought of all those who do not have a garden – even a few projects for the windowsill are included. After all, what could be more of a change from sitting around in school and watching TV than digging in the soil with your hands and seeing something sprout, not to mention the educational value?
Contents
Gardening with children
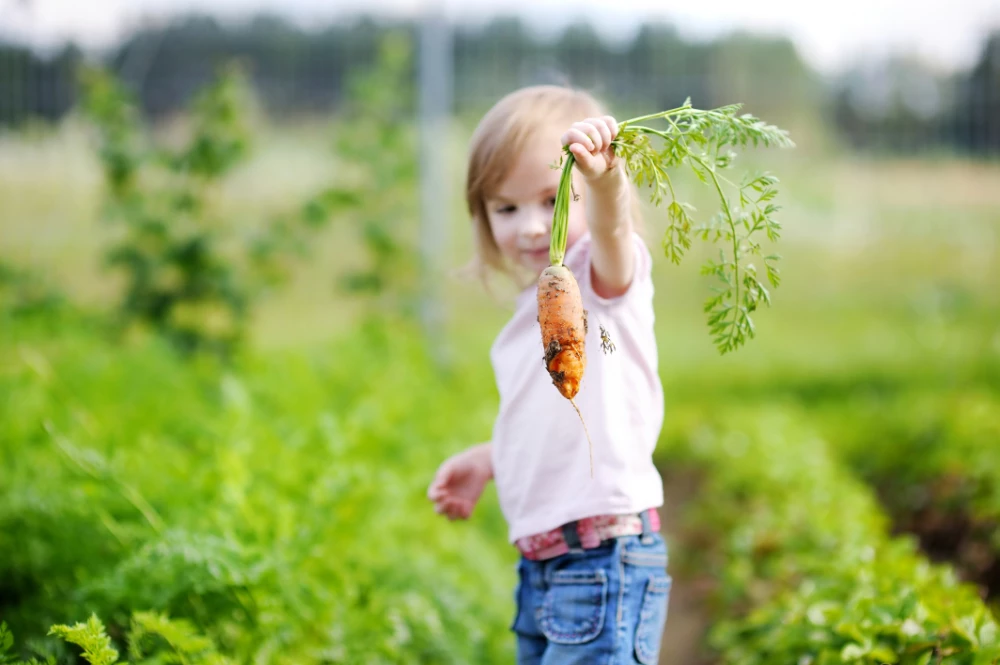
In order to awaken a love and attachment to gardening, it is first important to offer the child a suitable space for it. Nature or the garden, should serve as a play space, where there is always something new to discover. Animals and plants can be observed. Where does something grow? What does a fruit taste like when it is ripe or unripe? What can you make from collected leaves or cones? Fine motor skills and creativity can be strengthened by making planters or watering. The head is also used and a connection to conscious handling of food and foodstuffs is created. In addition, a sense of achievement is important for children, which is why many kids love harvesting. Berry bushes or sweet peas are therefore particularly suitable, as they can be harvested quickly and often. Carrots are also very popular because you don’t even see the ripe root until it is harvested. The surprise effect then evokes all the more joy. You can find more about gardening with children and how it can also succeed in the city, for example, in this book.
Gardening tools for children
Of course, normal gardening tools are still a bit big for little children’s hands. Therefore, it is much more fun if the shovel and bucket are available in a suitable size. This gives the little gardeners an early sense of personal responsibility and they can be proud of the work they have done. If the gardening tools are always brought back to one place and stored, this can also promote a sense of order. Suitable small gardening tools for children are:
- Bucket
- Shovel
- Rake
- Hoe
- Watering can

The right way to deal with insects
Gardening can teach children about the importance of insects for plants and thus also for people, as well as how to deal with them properly. Together with the children, insects such as bees, bumblebees and butterflies can be observed. In doing so, the children see that the flowers are pollinated and fertilized by the insects. In this context, it is important to explain to the children that bees, bumblebees, wasps or hornets are useful but should not be teased, as this can lead to painful experiences on both sides. Other animals, such as earthworms, are important because they loosen the soil and thus contribute to the healthy growth of plants. Various herbs, as well as ornamental plants, attract many insects. Together with the children, such wildflower flower strips, herbs or ornamental shrubs can be planted to provide enough food for the insects. In addition, building an insect hotel is also fun and attracts beneficial insects along the way!
Projects for the garden or balcony
Radishes
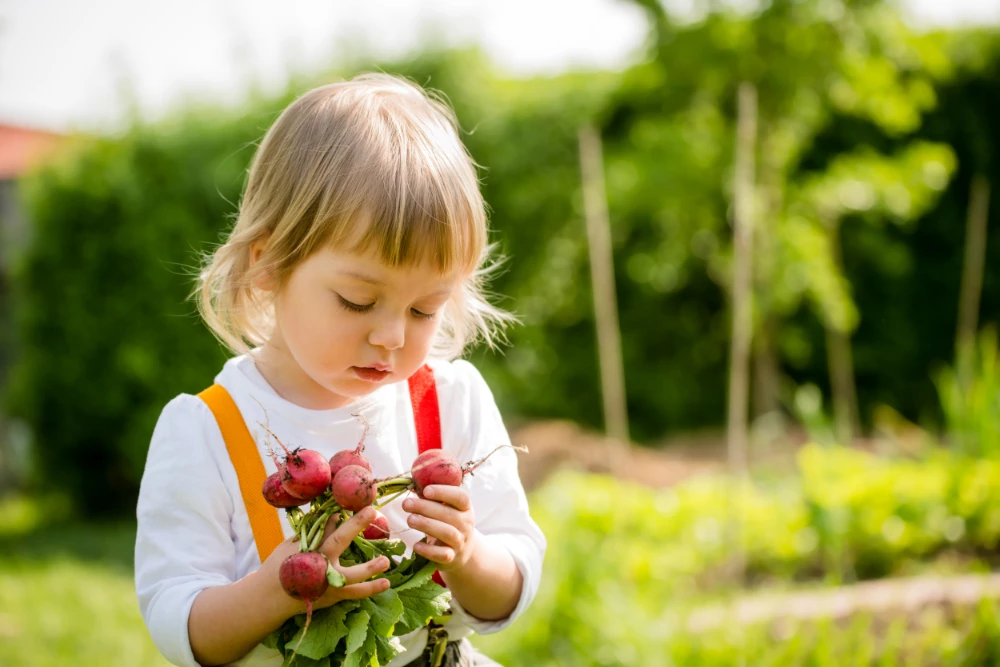
For a first project of your own, plants that ripen quickly are best, since you don’t have to wait as long for the harvest. Particularly suitable are radishes, which can be harvested after only 4 weeks. These are relatively undemanding and forgive it even if sometimes not properly watered. In boxes, the small tubers can also thrive on the balcony. The seeds are also easy to spread due to their size, and the little plants do not need much space to grow. In addition, the red tubers look attractive, are very healthy and taste delicious in a salad or on a sandwich.

Sweet peas
The already mentioned sugar snap peas, are not only nice and sweet, if you peel them, for example, directly from the pod, but also germinate very quickly and therefore offer something to watch after a few days. Sowing in the open ground is done in mid-April, with harvesting then taking place only in August. In containers on the balcony sweet peas can be sown as early as the beginning of April and, depending on the location, can be harvested in early summer. Peas, however, can be grown indoors in small pots as early as mid-March and then planted outside beginning in mid-April. Some varieties require a small climbing support, which can be a stick collected from the forest or garden.
Cocktail tomatoes
Cocktail tomatoes are also very popular garden classics and many children love to snack on the small red fruits. From the end of February to March, the little plants can be grown indoors. In mid-May, they can then be planted either in tubs or in the garden. Purchased young plants can also be planted outside from mid-May. A sheltered spot is best for this, as rain or watering will make the plants susceptible to blight on their leaves. Waterlogging in the soil has the same effect. Tomatoes are altogether a bit more demanding, but with parental support the little ones will surely manage!
Herbs
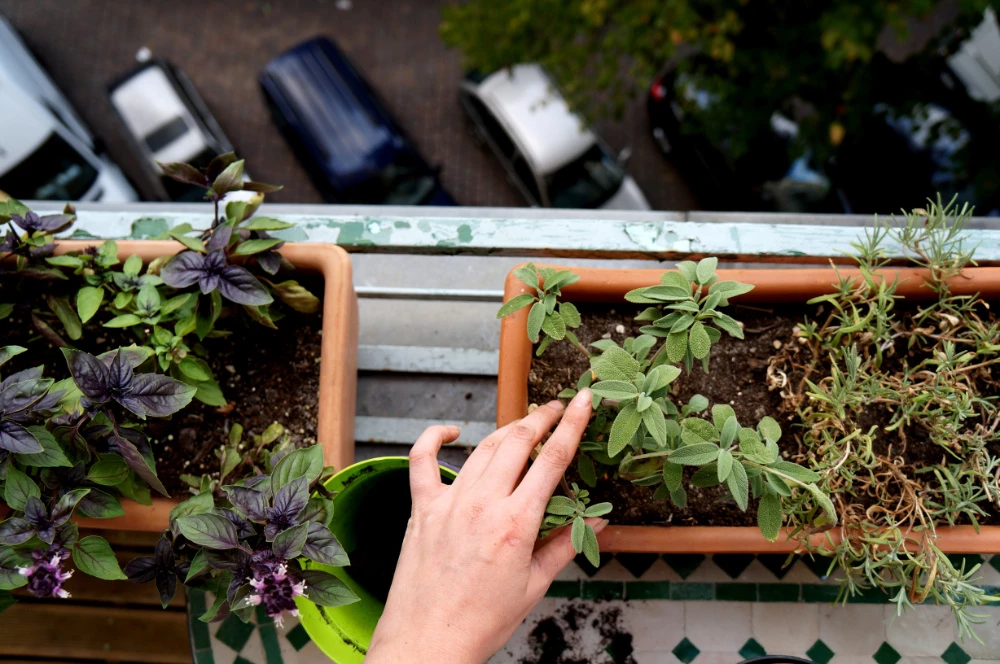
Herbs can also be planted well with children. This makes every meal special when the small fragrant leaves can be picked fresh for garnishing or seasoning. Parsley, chives or basil are ideal for this purpose. These can also be grown very well in pots on the balcony or on a sunny windowsill. In the garden, too, they can be sown and tended especially well by children in raised beds or in a herb snail.
Nasturtium
Nasturtiums not only delight children’s eyes with their bright orange flowers, the fast-growing and climbing plant also transforms a patio or balcony into an exciting jungle in no time. But it not only looks beautiful, it also tastes good: its flowers can add a spicy note to salads or soups. Due to the mustard oils it contains, the climbing plant has been used as a medicinal plant since the Middle Ages. However, since it is very sensitive to cold, it should be grown on the windowsill from mid-April and sown or transplanted outdoors no earlier than mid-May.

Cultivation pots do it yourself
If children are to be taught about the cycle in nature with gardening, everything starts with sowing seeds. For this purpose, children can make their own seed pots. Along the way, they can learn that various things that would otherwise end up in the trash still serve a useful purpose. Suitable planting or growing containers for young plants are:
- Egg cartons
- empty toilet paper rolls, cut in half and placed in a bowl
- empty cartons of milk or juice, with one long side cut out with a sharp knife.
Filled with soil, they are perfect as growing pots. To avoid confusion later, the seed pots can be labeled with the names of the vegetables that have been sown in them. Alternatively, the vegetables can be painted on homemade labels.
Projects for those without a garden or balcony
But there are other exciting planting projects that can be implemented even without a garden or balcony. Perfect for the windowsill, for example, is a cress hedgehog. The forms for it, can be either bought or self-made. For this purpose, discarded fine stockings are best suited, but other socks can also be used. The stockings are filled with soil and tightly knotted. Eyes and nose can be represented with sewn-on buttons. The seeds are then applied to the “back” of the filled sock. The whole thing can now be placed on a plate on the windowsill and kept well moist. After a few days, the green “spikes” will then sprout.
Microgreens
The so-called “microgreens” follow the same principle as cress. These are seedlings of plants that are harvested and eaten just a few days after germination. The short cultivation time makes them particularly suitable for experimenting with children, as they promise an extremely quick sense of achievement. Different varieties are available, such as mustard, radish or clover, but also peas and sunflowers are suitable for cultivation as microgreens. For this purpose, the seeds are spread quite densely on a bed of growing soil or even a damp kitchen towel. Since many varieties require darkness to germinate, the seeds should be covered with a dark lid for the first few days. When the first seedlings are visible, the cover is removed and as soon as the cotyledons are fully developed, the seeds can be harvested. Microgreens can be used to garnish salads and soups or – for the full taste experience – simply eaten on a sandwich.
Regrowing – from old to new
Another quick project that is perfect for curious children is the so-called “regrowing” of plant remains. Vegetable scraps with roots are suitable for this. Some plants can sprout and grow again from the stalk.
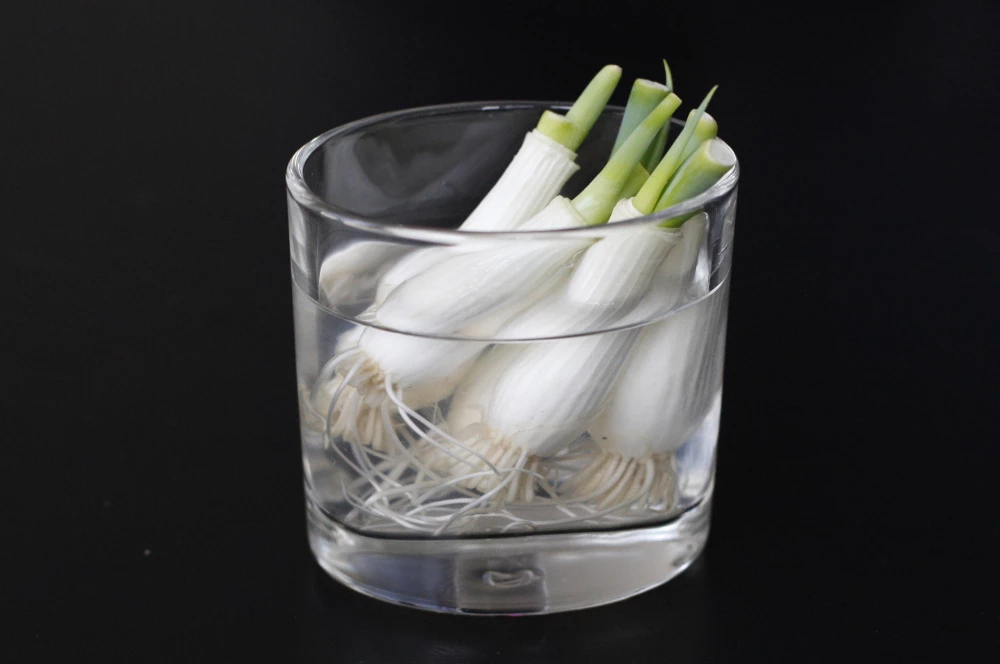
Regrowing is easiest with spring onions. Simply cut off the top three centimeters of the root end and place it in a glass with water on a bright window sill. After just one day, the greenery will begin to grow back. The bulbs do not even need to be planted in a pot, tap water is enough for 1-2 more harvests. By the way, this method works just the same with leeks.

Also, carrots are suitable for botanical experiments in the apartment. To do this, remove the green cabbage to a heel of 1-2 cm. The carrots can be used for cooking except for a short stump. The stumps with the cabbage base are placed in a small bowl with water. After a few days, new rootlets and cabbage will form. Then the time has come when you can plant out the sprouting carrots again, for example in a flower box or pot. Note: This will not produce nice straight carrots that can be harvested.
To regrow celery, the stalk should ideally be at least 4 cm. This is also placed in a small bowl with a little water. It is important that there is not too much water in the small bowl. The bottom should only be just covered. After about 5 days, new leaves will begin to form in the stalk. Now this can be planted in soil to grow again. The whole thing also works with romaine lettuce or cabbage.
Seed bombs
Seed bombs can be made with seeds from flowers like marigolds or knapweeds, or even herbs like basil or vegetables like radishes. For this you will need:
- 200g clay
- 200g potting soil
- 3 packets of seeds (flower mixtures, flower seeds, herbs, …)
- some water
All “ingredients” are kneaded together and rolled out of the mass balls. Ready are the seed bombs. The round balls are also a great activity for children’s birthday parties. On the road, but also in your own garden, such seed bombs can be thrown out. Exciting to watch, for young and old, how the plants develop in the ejected places.

