Compost – most of the time, when we hear this word, we think of huge piles of compost steaming away in the corner of the garden on colder days, gifting us with fragrant, black humus. To enjoy the luxury of your own compost, however, you don’t need much space. You can compost in the comfort of your own kitchen and at the same time use your organic waste sustainably. We would like to introduce you to three common methods.
Contents
The Bokashi – Doping for the Plants
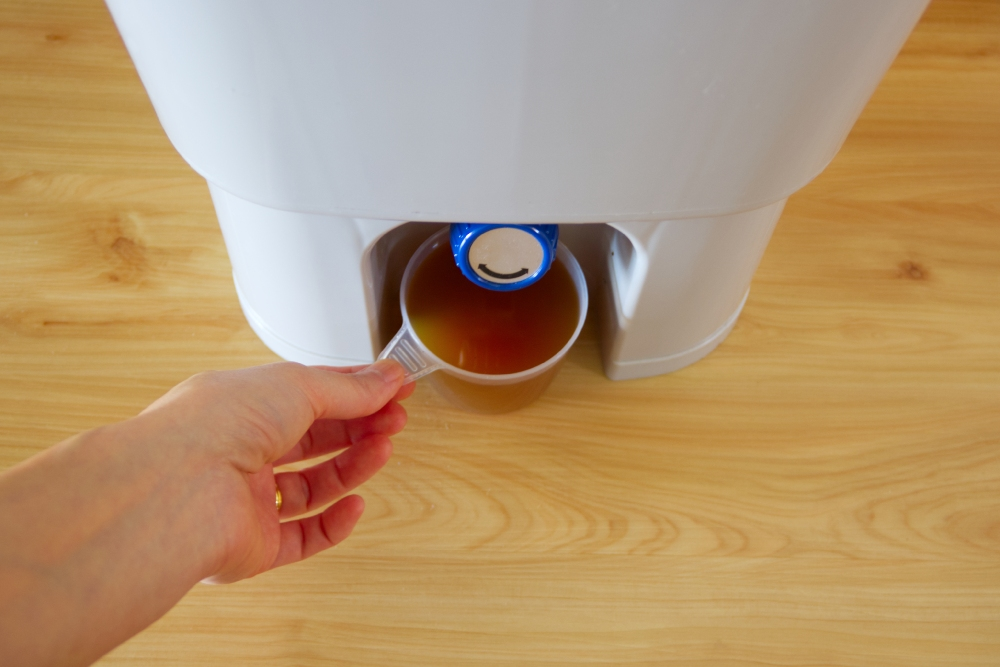
Let’s start with the Bokashi – a sustainable and, above all, fast method to obtain high-quality fertilizer and soil conditioner from waste. Strictly speaking, the whole thing is not composting, but fermentation. Wait – don’t we actually know the term from preservation in the kitchen? That’s right; kimchi, sauerkraut and the like are fermented by lactic acid bacteria before consumption and can thus be stored for a long time. In the Bokashi bucket, however, other bacteria and microorganisms, such as yeast fungi, are used. This not only decomposes the waste, but the microorganisms also enrich the end product with nutrients by means of mineralization, which is why the nutrient content of the end product is significantly higher than with conventional compost. Properly implemented, this process takes only about 3 to 4 weeks. In addition to the fermented end product, a kind of juice is produced, which, when highly diluted, makes an excellent biological fertilizer – ideal for the cultivation and care of high-growth plants. Bokashi buckets are available ready-made in stores, and there are numerous models in different sizes. Small buckets, such as 9 liters, are great for single households, but larger models (15 to 20 liters) are generally recommended.
How it works
The word “Bokashi” comes from Japanese and means something like “fermented all sorts of things”, or describes the slow, gradual fermentation of the material. A plastic bucket is used, which can be closed airtight. Inside is a sieve through which the liquid drips into a kind of catch basin and is drained through an integrated valve at the bottom of the bucket. When the Bokashi bucket is properly filled and hermetically sealed, there is no stench, only a slightly acidic, sauerkraut-like odor. To start with the Bokashi, you need the bucket plus the microorganisms (complete starter sets are available from 50 to 60 €) and a spray bottle to spray the bacteria onto the waste. Additionally, a plastic bag filled with sand is advantageous. As a location you should choose a place protected from direct sun, preferably in the kitchen, with a temperature of about 18 to 24 degrees, so that the bacteria feel comfortable.
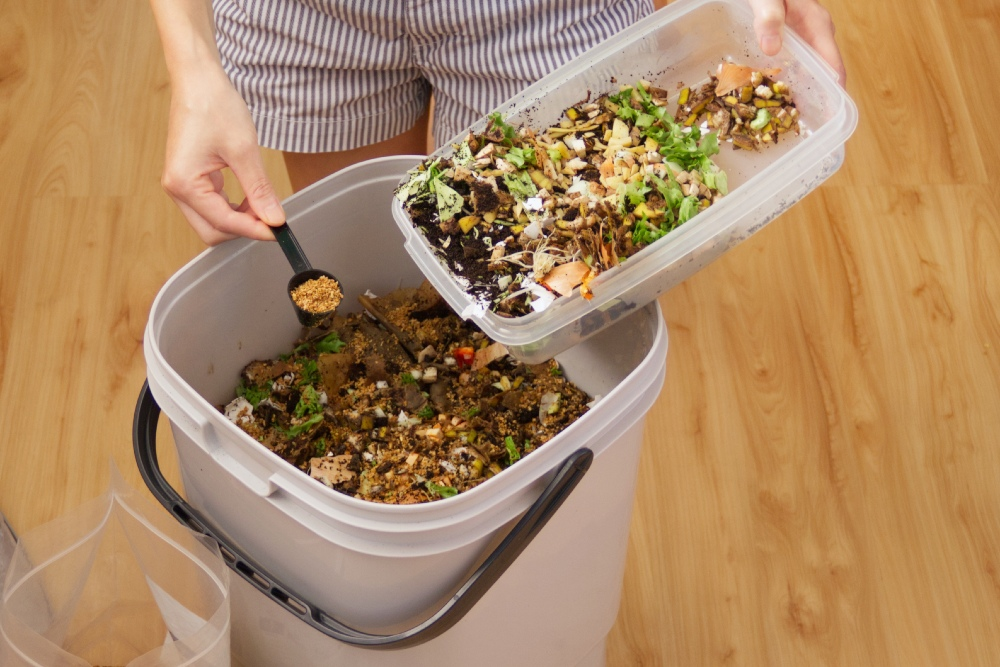
The waste is added in layers, similar to composting. Start with a layer 3 to 5 cm thick and sprinkle it evenly with the microorganisms (for microorganisms delivered dry, sprinkle them over the material). The correct dosage depends on the volume of the Bokashi and the microorganisms supplied. Then press the waste so tightly that no air can get through. If you have a bag filled with sand, put it on top to make it as airtight as possible. Then collect the waste again until you have enough for another layer and continue in the same way. It is also important that you drain the juice every 2 days so that it does not start to mold. Diluted with water you have an excellent liquid fertilizer.

The result – “harvest” Bokashi and start again.
At the beginning you can use one bucket, but a second one also makes a lot of sense: If you have a lot of waste, one full bucket can ferment in peace while you fill the other one. When that one is also full, you can “harvest” the first, finished bucket, clean it with vinegar or citric acid, and start over. Don’t be alarmed: You won’t end up with black humus, but fermented and very nutrient-rich ingredients that will then be incorporated into the soil (or potting soil) and also greatly improve soil life. Over the winter, when the plants are on winter vacation, you can bottle the “compost”, store it in an airtight, cool, dry place, and then spread it in the spring. During this time you can also give the bucket a break, clean it again with vinegar or citric acid, and then in the spring get microorganisms and start again.
What can go in the Bokashi:
- Vegetable scraps (raw & cooked).
- Rice, pasta, bread
- Tea/coffee grounds
- Animal manure
- Plant waste
- Lawn clippings, weeds
→ Note: Sprayed foods may also go into the bokashi, but should be given a little more time to ferment than usual.
Must stay out:
- Heavily moldy waste of any kind
- meat, fish, bones
- Wood, sawdust, etc.
- Eggshells
- ash
- Plastics of any kind
- Construction waste, glass
→ Tip: For slightly(!) moldy waste, you can administer a little more microorganisms, then they will also cope with it.

The worm bin – a small biotope
Indoor composting is possible with a so-called worm bin. Similar to Bokashi, in the end you not only get the valuable humus (which in itself is a great argument for the worm bin), but also another product: the so-called worm or compost tea. This is the liquid produced during composting, which has a very high level of nutrients and gives strength and vitality to your plants (diluted 1:10 with water). The process of composting takes about 6 months. Moreover, a worm bin is also a very sustainable choice: on the one hand, humus and worm tea are absolutely biological and the perfect alternative to mineral fertilizers. On the other hand, worm garbage cans bind CO2 and your waste does not end up in the organic waste garbage can, which in turn results in fewer emissions for waste disposal.
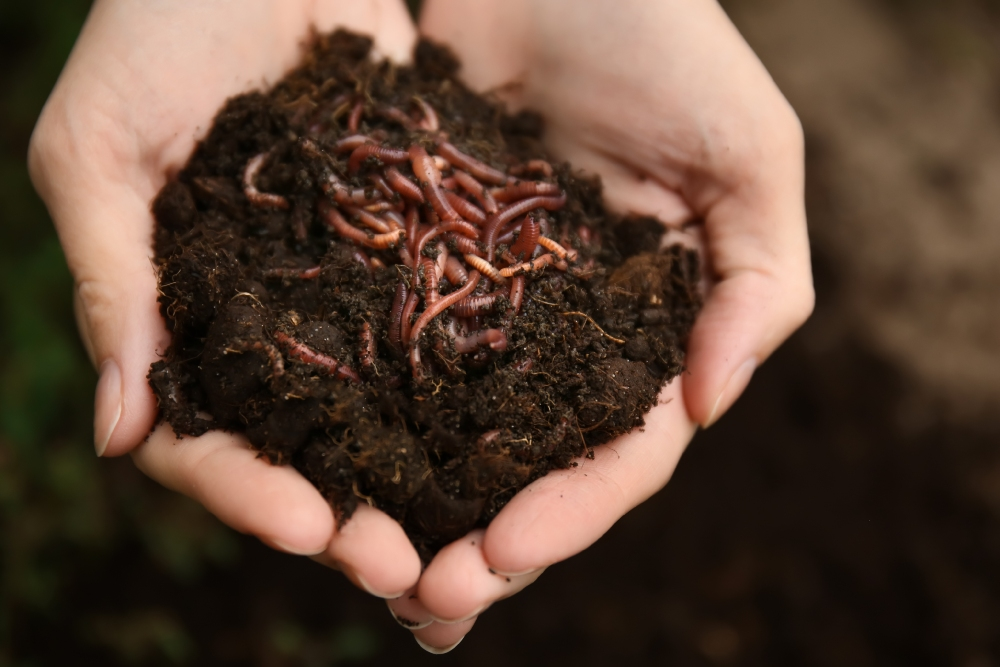
The name already gives it away – in a worm bin, or a worm composter, live compost worms, which do most of the work. Numerous microorganisms and fungi help them. However, they are not the well-known earthworms; their cousins are smaller and of an intense, dark red color (really handsome guys!) and they live – unlike the earthworm – in the uppermost layers of the earth. The worms and microorganisms you need to get for the start in the trade, the box itself you can either buy or even build yourself (instructions abound on the Internet, so we do not go into it here). Ready-made boxes cost about 100 to 200 euros, depending on the size.

Optimal conditions for best results
In the end, the worm bin is not much different from a compost pile outside: worms and microorganisms feed through the waste and out comes black, nutrient-rich humus. For best results, the worms need ideal conditions. In any case, it should be dark in the box, because they do not like light. Both wooden and plastic models are suitable for this purpose. The kitchen is a particularly suitable location, so the waste can travel directly to the worms. In addition, they do not tolerate temperatures above 30 degrees and die at temperatures below 0 degrees, so the box should be in a place that is not exposed to the blazing sun and has year-round temperatures between 15 and 25 degrees. If you want to place the worm bin outside, it is essential to protect it from rain and bring it inside when temperatures are cold. Compost worms are very industrious fellows, but you should not overfeed them, because otherwise mold threatens. Depending on how big the worm bin is (the more people in the household, the bigger it can be), you can give them 300 to 400 grams of “food” daily. In addition to proper feeding, they also need the right environment; in no case should the substrate be really wet, otherwise the worms will drown. However, they need enough moisture to live and do their work. So regular spraying and moistening with water is mandatory.
How it works
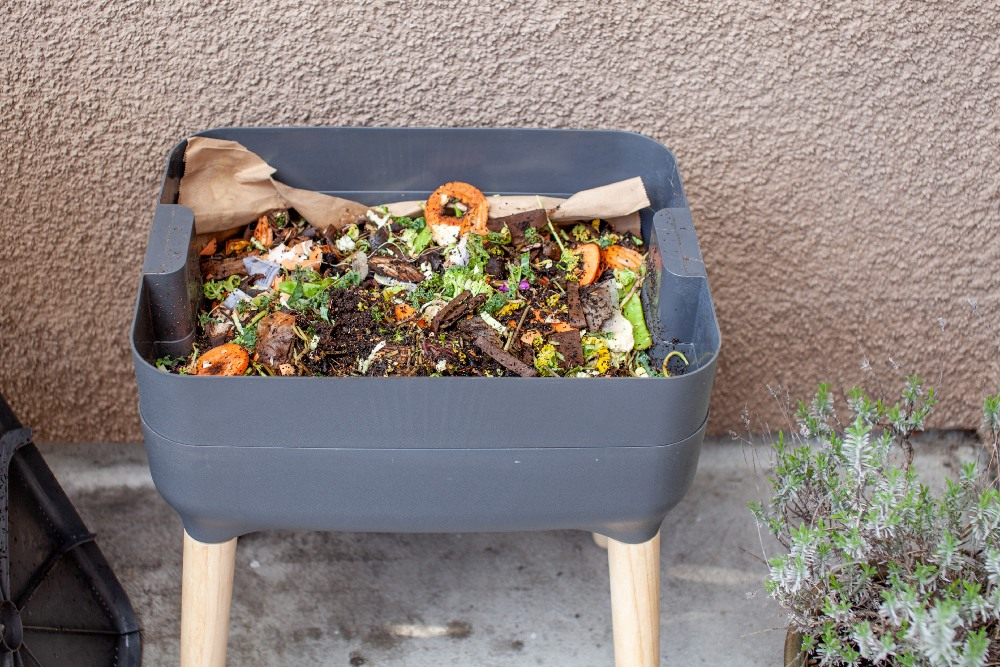
Creating a worm bin is really not complicated. You can choose between systems consisting of one box or 4 boxes stacked inside each other. For a single household a single box is more than enough, for a family of 4, for example, the system with 4 boxes would be more suitable. The single box has 2 chambers inside, ideally separated by a wire mesh. You start with one of both chambers, the other is filled with sand. The worms will always follow the food, so whether there is sand next to it or not, they will work reliably. When one chamber is full, you can switch sides and harvest the other. With multi-box systems, it works similarly, but from top to bottom. The top 3 boxes need holes in the bottom so that the worm tea can seep down and be drained through a valve. When the finished humus is removed from the lowest chamber, it can then be moved to the top and refilled.
The start is the same for all: untreated paper or cardboard boxes are particularly suitable as drainage. Soaked in water and cut into smaller strips, they should make up a layer about 10 to 15 cm thick. Now you can fill up some garden soil (definitely from outside; potting soil from bags does not contain microorganisms), moisten it and put the worms (and other microorganisms, if present) in it. After that, you can put the first waste on the soil. The better you crush them, the faster and more efficiently the worms can transform them as well. To get a feel for the optimal moisture balance, you can squeeze a handful of soil in advance, before adding the waste. If it drips, it is too wet. If it immediately falls apart, it is too dry. In general, it’s easiest not to add too much water at once – moistening the box contents as needed is much easier than getting too much water out. A growing worm population and a pleasant forest smell will tell you that everything is going smoothly in the worm bin.
Worm delicacies – this is what can go into the worm bin:
- Organic, unsprayed vegetable scraps.
- Coffee grounds
- Hair/fur, fingernails
- eggshells
- cooked, unsalted, vegetable food scraps
- Tea bags
- Cellulose (e.g. paper, tea filters)
- Plant residues
→ Moisten cellulose/paper a bit in advance, otherwise it is inedible for the worms.
→ The smaller the waste, the faster it becomes compost.
Must be kept out:
- Meat, fish, dairy products
- Plastic and all other artificial materials
- Glossy paper, printed paper in larger quantities
- Ash, coal
- stale bread
- citrus fruits

Electric composters – quite practical, but…
For those who have limited space and want to compost small amounts of waste, there is still the option of choosing an electric model. Depending on the size and model, they can be placed on the balcony, terrace or in the kitchen. Electric composters, of course, need to be plugged into an electrical outlet, so you should definitely keep that in mind when choosing a location. According to various manufacturer’s promises, they need about 24, some even only 3 to 4 hours to make compost from food waste. In doing so, such compost models work with multiple chambers that shred and circulate the waste, heating and extracting moisture in the process, and finally outputting the final product. The fast composting time is achieved by high temperatures (up to about 80 degrees).
Now let’s turn to the advantages and disadvantages of electric composters. Such devices are not only very fast, but also save space; small models claim a size of only about 40 by 40 cm and have a capacity of 2 to 3 liters. Besides, you can put in it pretty much all biological waste: Not only material of plant origin, but also meat, fish and dairy products can go in. During the procedure, thanks to carbon filters, no unpleasant odors should arise and no vermin will be attracted. For the technology fans among us, there are also models that can be connected to the cell phone via an app and followed live. A clear disadvantage compared to other composting methods, however, is the power consumption; an important basic idea in the whole story is also the sustainable benefit, which is diminished by the electricity required. In addition, you have to spend considerably more money than with the other models: The cost is approximately between 400 and 1000 . Certain parts (for example, the charcoal filters) must be purchased regularly and thus cause additional expenses on an ongoing basis.
Spoilt for choice – a brief review
Whether you “just” want to dispose of your waste in a sustainable way or spoil your plants with the end products, compost is always a good choice and a garden is not a basic requirement for this. Bokashi and worm bin are really sustainable options, provide you with liquid fertilizer and only cost a little money for the initial purchase. The microorganisms have to be purchased as needed, everything else is free. With a worm bin you also have a small biotope where you can watch the worms do their work. An electric composter may not be as sustainable and is a bit more expensive, but it is a good alternative for those who are in a hurry and do not have much space. We hope this article has given you a better understanding of indoor composting and a few useful suggestions – so that nothing stands in the way of your personal composting happiness!

