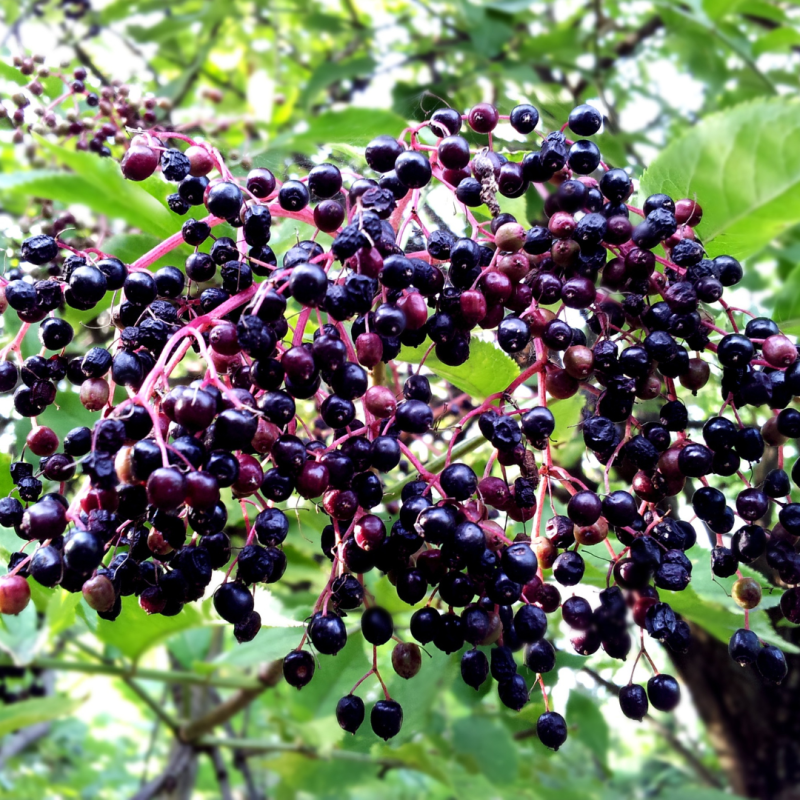
I’ve always loved having elderberry in my garden — not just for its beautiful flowers and delicious berries, but also because it supports so much local wildlife. Over the years, I’ve learned just how easy it is to propagate elderberry myself, either with hardwood cuttings in winter or semi-ripe cuttings in summer. In this guide, I’ll show you exactly how I do it, step by step, so you can grow your own healthy elderberry shrubs at home too.
You can easily propagate elderberry yourself — either using hardwood cuttings in winter or semi-ripe cuttings in early summer. Here’s exactly how to do it.
Elderberry species, such as the native European Black Elderberry (Sambucus nigra), can be propagated through hardwood cuttings in late autumn and winter, or through semi-ripe cuttings in early summer. Elderberry shrubs root quickly and reliably with both methods, as long as you follow a few key tips.
These propagation methods work for both common native elderberry species — including the Red Elderberry (Sambucus racemosa). All ornamental and fruiting varieties can be propagated this way too: because these are vegetative methods, the offspring will maintain the same varietal characteristics as the parent plant.
Contents
Propagating Elderberry: The Essentials at a Glance
- In winter, cut vigorous shoots about the length of a pencil, with one pair of buds at each end. Insert deeply into humus-rich garden soil as hardwood cuttings.
- In early summer, take cuttings from semi-woody new shoots with at least one pair of leaves at the top. Remove the leaves at the lower leaf node. Insert cuttings 2–3 cm deep in pots filled with moist seed starting mix.
How to Propagate Elderberry with Hardwood Cuttings
Hardwood cuttings are leafless shoot segments taken during the plant’s dormant period in late autumn or early winter. Use mature but still young and vigorous shoots that are straight. The thin shoot tips are not suitable, but all other parts of the shoot can be used to make cuttings.
Each hardwood cutting should be about the length of a pencil and have at least two pairs of buds. Always cut the segments so it’s clear which end is up and which is down. You can do this by cutting the lower end at an angle and the top end straight, or by lightly scraping off a strip of bark (about 1–2 cm long) at the bottom — this “wound cut” encourages callus formation, which leads to root development. Use sharp bypass pruners so the cuts are clean and not crushed. Anvil pruners are less suitable.
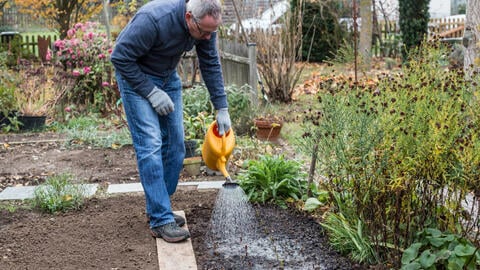
Place the prepared hardwood cuttings in tall pots with a mix of soil and sand, or directly into a semi-shaded garden bed with loose, humus-rich soil. Make sure they are buried so that only the top two to three centimeters stick out. Keep the pots in a protected spot out of direct sun, but with enough moisture. The soil should stay moist throughout winter but must not freeze solid.
Over winter, the cuttings will form roots at the lower buds and sprout new leaves from the upper buds in spring. Once the cuttings sprout in spring, you can pinch back the new shoots in early June — this helps the young plants branch out well in their first year.
How to Propagate Elderberry with Semi-Ripe Cuttings
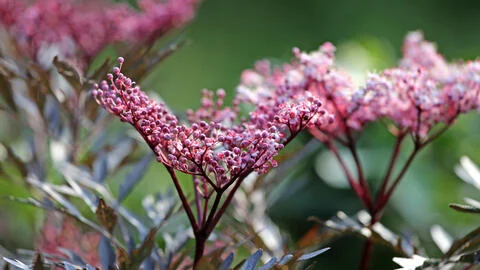
Elderberry can also be easily and reliably propagated in early summer, around late June, using semi-ripe tip cuttings. For this, select new shoots about 10–15 cm long that are slightly woody at the base — these are called semi-ripe cuttings. First, remove the bottom pair of leaves. Make sure each cutting has at least one pair of leaves at the top and remove any flower buds if present. To reduce water loss and save space, you can trim the upper leaves to just two leaflets each.
Insert the prepared cuttings about 2–3 cm deep into pots or seed trays filled with seed starting soil. Keep the soil consistently moist and cover the pots with a clear plastic lid or bag to maintain humidity. Place the cuttings in a bright but shaded spot so the air under the cover doesn’t get too hot. Remove the cover every two to three days briefly to allow fresh air in.
Once the rooted cuttings have developed into sturdy young plants over the summer, you can pot them up individually in early autumn or plant them directly into the garden once they’re hardened off. If you take the cuttings later in summer, it’s best to overwinter them frost-free or in a protected place in their pots.
Elderberry isn’t picky about soil or location and will grow happily almost anywhere. However, a sunny spot will produce more abundant blossoms and fruit.
Elderberry shrubs are also valuable for local wildlife: they provide food and shelter for birds, insects, and small mammals — serving as nesting sites and winter cover. So they truly belong in as many gardens as possible, whether as a stand-alone shrub or part of a mixed native hedgerow.
I hope my tips help you successfully propagate your own elderberry plants. It’s truly rewarding to watch these resilient shrubs grow and thrive, knowing they provide so much benefit to nature and to us gardeners alike. If you give it a try, I’d love to hear how it goes — happy planting!

