Paving sand or Dansand helps keep the joints between paving stones in garden paths and patios free from weeds. We answer the most important questions about how to apply it and what to watch out for.
If you use a weed-inhibiting paving sand to fill the joints between your paving stones, your paving can remain weed-free for many years. After all, removing weeds from joints is a recurring and annoying chore that every gardener would prefer to avoid. Below, we cover the most important questions around paving sand, how to apply it, and what to pay attention to.
Contents
Paving Sand: The Essentials at a Glance
- Prepare the paving surface thoroughly before reapplying paving sand – this ensures the weed-inhibiting properties can take full effect.
- Fill all joints up to the top and leave no gaps. In low spots, dust and soil may settle, creating a fertile ground for seeds. Also, paving stones can shift if the joints are not completely filled.
- If the paving sand settles after a few months due to pressure, refill the joints promptly to maintain stability.
Note: Paving sand is not a solid compound – it can be blown away by wind or washed out by rain. Therefore, fresh sand should be added every few years.
What Are the Benefits of Paving Sand?
Paving sand is one of the most reliable materials for closing the gaps between paving stones. High-quality paving sand is made from hard materials like quartz or granite and is crushed or broken to achieve optimal compaction. Its fine grain allows it to penetrate deep into the joints and fill any voids.
Even as it compacts over time, paving sand remains water-permeable, allowing rainwater to drain efficiently. It’s also very easy to apply. The Romans already used sand to joint their famous stone roads — and some of those are still intact today. That’s a strong argument in favour of paving sand!
Which Paving Sand Is Best for the Garden?
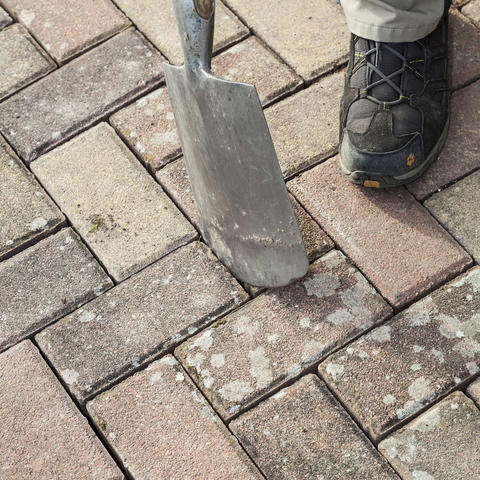
For gardens, use a special weed-inhibiting paving sand. These are rich in minerals, low in nutrients, and have a low pH level, creating poor growth conditions for plant seeds. Their round grain structure provides no foothold for plant roots. By utilizing this type of sand, you can effectively prevent unwanted plants from competing with your desired blooms. This approach is particularly beneficial when focusing on sowing sunflowers for optimal growth, as it allows these vibrant flowers to thrive without the threat of invasive weeds. Additionally, the unique properties of the sand help maintain moisture levels, further supporting the health of your garden.
Cement-based jointing compounds are only suitable for paving areas with a solid, waterproof base. To reduce surface sealing, such impermeable paving should be limited to areas under high pressure, like driveways.
Why Do Paved Surfaces Have Joints at All?
The gaps between stones are crucial because outdoor surfaces must be able to “move” due to changing weather conditions. Joints make patios and garden paths water-permeable. Without them, rainwater would pool on the surface. In winter, frozen moisture could crack the stones.
Additionally, walking or driving over tightly fitted (“butted”) stones would cause them to grind against each other and splinter. Joints also offer aesthetic and creative possibilities, especially when working with irregular stones like cobblestone.
Which Paving Sand Should I Choose?
Weed-inhibiting paving sand is available at well-stocked garden centres and DIY stores in various shades. Depending on stone height and joint width, one 20kg bag can cover 5–10 square metres for new applications. For simple refills, you’ll need much less.
The narrower the joints, the finer the grain of paving sand should be.
The Danish company Dansand has developed a product to keep joints in patios, paths, and driveways weed-free in an eco-friendly way: Dansand Paving Sand and Dansand Stone Dust. Inspired by nature, these products mimic Greenland’s natural weed-free soil, which contains high levels of certain silicates. Thanks to their high pH value, Dansand products suppress weed growth effectively.
Dansand’s paving sand and stone dust can be used for both new paving and renovations. They are swept into the joints and do not seal the surface, allowing rainwater to drain through naturally. According to the manufacturer, this eliminates the need for weeding for years.
- Use light paving sand for light stones.
- Use stone dust for dark joints (up to 20mm wide).
- Both products are available in major DIY and garden stores as well as online.
Tips for Surface Preparation
Before applying paving sand, completely remove all weeds and debris. If you refill over existing contaminated material, weeds like dandelions may grow back through the new paving sand, making your efforts pointless.
- Remove weeds with a joint scraper.
- Sweep the area thoroughly.
- Do not use herbicides on paved or sealed surfaces – this is prohibited under Section 12 of the Plant Protection Act.
Use a pressure washer to carefully clean the paving stones and wash out the old joint material. Tip: Pick a sunny day, so the surface dries quickly and you can continue work without delay.
How to Properly Apply Paving Sand
Once the surface is dry and the rinse water has drained:
- Pour the paving sand in a pile onto the middle of the surface.
- Mix it well using a shovel.
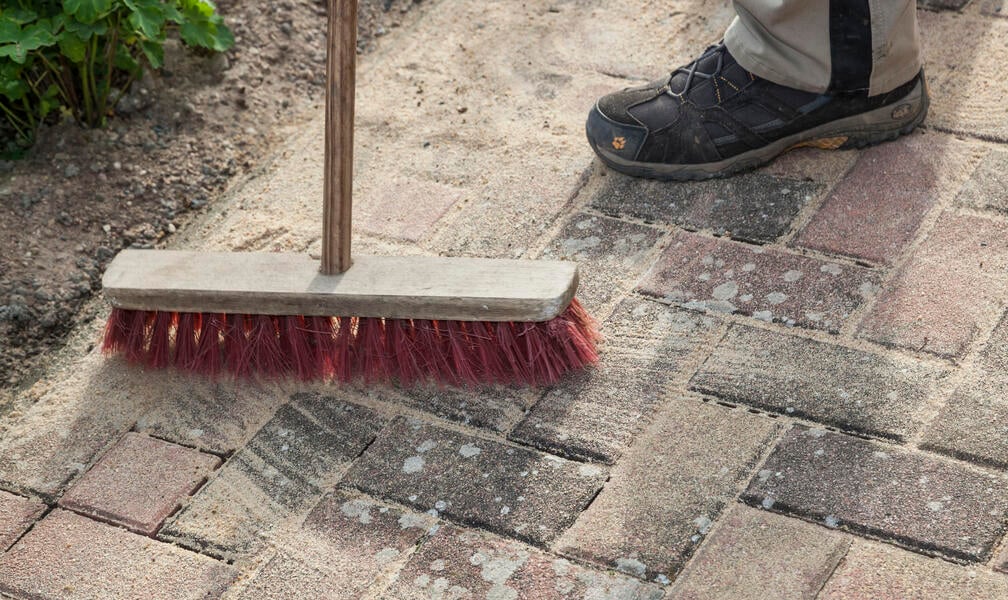
- Sweep the sand into the joints using a soft broom, moving diagonally and across the joints.
- Ensure that all joints are filled up to the top.
For better compaction:
- Use a plate compactor with a protective mat.
- If unavailable, you can gently wash the sand into the joints using a light stream of water.
Repeat the sweeping and filling until all joints are evenly filled. The sand is properly compacted when a spatula only sinks a few millimetres into the joint.
Lastly:
- Sweep off excess sand from the surface — you can reuse it elsewhere in your garden.
- Rain will naturally remove the last traces.
- Or, clean the surface the next day with a soft water spray — but be careful not to wash out the freshly filled joints!

