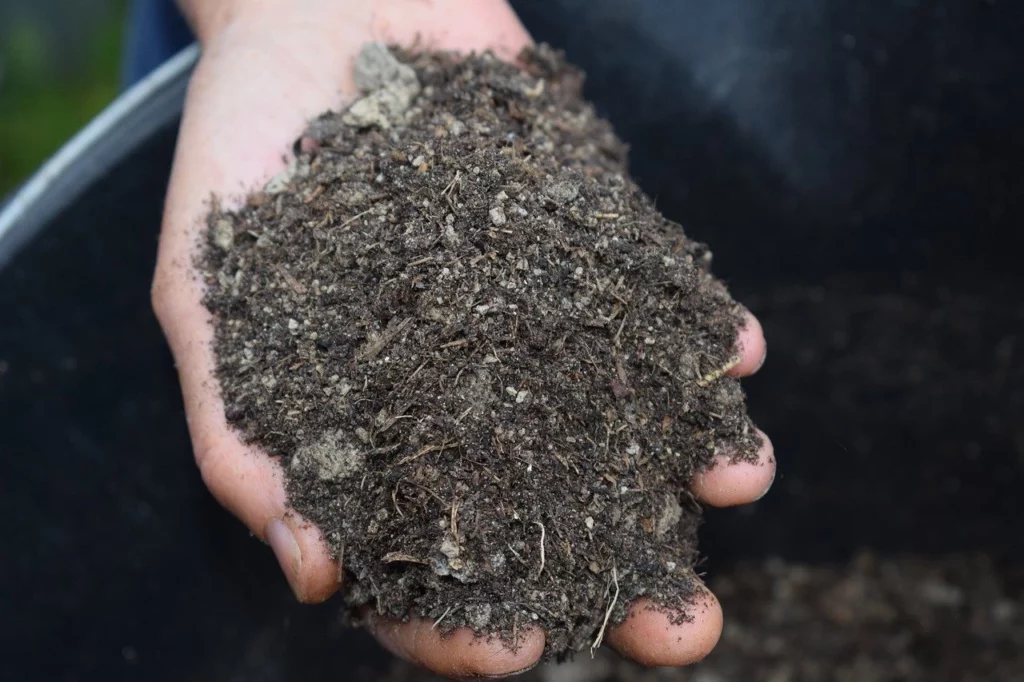
The Bokashi bucket is an alternative to conventional garden compost. With the help of effective microorganisms, you can produce your own organic solid and liquid fertilizer in a short time and in a small space. In this article you will learn how to turn the valuable nutrients from your kitchen waste into organic fertilizer and what you need to bear in mind when using it.
At a glance
Material: Effective microorganisms or Bokashi ferment, kitchen waste, Bokashi bucket, spray bottle, primary rock flour, tamper, bags filled with sand or water.
- Collect kitchen waste, chop and spray with undiluted EM.
- Every three days, add a layer of kitchen waste at least 10 cm thick to the Bokashi bucket
- Spray contents with undiluted EM so that waste is evenly moist
- Optionally, primary rock flour can be added
- compact the mass with a tamper
- place bags filled with sand on top of the mass to recompact it during fermentation
- Repeat steps 1-6 until the bucket is full. Then seal the bucket airtight and store in an even temperature room.
Contents
- 1 Organic fertilizer for your own garden
- 2 What is Bokashi?
- 3 Advantages of Bokashi
- 4 Build your own Bokashi bucket
- 5 Make your own Bokashi ferment
- 6 What can go in the bokashi bucket?
- 7 When is the ferment ready?
- 8 Your Bokashi smells putrid?
- 9 What is the shelf life of the bokashi ferment?
- 10 Can you make Bokashi without EM?
- 11 Use in the garden, bokashi as fertilizer
- 12 Author
Organic fertilizer for your own garden
In organic farming, fertilizing involves more than just supplementing and enriching missing nutrients for plant growth. Fertilizing organically means nurturing the soil, providing it with energy and organic nutrients to keep it healthy so that nutrient conversion by the many organisms in the soil can take place on its own. The goal is a living soil that is home to numerous microorganisms, insects and vertebrates and is capable of building humus. For this process, these organisms require energy to convert organic matter into fertile garden soil. Nutrients are made available to plants during the process of decomposition and are stored in humus if the soil structure is good. When there is a lack of energy, this activity declines, which is why every gardener:should feed back in sufficient energy. An effective method is the incorporation of Bokashi. This is created by fermenting kitchen waste in a bokashi bucket. Bokashi can be used in the garden as a biological fertilizer, which enriches the soil with effective microorganisms and organic matter, supporting biological processes. In the long run, this keeps the soil healthy.
What is Bokashi?
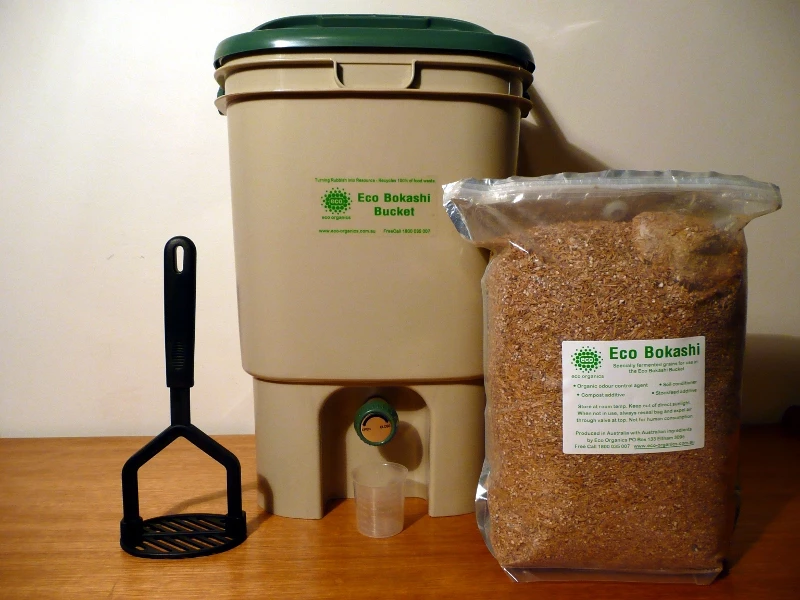
Bokashi is the Japanese way of composting. Translated, it means: “fermented organic waste”. In this process, the organic material is not composted but fermented. In the absence of air, the waste is decomposed by effective microorganisms. Lactic acid bacteria (Lactobacillales) play the main role here, because they love sugar and metabolize it into lactic acid and carbon dioxide. This produces the typical sour smell of the finished ferment, and kitchen waste is thus preserved. During fermentation, valuable vitamins, enzymes, amino acids and antioxidants are produced. The minerals from the kitchen waste are enriched in the bokashi juice and this can be used as a liquid fertilizer. The decomposed organic matter can be incorporated into the bed. After two to four weeks, the ferment is finished and ready for use in the garden. To make bokashi, you’ll need a bokashi bucket. These are special compost buckets that can be sealed airtight. Usually there is a sieve inside, which separates the liquid fertilizer from the solid compost. If you want to get started right away, you can buy this bucket. Otherwise, you can easily build it yourself. How to do it, you will learn later in the article.
Advantages of Bokashi
- Kitchen waste or food that would have ended up in the garbage can is recycled into valuable fertilizer right in your kitchen.
- easy and pleasant way to store kitchen waste without odor and mold, and even make it usable
- little space required compared to a garden compost, you can conveniently put the bucket in the kitchen
- Fermenting instead of composting: no energy loss because fermenting does not produce high temperatures. Instead, vitamins, enzymes, amino acids and antioxidants are produced
- high-quality organic fertilizer from our own production
- natural plant protection: effective microorganisms strengthen the immune system of the plants and improve germination, fruit formation and ripening
- humus content increases: More biomass is converted due to the input of energy-rich, decomposed organic matter. This creates a crumb structure of clay-humus complexes that can bind nutrients to their surface. These nutrients are thus protected from leaching and are available to plants until the plant needs them.
- promotes soil life: this improves the structure and thus the water-holding capacity
Build your own Bokashi bucket
What do you need?
- 2 x buckets (min. 10 L), the buckets should be identical so that they fit perfectly into each other
- Tools: pen, cutter and drill/screwdriver
- Sealing material, e.g. insulating tape
- drain plug
- about one hour of your time
Instructions
Drill small holes with a diameter of 2 to 3 mm every 2 cm into the inner bucket with a drill or screwdriver. The fermented liquid can later drip off here.
Mark the place for the drainage tap on the outer bucket. This is placed in the gap between the two bucket bottoms and should be as far down as possible. This is where you will remove the liquid part later.
Carefully cut a hole with the cutter that is just big enough for the tap. It should not be larger, otherwise the tap will leak.
Attach the drain cock. Usually they have their own seal. Otherwise, you will need sealant from the hardware store to install the faucet completely tight.
Place the buckets inside each other and seal the gap where the two buckets lie on top of each other with enough sealing tape. Remember: it should be as airtight as possible
And your homemade bokashi bucket is ready. It’s pretty simple and an inexpensive alternative for the small budget.
Make your own Bokashi ferment
What do you need?
- Effective Microorganisms (EM): You can buy EM as a liquid mixed culture of various bacteria such as lactic acid bacteria (Lactobacillales) and yeast fungi or Bokashi ferment in solid form.
- Kitchen waste
- Bokashi bucket
- spray bottle for the EM
- optional: primary rock flour
- masher (this can also be a potato masher or a ladle)
- bags filled with sand or water
What can go in the bokashi bucket?
Any organic waste can be recycled in the Bokashi bucket. Waste such as raw or cooked vegetables, fruit scraps, bread, lawn clippings, tea and coffee grounds, flowers, leaves and the unwanted weeds from the garden can be used for this purpose. The exception is heavily moldy food scraps and hard to decompose material such as eggshells and wood. Animal products can also be used, but are not recommended as they attract animals during fermentation and later in the garden bed. Sprayed vegetables can also be added. The many microbes neutralize some of the harmful substances. If you want to play it safe, you can add zeolite-containing agents. These are able to bind pollutants and thus protect the plant from reabsorption.
Any bokashi bucket filled with organic material will ferment. Don’t make it too complicated for yourself. The most important thing for successful fermentation is the C/N ratio, which is usually balanced for kitchen scraps. As long as there is not excessively difficult to decompose material in the bucket (i.e. a lot of carbon), the microorganisms will continue to work blithely.
A step by step guide
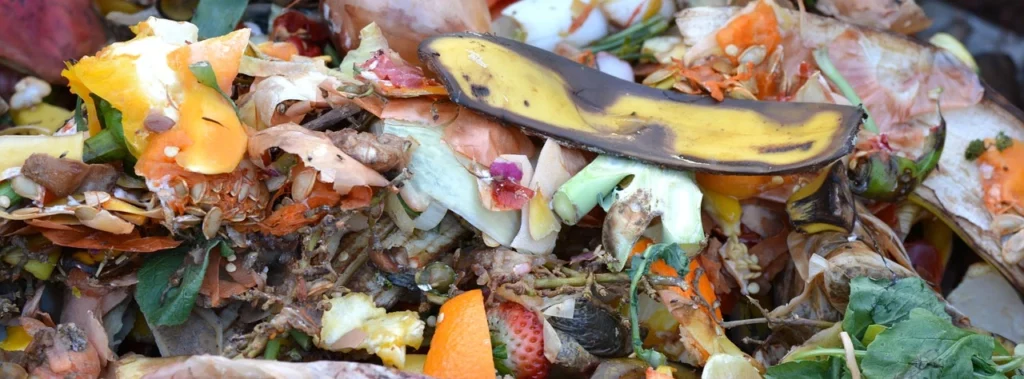
- Collect kitchen scraps: to do this, cut them into small pieces and collect them in a bowl. You can already spray the waste with effective microorganisms to prevent rotting. Tip: The smaller the kitchen waste is cut, the faster the fermentation will go.
- Every two to three days, add the kitchen waste to the Bokashi bucket (one layer should be at least 10 cm thick).
- Spray the entire contents with undiluted EM. It is important that the waste is evenly moist.
- If your plants are already suffering from nutrient deficiencies, you can add some primary rock flour. It contains important minerals such as magnesium, potassium and iron. In addition, primary rock flour also influences the ph-value of the soil. The calcium has an alkaline effect on the soil and neutralizes over-acidified soil, which is beneficial for many fruits and vegetables.
- Compact the layers with a tamper. There should be as little to no oxygen in the layers as possible. This will create a low-oxygen environment and fermentation will work best.
- To recompact the mass during the process, you can place a sandbag or a bag filled with water or gravel on the mass.
- Repeat steps 1 to 6 until the bokashi bucket is full.
Then continue in this way:
Seal the bucket airtight and store it in an evenly tempered room with temperatures between 25 to 30 °C. A slightly cooler room will also work, but the microorganisms will not work as fast and the fermentation may take a little longer.
When is the ferment ready?
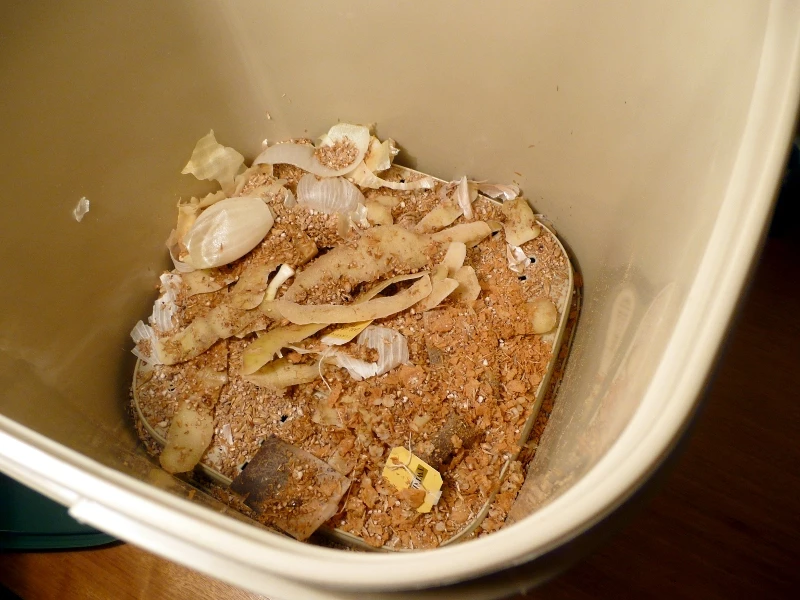
After two to three weeks the ferment is ready, you can recognize this by the acidic to sweet-sour smell. To be absolutely sure, measure the pH value with a simple pH measuring stick. This should be slightly below four. If you see white threads or flakes, this is a good sign. If so, fungi have already formed, which is a sign of successful fermentation. If this is not the case, let the mass ferment for a few more days and check the pH again. If there are still a few individual larger pieces visible in the ferment, this is not a problem. When incorporated into the soil, it will decompose very quickly. It’s hard to say exactly what a finished Bokashi bucket should look like, because the appearance depends a lot on the contents.
Your Bokashi smells putrid?
Unfortunately, that’s not a good sign. If your ferment smells putrid, unfortunately it can no longer be used in the garden. Dispose of the contents in the compost and just try again. The reason for the rot was probably too much oxygen in the bucket and in the mass during fermentation. Next time, try to make sure to seal the bucket airtight as well as compact the kitchen waste well.
What is the shelf life of the bokashi ferment?
If you don’t need all of your Bokashi fertilizer, it can be stored again under exclusion of air. Temperature is no longer an important factor and it can be left at normal room temperature without any problems. The place should only be shady and the quality should be checked regularly based on the smell. Otherwise, Bokashi can be stored for several months.
Can you make Bokashi without EM?
Unfortunately, it does not work completely without effective microorganisms. There are some alternatives on the Internet, so lactic acid bacteria from yogurt or yeast bacteria should do the job. However, the result will be too little to use and probably moldy.
Cleaning and maintaining the Bokashi bucket
After one pass, the bucket should be completely emptied and the individual parts cleaned with hot water and vinegar essence. If the bucket is not rinsed completely clean, mold may develop later. Especially the tap must be cleaned thoroughly. To do this, fill the bucket with hot water and let it run out of the bottom of the tap. Repeat this until the water runs clear from the tap. If you do not refill your bucket directly, the ferment can also be stored in the bucket.
Use in the garden, bokashi as fertilizer
Fresh bokashi has a pH of about four, making it very acidic. Many seeds and seedlings do not like this, so the bokashi fertilizer should be applied to the soil and incorporated two to three weeks before sowing or planting. To do this, mix the solid part of the Bokashi ferment with soil (ratio 3:1). Work the fertilizer especially in the places where you want to plant your seeds or seedlings later, then water well and you’re done. If you already have plants in your bed or want to fertilize perennial plants, you can very carefully work in the Bokashi soil mixture. Do not dig too deep to protect the roots of the plants. It is best to keep a distance of about 30 cm to the root ball and work the substrate in a circle around the plant. It is important that the fine roots do not come into direct contact with Bokashi.
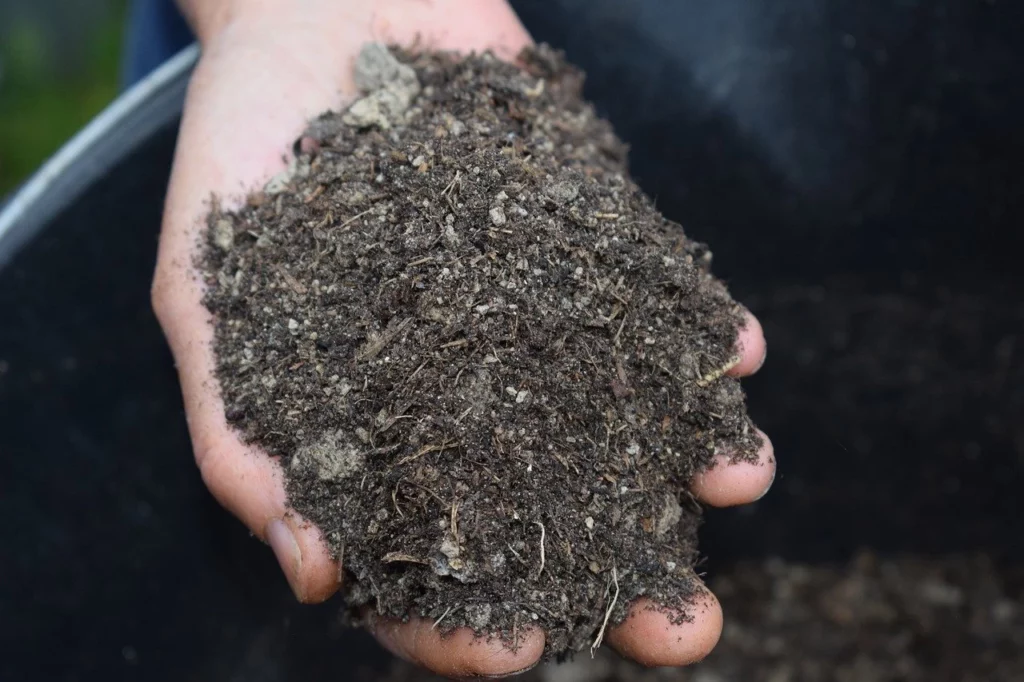
The Bokashi juice, which collects in the lower part of the bucket, can be applied to the plants diluted with the watering water every few days from the very beginning. Due to the low pH, the juice must be diluted. Depending on the needs of the plants, a mixing ratio of 1:20 or 1:100 has proven successful. You can also use the juice to prepare your new ferment, as it also contains many effective microorganisms. Special tip: In case you have too much juice left over, it also works great as an ecological pipe cleaner, without a lot of chemicals!
Add Bokashi to your garden compost
If you have an excess of solid Bokashi, the rest can also be incorporated into garden compost. Apply a 15 to 20 cm layer of soil over the Bokashi substrate. This allows the acidic pH to neutralize and new humus to form. The Bokashi substrate supports composting.

