Compost is indispensable if you want to garden ecologically. Especially for sowing beds in the vegetable garden, you should sift it before spreading to separate coarse – such as stones or plastic parts – from fine. The best way to do this is with a sieve. Here we show you how to make one yourself.
Contents
What are the benefits of a sieve?
If you want to keep fine humus for fertilizing your garden free of residues, you should pass the compost through a sieve before spreading it. Thanks to the sieve, the soil is freed from branches, stones, sprouted weeds, pieces of plastic or paper shreds that have crept into the compost. If you want to know even more, you can read here why it makes sense to sift the compost.
Using the sieve: when is the best time?
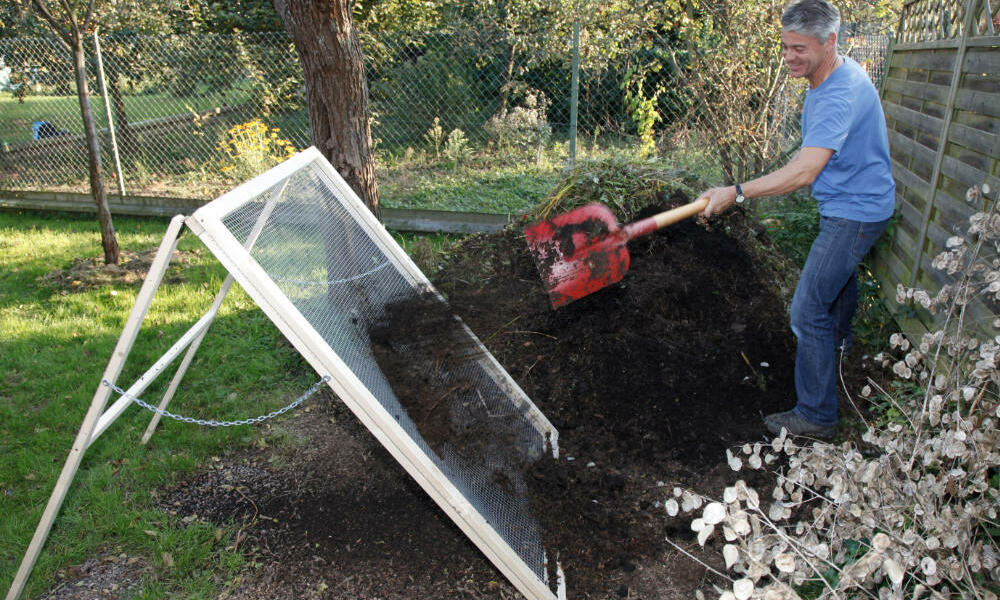
In spring, you can take a close look at your compost for the first time: Are there no more plant debris to be seen? Have the little red compost worms disappeared from the pile because their work is done? Does the strong smell remind you of forest soil? Then your compost has matured and is ready for its first flight through the sieve. Stones and co. bounce off and the result is finer – varying, of course, depending on the mesh size of your sieve – crumbly humus. About every two months, the garden sieve should then be used again.
If you want, you can place a wheelbarrow behind the screen to catch most of the screened soil. There are also special screens for wheelbarrows available for purchase at hardware stores or on the Internet. However, these are smaller than our DIY one, so it will take you longer to screen all the compost. Also, with a DIY screen, you are free to choose how large you want the mesh of the screen to be.
DIY sieve: what you need
- Material for the large compost sieve
- 4 wooden slats à 24 x 44 x 1460 mm
- 4 wooden slats à 24 x 44 x 960 mm)
- 2 wooden slats à 24 x 44 x 1500 mm)
- 1 wooden slat à 24 x 44 x 920 mm)
- rabbit wire à 1000 x 1500 mm, mesh size: 19 mm (if you want even finer soil, you can also choose a smaller mesh size for the throw-through grid)
- 2 hinges (dimensions: 32 x 101 mm)
- 2 short-linked, hot-dip galvanized chains (3 mm, length approx. 660 mm)
- 36 screws made of wood (dimensions: 4 x 40 mm)
- 6 screws made of wood (dimensions: 3 x 25 mm)
- 2 screws made of wood (dimensions: 5 x 80 mm)
- 4 washers (dimensions: 20 mm, inner diameter 5.3 mm)
- 8 nails (dimensions: 3.1 x 80 mm)
- 20 staples (dimensions: 1.6 x 16 mm)
Tool for the sieve
- Working gloves
- Workbench
- cordless screwdriver
- wood drill
- suitable bits
- jigsaw
- extension cord if necessary
- hammer
- bolt cutter
- side cutter
- Wood file/sandpaper
- Protractor
- Meter stick
- Pencil
- stapler if necessary
Build your own sieve: With these instructions it succeeds
Follow our guide, which you can recreate with the following instructions, is stable to set up in the garden and has a nice big screen area, so you can throw large amounts of compost through the screen at once with a shovel without hesitation – sounds like fun, right?
Step 1
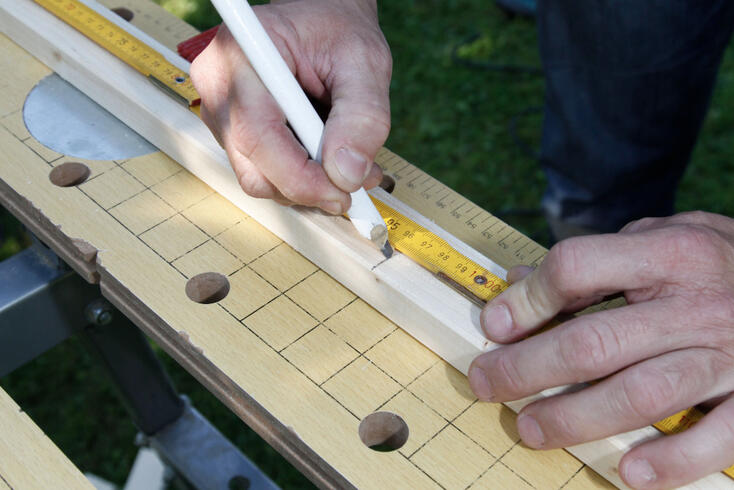
Mark the cutting lines on the wooden slats.
Step 2
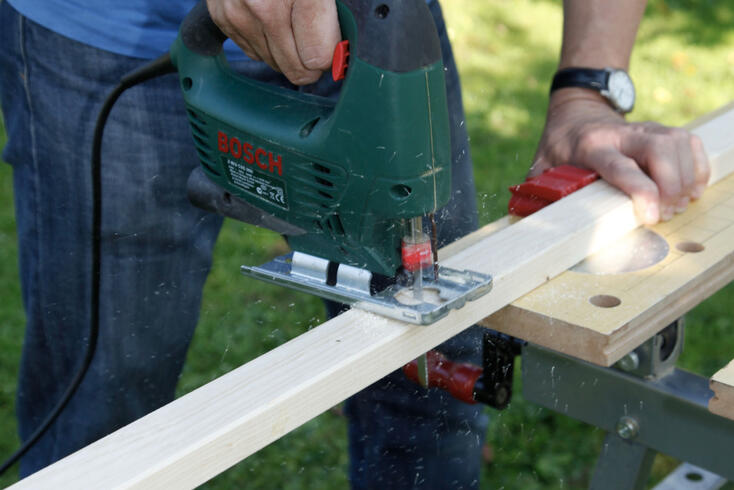
Use the jigsaw to cut all eight large frame pieces to the required lengths, i.e. 4 by 146 centimeters and 4 by 96 centimeters. Smooth the rough cut edges with sandpaper.
Step 3
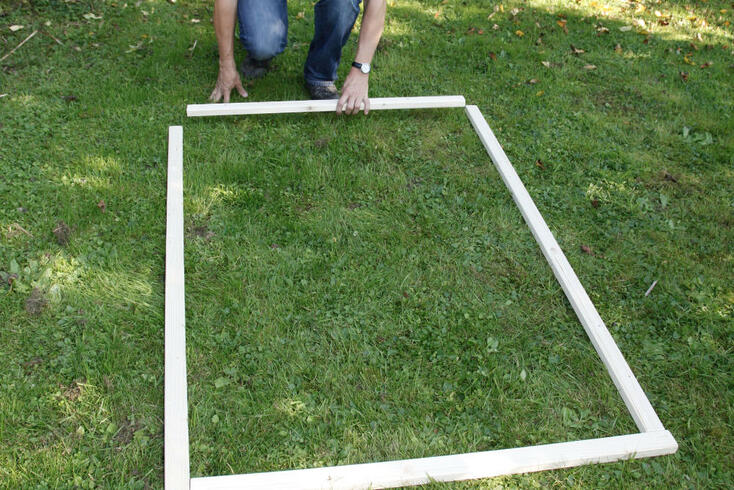
Place the sawn pieces together to make two wooden frames, each measuring 150.4 by 100.4 centimeters.
Step 4
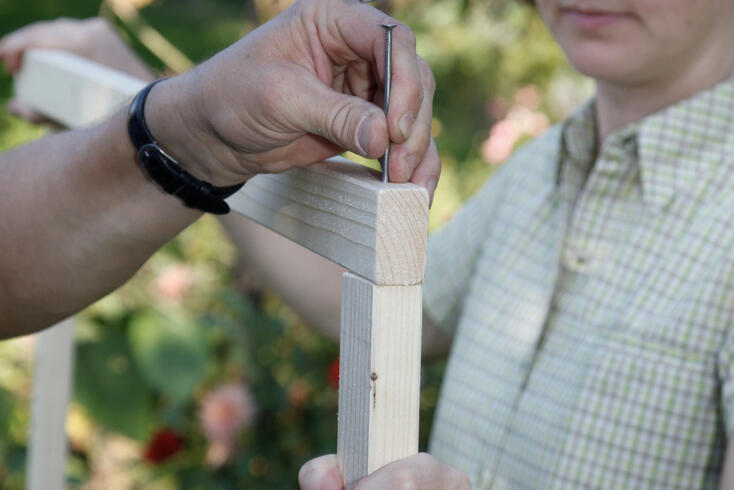
The frame laths for the garden sieve are first provisionally fixed with nails – one nail per corner is sufficient.
Step 5
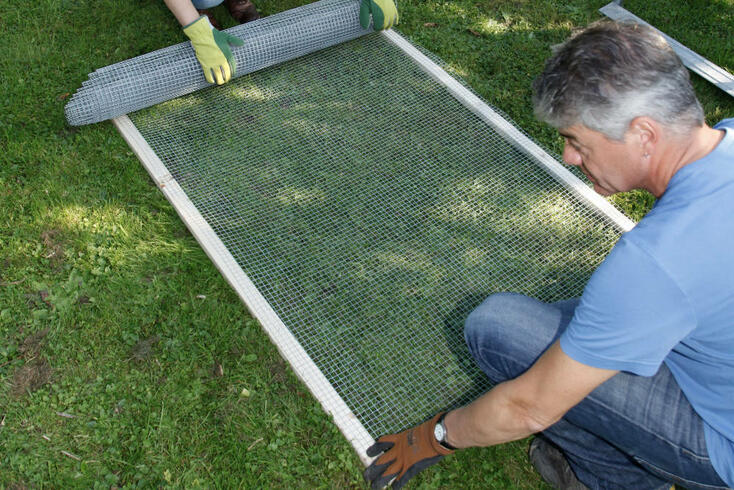
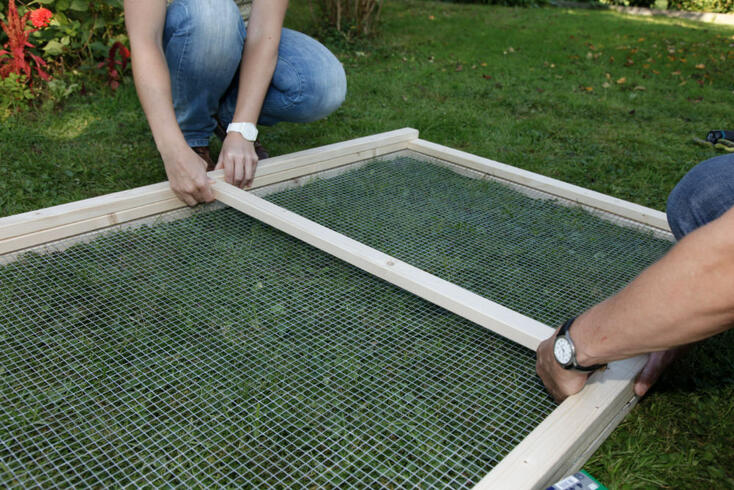
Now place the wire mesh with the mesh size of your choice on one of the two frames and cut it to fit exactly with a side cutter – this is best done by two people. The roll has a width of 1 meter, so you only need to shorten the wire to the length of 1.50 meters.
Step 6
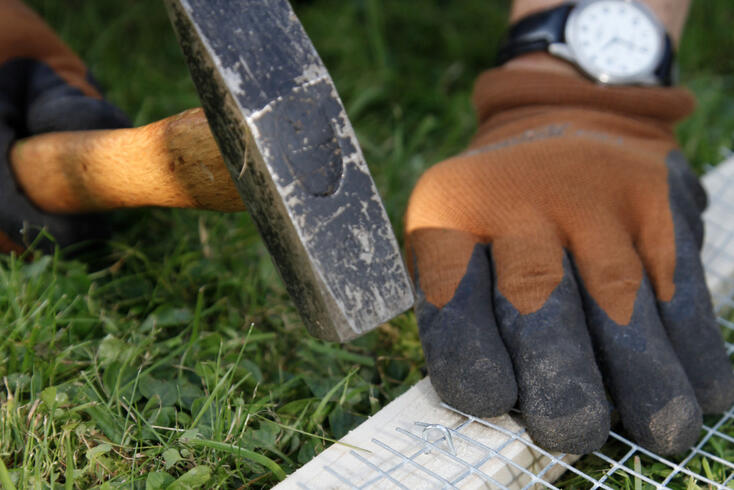
Place the piece of wire on the frame so that it does not protrude anywhere. The frame is a total of 4 millimeters higher and wider than the wire mesh, so you have 2 millimeters of play on each side. Then fix it to the frame on each side with several small staples.
Tip
Tip: If you have a stapler, use it – it’s easier and faster.
Step 7
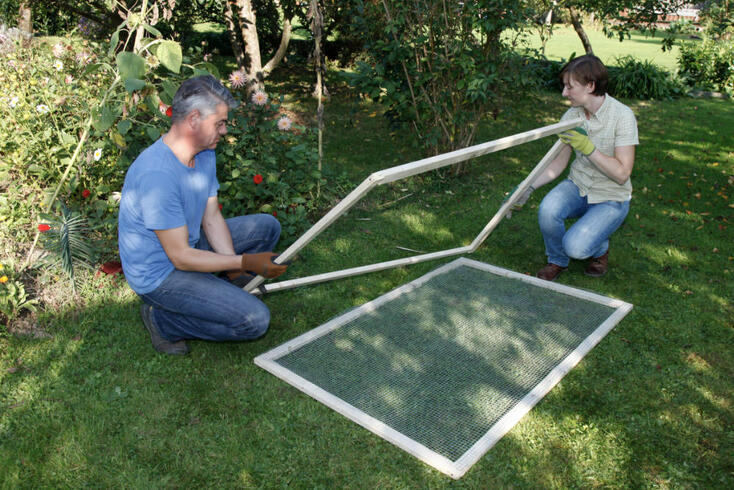
Place the two frame parts on top of each other so that the butt joints of the two parts are staggered at the corners – this is important for the stability of the compost sieve. To do this, you may need to turn the upper part over again.
Step 8
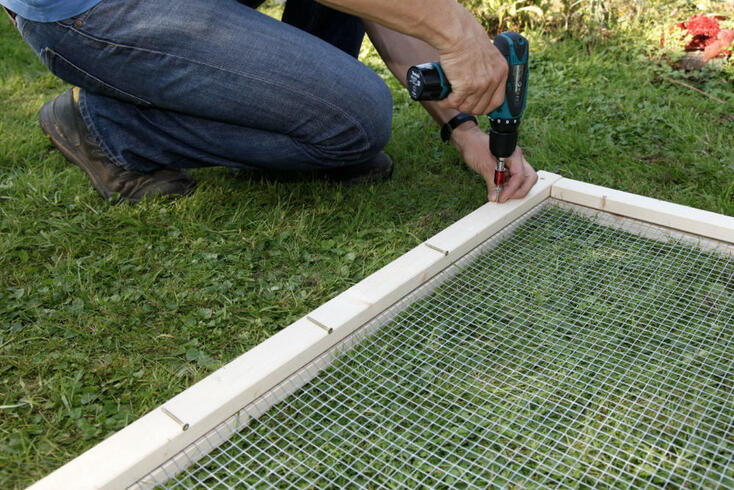
The frame halves are now screwed together with wood screws (4 x 40 mm). To do this, screw in a screw about every 20 centimeters. Good to know when you get the material: You need a total of 18 screws on the long sides and eight on the short sides.
Tip
Tip: Arrange the screws slightly offset or pre-drill the holes with a small wood drill, then the slats do not tear
Step 9
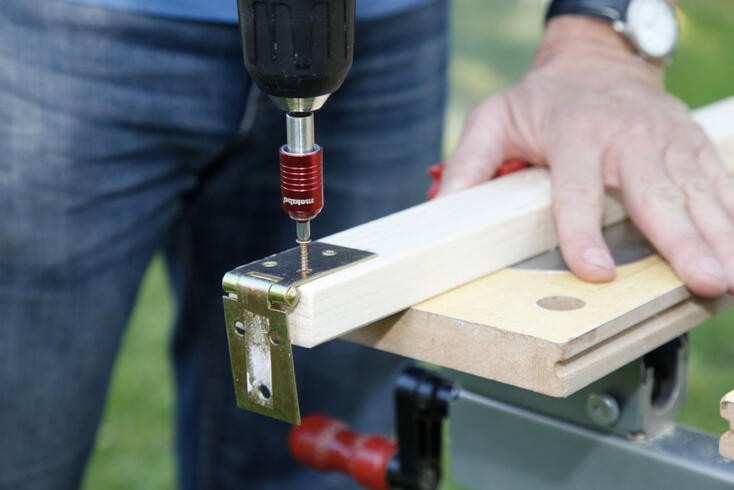
The support for setting up the compost sieve consists of two 1.50 meter long slats. Use 3 screws (3 x 25 millimeters) to attach the two hinges (32 x 101 millimeters) to the upper ends.
Step 10
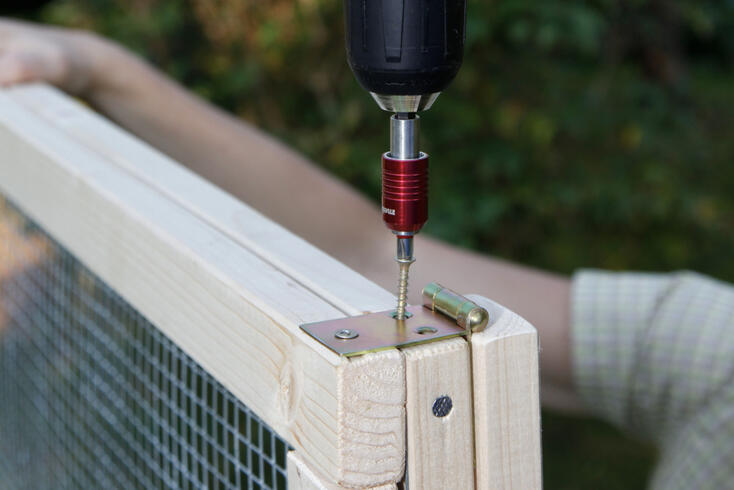
The two battens are placed flush against the long sides of the frame and fastened to each hinge with three screws (4 x 40 millimeters).
Important: Check the folding direction of the hinges in advance!
Step 11
Connect the two supports in the middle with a cross strut, this makes them more stable. Fasten the 92-centimeter-long batten with two screws (5 x 80 millimeters). You should pre-drill the holes with a small wood drill.
Step 12
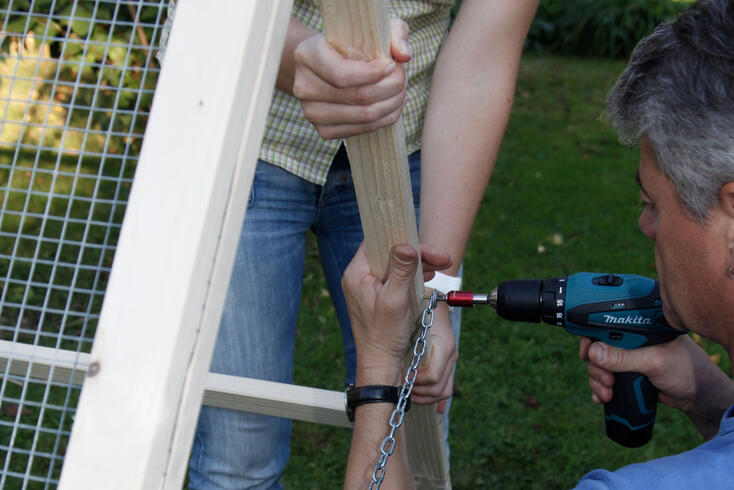
One galvanized chain per side additionally stabilizes the frame and support of the pass-through screen. The chains are shortened to the required length depending on the maximum set-up angle (here about 66 centimeters). The chains are fastened to the frame with four screws (4 x 40 millimeters) and washers. The mounting height also depends on the desired angle of inclination of the screen. In our case, we attached the chains at a height of 1 meter, measured from below.
