Autumn is the best time to plant hardy fruit trees such as apple, pear, plum or cherry. Over the cold season, the trees have enough time to form roots. Depending on how well this works, the trees will sprout in the spring, so that they will look much stronger at the end of the first year than trees planted in the spring. In this article you will learn how to plant fruit trees in late spring and what you need to bear in mind.
At a glance
Fruit trees for planting in autumn:
Apple, pear, mirabelle plum, plum, cherry.
Woody plants for planting in spring:
Nectarine, peach, apricot, walnut.
How to do it:
- Dig a planting hole (about 1.5 times as deep/width as root(-ball)
- Bare root trees: place the tree on a mound you create in the planting hole so that the roots hang down the sides like hair
- Potted root ball: Carefully break the roots up the side and place the root ball in your planting hole
- CAUTION: The grafting site should not be planted with it!
- Add compost, humus or planting soil to the planting hole when closing it.
- Rock flour provides a coarser structure and long-term nutrient salt release
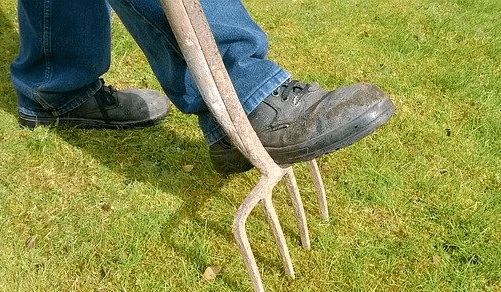
- Tread the soil around the tree
- Spread some mulch around the planting site to suppress weeds
- then water vigorously
The best planting time for fruit trees
Various fruit trees can be planted until the end of November. Since it is so cold, the trees and shrubs hardly put any energy into their above-ground parts, i.e. shoots or leaves. Instead, their focus is on developing strong roots underground. Therefore, the tree can first grow over the winter and then sprout more easily in the spring.
Contents
Which varieties are suitable for winter planting?
In the trade, on the one hand, there are bare-root fruit trees, so called because the roots are offered without soil. These “bare” roots are cheaper and easier to transport, but much more fragile. To avoid dying, they should be protected from drying out due to sun or wind.
Woody plants in potted root balls were cultivated in (plastic) containers. Their roots are protected by the surrounding soil, which makes them grow better. However, care should be taken to ensure that the woody plants have not been growing in the container for too long. If this is the case, the roots will eventually run out of space and begin to wrap around themselves. This makes growing more difficult and, in the worst case, the roots “tie off” themselves. Then the tree grows much worse or even dies. More about this in the chapter Planting.
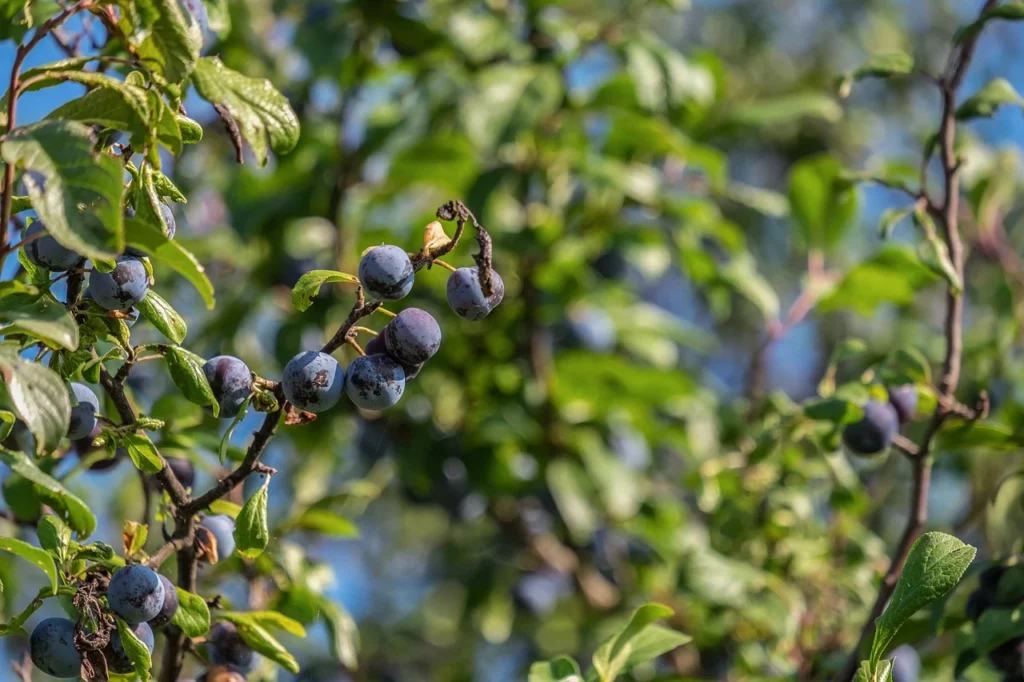
Whether in potted root ball or bare root, there are two seasons at which certain woody plants should be planted: Fall or Spring. Winter hardy fruit varieties are best suited for fall plantings. These include:
- Apple
- Pear
- Mirabelle plum
- Plum
- Sweet or sour cherry
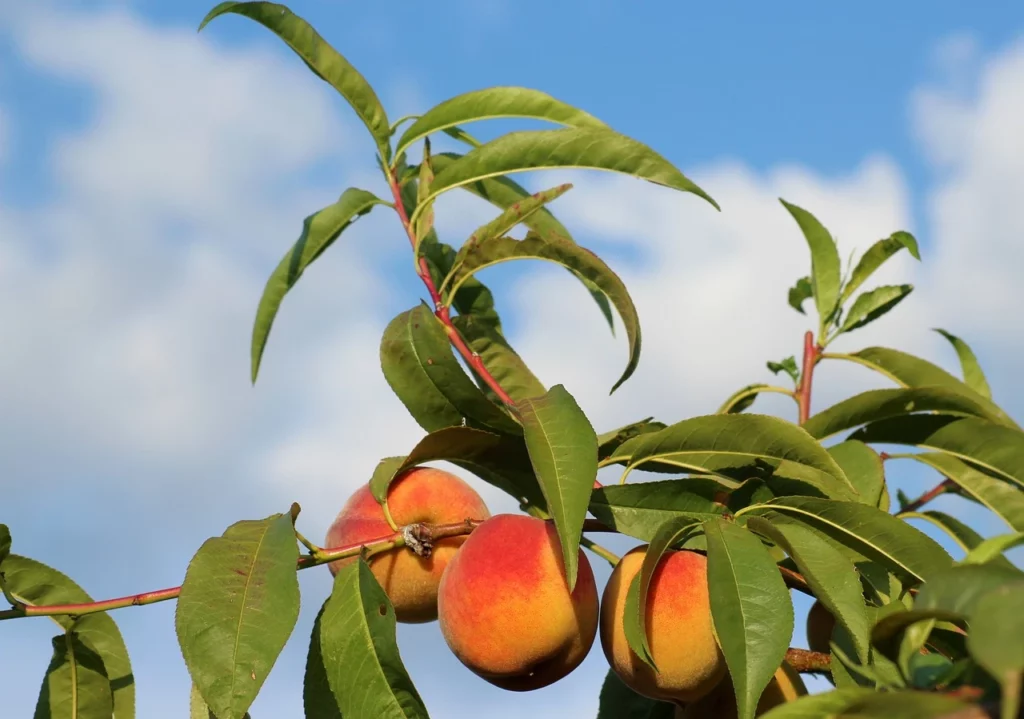
More sensitive woody plants are better planted in the spring. These include:
- Nectarine
- Peach
- Apricot
- Walnut (not a fruit, but still a worthwhile planting).
Planting the fruit tree
To make sure your tree thrives vigorously, here are all the essentials. You will need:
- Humus, compost or planting soil.
- rock flour or fine sand (for loose granulation and mineral release through micro-orgasnisms)
- your tree
- spade
The planting hole should be about one and a half times as deep as the root/root ball of the tree. The same goes for the width of the hole. As a guide, you can plan for a width of about 50-70 cm. Note, however, that the tree should not be planted deeper than it stood in the nursery. Also, the grafting point should not be planted with it, but should protrude from the planting hole. The lower part of a grafted tree (rootstock), consists of a weak-growing variety in most cultivated trees. This ensures that the tree does not grow too tall in the garden, making it difficult to reach. If you plant the tree up to above the grafting point, roots can form from the strong-growing upper part (support). Then it can happen that the tree quickly grows upwards and becomes very large.
The roots of the sapling usually form a kind of “hairstyle”. The root arms tend to sprout laterally and should therefore also be placed laterally. To make this easier, form a small mound in the planting hole with the excavated soil and tamp it down. You can now place your tree on this little mound so that its roots hang down like long hairs from a head. This way the roots will grow down easily and won’t get in each other’s way so quickly.
Now put some rock flour on the roots and the rest of the planting hole. Usually 2 large handfuls are enough for this (it depends on the size of the tree/planting hole, of course). Then add a generous layer of humus, compost or planting soil to the roots. This layer will continuously release important nutrients for the young tree.
Then fill the planting hole with the remaining excavated soil and tamp it down so that the tree is stable in the ground. It doesn’t matter if there is a small mound around the tree, since you added more mass to the planting hole. This hill will give the tree more stability. In addition, you can build a so-called watering wall, since you have soil left to mound anyway. This small, about 5 cm high earth wall can be built around the plant, so that the irrigation water is not lost. Now you can water your freshly planted tree abundantly.
Tip: To place the tree vertically, it is best to get a second person to hold it.
With potted root balls, you can proceed in a similar way by exposing the roots before planting. You should do this especially if the tree has been growing in the container for a long time (for reasons mentioned above). However, if the roots still had enough space in the pot, you can also place the root ball directly into the planting hole. In this case, just break the root ball open a little on the side so that the roots can penetrate the new soil more easily. Put some rock flour around the root ball. Fill the hole with some humus, compost or planting soil, as well as the excavated soil and tread the soil around the tree. Finally, do not forget to water your tree vigorously.
Additionally, spread some (bark) mulch around the planted tree. Then no unwanted weeds will grow there for the time being, which could later rob the tree of important nutrients or secrete growth-inhibiting substances. Cardboard is also good for suppressing weeds.
If you have a vole problem in your garden, it’s a good idea to build a gravel basin around the planting hole. This layer of gravel will keep voles from making a run for the fresh tree roots. The gravel is coarse enough that the rodents avoid this layer and anything in it. The tree’s roots, if strong enough, can pierce the gravel layer. To do this, fill gravel to the bottom of the planting hole. This layer can be about 5-10 cm thick. You should also create a layer of gravel on the sides. To do this, place a cardboard box 5-10 cm from the edge of the hole and fill the cavity between the box and the earth wall with gravel. This will allow the protective gravel to surround the sapling. For the interior of the planting hole, proceed as explained earlier. The cardboard will rot over time and will not be a nuisance.
If your tree is in an unprotected, windy place, you can also stabilize it with a stake. This should be placed close to the tree, against the main wind direction. In order not to damage the roots, you can place the stake directly when refilling the planting hole and then tread it down. Tie the tree to the stake at the top quarter of the trunk with a sturdy string. Make sure that the tension between the string and the tree is not too great. Otherwise it will grow into the bark of the tree one.
First Year: Creating a Forest Garden
You can plant your tree not only solitary in one place, but also integrate other plantings on and around this tree. The whole thing builds on the basic principles of permaculture and mixed culture and is also called a forest garden. You can start this in the spring after your tree planting.
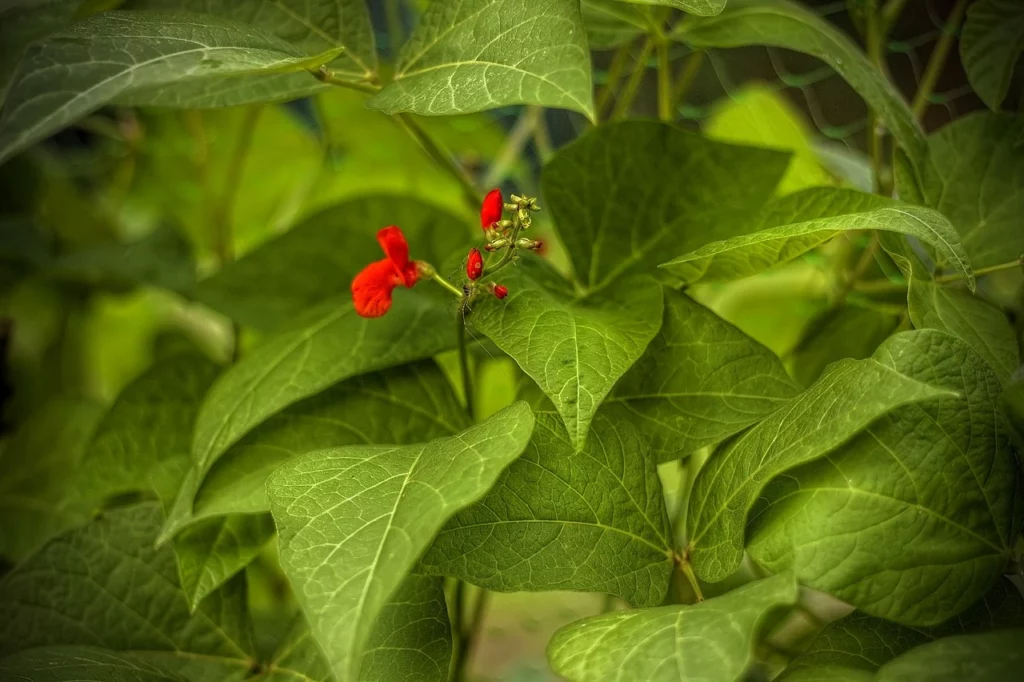
Various pole bean species can use the tree as a climbing aid and grow up the freshly planted partner. These beans provide the young tree with important nitrogen because, as legumes, beans can fix plant nutrients from the air. But there are other benefits to this partnership. When the beans climb the lower branches of the tree, they are automatically pulled slightly toward the ground. As a result, the tree does not grow too steeply upwards and can be worked and harvested more easily later. Furthermore, it is mainly the flat-growing branches that bear fruit, which is why the weighting by the beans brings another advantage. In addition, a bean-covered tree can be very aesthetically pleasing, especially if leaves have not yet grown on the tree in the spring. Colorful flowers, such as those of the fire bean, can provide beautiful color accents early in the year.
Potatoes are also great to plant around the tree. They remove excess nitrogen from the soil, which can be introduced into the soil by too sharp compost. Too much nitrogen can lead to “fattening” growth of the tree. This then quickly forms larger cells than under normal conditions. This makes the tree less stable and can lead to disease more quickly. For this planting, it is easiest to use a planting stick with which you drill holes around the watering ring of the tree. You can then plant your potatoes in these holes. Once your potatoes have formed their herb, this will provide additional protection from weeds and desiccation through shading.
Similar advantages as potatoes bring pumpkins with them. You can sow them inside the watering ring. Later, direct the shoots of the pumpkin plant away from the tree. The large leaves of the cucurbit plant also protect here by shading. As heavy feeders, pumpkins also remove excess nitrogen from the soil.
All three planting partners can also be planted in combination around the tree without any problems. The runners of the pumpkins only need to be directed outwards between the potatoes.
Second year
In the second year after planting, you can already grow other crops in your forest garden. Note that your tree has grown and you can probably increase the watering ring a little. If you like the principle of mixed cultivation of potatoes, squash and beans, you can do it again in the second year. However, only if you have added sufficient compost at planting. Furthermore, you can also establish other perennial plants around your tree.
On the sunny side (south side) of your tree, use light-loving plants. Mediterranean herbs such as rosemary, thyme or lavender are ideal for this. But vegetables like tomatoes or peppers also love the sun. Marigolds and marigolds also promote soil health. If you plant onions or leeks, grass growth is additionally inhibited by substances released into the soil.
The shady side (north side) of the tree can also be planted. For this purpose, use plants that prefer to stay in the shade anyway. Wild strawberries, spinach, woodruff or wild garlic cope very well with shady conditions.
Subsequent years
In the following years you can continue to work on your forest garden. Now the tree is strong enough to cope with deep-rooted plants around it. Behind the watering ring you can establish comfrey. This can develop roots up to 5 meters deep, which bring nutrients from deeper layers to the surface. These nutrients are stored in the plant’s spreading leaves. Therefore, comfrey makes excellent slurry that you can use to fertilize your tree or vegetable patch. In addition, the leaves also make great mulch. Beans, clover or other fabaceae can be used as green manure around the tree. Try out other planting combinations, there are no limits to your creativity.


