To propagate hydrangeas, you can resort to various options. We present three options and explain what you should consider.
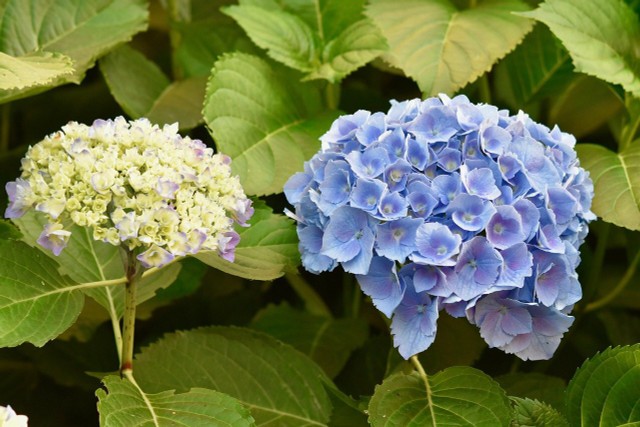
The hydrangea impresses with its large inflorescences that shine in all colors – often even in several color gradients per flower. The popular ornamental plant for home and garden is easy to care for, robust and, depending on the variety, hardy. You can grow the flower both in a bed and in a pot. If you want to enjoy the magnificent flowers longer, you can pinch off bouquets or dry hydrangeas. Propagating hydrangeas works by division, with cuttings, or with a cuttings tray. Seeding is rather difficult with the varieties in this country.
Contents
Propagate hydrangeas by division
Dividing the plant is probably the fastest way to propagate hydrangeas. All you need is a vigorous and healthy plant and a sharp garden tool.
The best time to divide hydrangeas is in spring or fall. Here’s how:
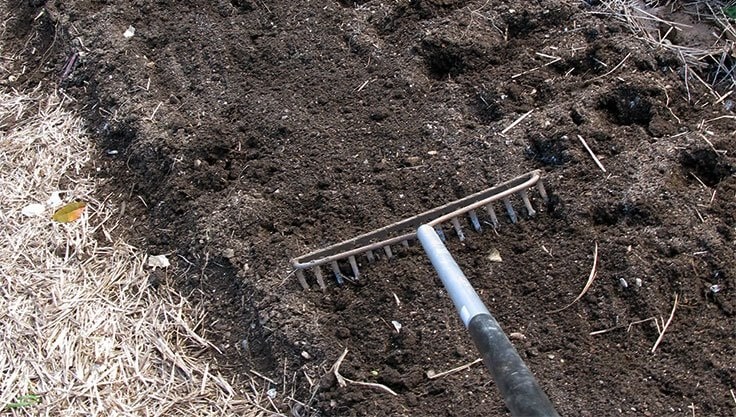
Carefully dig up the plant. You need to get to the root ball.
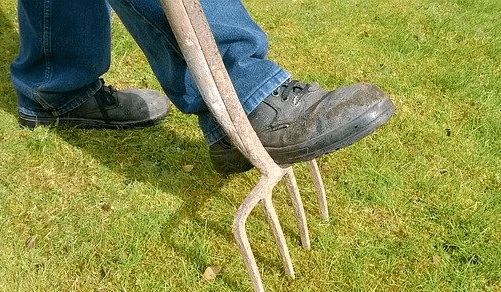
Now carefully divide the root ball into equal parts. Use as sharp a garden tool as possible, such as a garden shovel.
Dig a small hole in another part of the garden where you want to propagate the hydrangea and place the divided plant in it. The planting hole should be sufficiently large and deep, depending on the size of the divided root ball. Likewise, it is possible to plant the hydrangea in a pot.
Also place the original plant back in the ground. For both hydrangea plants, press the soil firmly and water them properly.
This method of propagation is suitable when the hydrangea plant is not too big yet and you can easily reach the root.
Propagate hydrangea with cuttings

Propagation of hydrangeas by taking cuttings is particularly easy. It is best to cut the cuttings in early summer in June or July. Then proceed as follows:
- Select a suitable shoot. This should ideally have two pairs of leaves and no flowers or flower buds.
- Cut it to a length of between five and ten centimeters with a sharp knife or garden shears.
- Pinch off the stem just above the middle leaf node. If the leaves are quite large, you can use scissors to cut them slightly smaller.
- Prepare a small pot or growing container with unfertilized growing soil that you can place on a window sill.
- Moisten the soil properly, place the cutting in it and press the soil lightly.
- Keep the cuttings warm and moist for several weeks: Cover the pot with a glass or a hood, or place the plant in a mini-greenhouse. This will create a high humidity. Every now and then, however, you should remove the cover so that mold does not develop.
- As soon as the hydrangea cutting is rooted, you can transplant it into a larger container (with a diameter of about ten centimeters). This is the case after about three weeks.
You can already store the cuttings outside. However, choose a shady place. In order for the hydrangea to overwinter, you should bring them back inside during the cold months. Next spring, they will be vigorous enough to plant outside.
Propagating hydrangeas by cuttings
Propagating hydrangeas by a cutback is also possible, but requires several steps and about a year of patience. The best time to do this is April through June.
- Select a suitable shoot of the hydrangea. This should be healthy and strong, preferably without flowering.
- Bend the shoot towards the ground. The goal is that the shoot is partially covered with soil and the tip sticks out at the top. Caution: The shoot could break! Therefore, first carefully test how flexible it is and choose another branch if necessary.
- Dig a hole about five centimeters deep where the shoot touches the soil.
- Remove the bark from the underside of the part that will be under the ground. Use a sharp knife and carefully scrape off the bark. It is often sufficient to slightly scratch the bark.
- Now place the branch and fix it with a stone or a peg.
- Cover the shoot with soil. The tip should stick out.
After about a year, the hydrangea sinker will have formed its own roots. You can then separate it from the mother plant by cutting it off at the base.
It is best to plant the rooted cuttings in a pot first, so that you can strengthen the hydrangea further. You can also plant it directly in the bed.
How to properly care for hydrangeas after propagation, you can read in our article Hydrangea pruning and care: What you need to keep in mind.


