I’ve always been drawn to winter jasmine for its cheerful blooms that brighten up the coldest months. What amazes me most is how effortlessly it thrives, even in less-than-ideal conditions. Over the years, I’ve discovered that propagating this resilient climber through layering is not only simple but deeply satisfying. Whether I’m filling gaps in my garden or sharing plants with friends, this method never lets me down. Here’s how I do it—step by step—so you can enjoy more of these golden winter wonders, too.
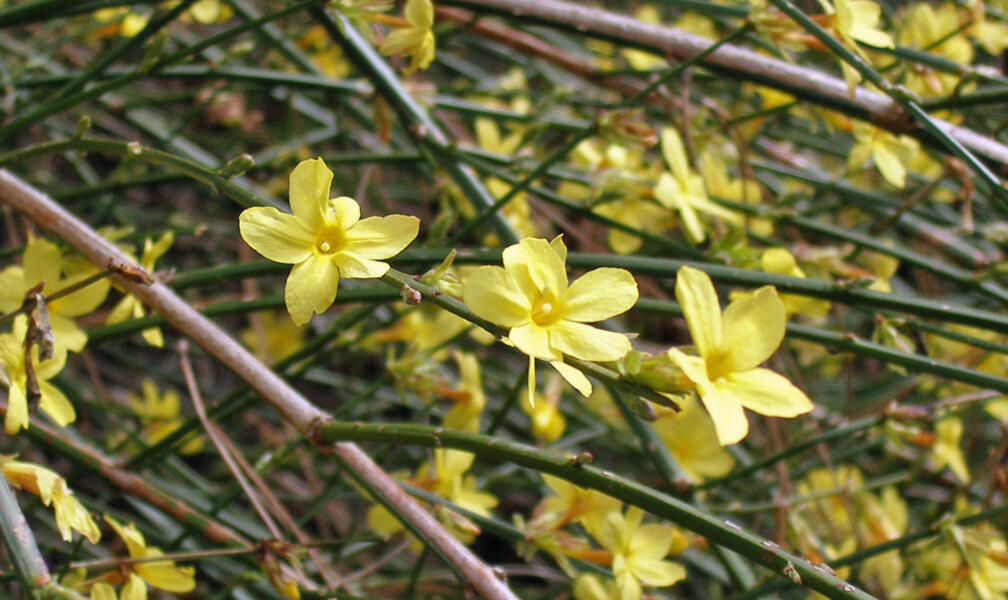
Winter jasmine is low-maintenance and, in mild winters, blooms with primrose-yellow flowers that have a pleasant fragrance. Here’s how I propagate this popular climbing shrub through layering.
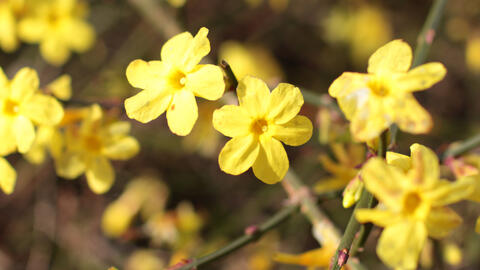
Winter jasmine (Jasminum nudiflorum) is one of the few ornamental shrubs that flower in winter. Depending on the weather, its first yellow blooms can appear as early as January. It’s considered a sprawling climber, as its long, thin annual shoots often climb up low walls or fences and cascade down the other side. Since it doesn’t form clinging roots, it needs horizontal supports like trellises or rails to climb.
To cover a long wall, I need multiple plants. Luckily, propagating winter jasmine is so simple that even a gardening novice like me can do it successfully. The easiest and quickest method to get a few strong new plants is layering. While this can be done year-round, the best times are late winter or early spring.
Contents
Choosing a Stem for Layering
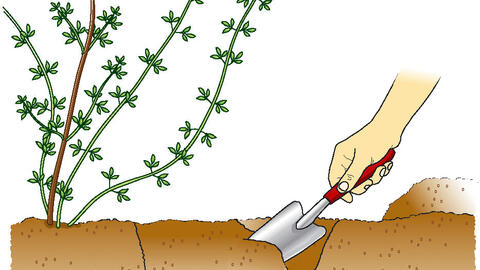
First, I select a long, healthy one- to two-year-old stem. The sturdier the stem, the stronger the new plant will be. Using a hand trowel, I dig a wide, shallow trench (no deeper than 6 inches) beneath the chosen stem.
Making the Cut
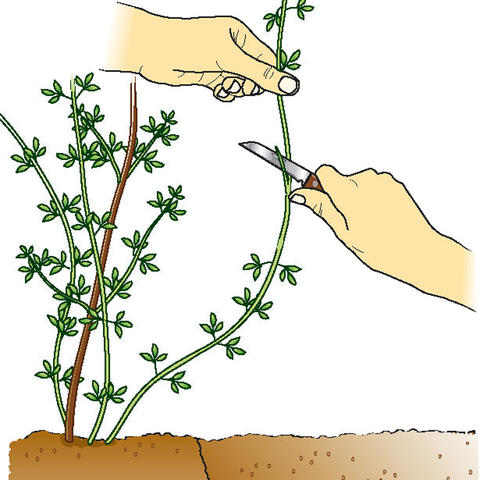
I use a sharp knife to make a small 1-inch incision on the underside of the stem section that will lie in the middle of the trench. I’m careful not to cut into the woody core. This wound cut encourages root growth: the exposed cambium layer (the tissue beneath the bark) forms callus tissue first, which then develops into new roots.
Burying the Stem
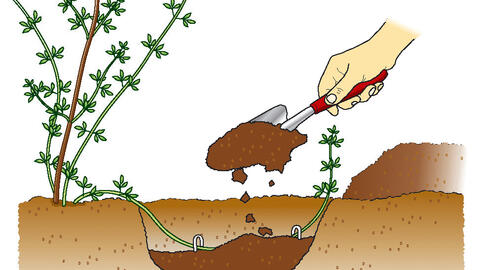
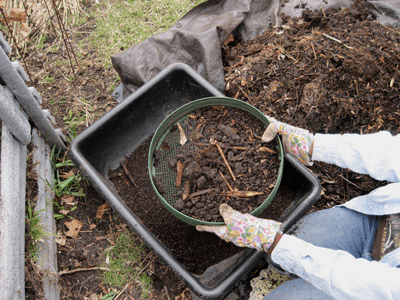
I place the wounded section of the stem into the trench and secure it with metal hooks (like tent pegs) if needed—especially useful for older, less flexible stems. I fill the trench with loose compost soil, gently firm it down, and water thoroughly.
Caring for the Layer
After burying the stem, I let nature take its course. I make sure the soil stays moist, as dryness slows root growth. By summer, roots will form at the wounded section. By fall, the new plant will have enough roots to be separated and transplanted. I simply cut the connection to the parent plant with a clean spade slice.
General Winter Jasmine Care Tips
- Pruning for Shape and Blooms
I trim my winter jasmine right after flowering (usually by late spring). Since it blooms on previous year’s growth, pruning later would risk cutting off next year’s flower buds. I remove dead or tangled stems and shorten overly long shoots to encourage bushier growth. Don’t be shy—it bounces back vigorously! - Feeding for Vigor
In early spring, I give my plants a light boost with compost or a balanced slow-release fertilizer. Winter jasmine isn’t greedy, but a little nutrition ensures lush foliage and abundant blooms. I avoid heavy nitrogen fertilizers, though—they promote leaves over flowers. - Pest Watch
Aphids sometimes visit new growth in spring. I blast them off with a hose or use a mild soap-water spray. Thankfully, deer and rabbits usually leave it alone—win! - Mulching Magic
A 2-3 inch layer of organic mulch (like shredded bark or leaf mold) around the base helps retain moisture, suppress weeds, and protect roots in temperature swings. I keep it a few inches away from the stems to avoid rot. - Leggy Plant Rescue
If my winter jasmine starts looking sparse, I tip-prune the longest stems in summer. This encourages branching and a fuller shape. For older, overgrown plants, I’ll even cut back a third of the oldest stems to the base to rejuvenate them. - Transplanting Tips
Moving an established plant? I do this in early spring or fall. I dig wide around the rootball to minimize damage, replant at the same depth, and water deeply. It might sulk for a season but rebounds with time. - Winter Prep (Even for Hardy Plants)
While winter jasmine is tough, I protect potted plants in harsh climates by wrapping containers in burlap or moving them to a sheltered spot. For in-ground plants, a fresh mulch layer after the first frost adds extra insulation. - Clean-Up Duty
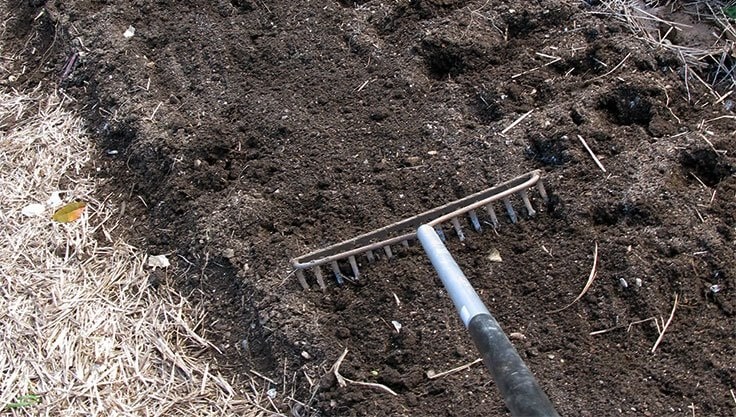
After flowering, I gently rake away fallen blooms and debris around the base. This prevents fungal issues and keeps the plant looking tidy.
With these tricks, my winter jasmine stays healthy, blooms reliably, and even survives my occasional neglect. It’s a plant that rewards small efforts with big beauty—especially when those golden flowers defy the winter grays!
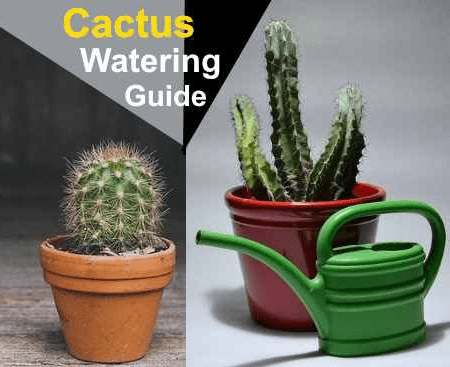
The more sun my winter jasmine gets, the more it blooms. I keep the soil consistently moist, though mature plants tolerate short dry spells. Even in winter, I don’t stop watering: if there’s no rain or snow, I give it a drink with a watering can. No winter protection is needed—it’s hardy!
Conclusion:
Propagating winter jasmine through layering has become one of my favorite gardening rituals. It’s a gentle reminder of nature’s resilience and how a little patience can yield beautiful results. Every time I see those first yellow flowers on a new plant, I’m reminded why this process is worth the small effort. If you give it a try, you’ll likely find, like I did, that winter jasmine isn’t just a plant—it’s a gift that keeps on giving, year after frosty year. And the best part? Once those roots take hold, you’ll have a hardy, blooming treasure to cherish or pass along. Happy gardening!

