Worm composting – also called mite composting – refers to the recycling of organic kitchen waste with the help of compost worms. A population of different worms, fungi, bacteria and protozoa decompose the fruit and vegetable waste, producing valuable compost and liquid fertilizer. The great thing is that worm composting is an aerobic process – there are hardly any unpleasant odors in the worm composter.
Contents
- 1 The different types of worm composters
- 2 Level composters require little space
- 3 Flat composters need a lot of space
- 4 Your own worm composter
- 5 The inhabitants in the worm composter
- 6 The compost worms
- 7 Where to find the right compost worms?
- 8 A home-made worm bin
- 9 Material
- 10 Drill air holes
- 11 Size
- 12 Location and arrangement of the worm bin
- 13 The compost harvest
- 14 Use and care: 4 golden rules for the worm composter at home
- 15 Keep moist
- 16 Observe temperature
- 17 Control pH-value
- 18 Regular balanced feeding
- 19 What can be put into the worm composter
- 20 Fruits and vegetables
- 21 Green food
- 22 Coffee and tea
- 23 Paper waste
- 24 Egg shells
- 25 A practical tip for the kitchen
- 26 What not to put in the worm composter
- 27 caution with animal manure
- 28 Author
The different types of worm composters
In addition to huge commercial worm composter plants operating in many countries, countless private individuals – especially in rural areas – have compost piles to rot their own organic garden and kitchen waste into high-quality bio-fertilizer. Generally, there are two types of worm composting: in a level composter and in a flat composter.
Level composters require little space
As the name suggests, this worm composter composts on several levels. At the bottom sits a collection container that collects the leachate that is produced during composting – an excellent liquid fertilizer. The (usually three)different levels are gradually filled with compost material. The bottom of each level has holes in it, and the worms can move from one level to another. In this way, the compost inhabitants always find fresh waste.
The already finished worm humus is easily removed from the bottom, and fresh compost material is filled into the worm composter at the top. The emptied tier is always placed back on top. As soon as the worms have finished decomposing the waste on one level, they move up to the fresh waste. Therefore, hardly any worms are disposed of when compost is harvested from the bottom. Level composters are easy to find in stores and have the advantage of taking up little space.
Flat composters need a lot of space
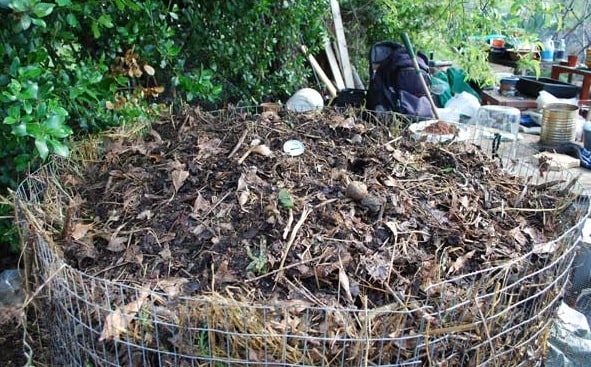
If you have large amounts of organic waste and also want to utilize horse manure, choose aerobic flat composting with compost worms. If the compost material is spread over a large area and thinly (maximum 60 cm), the temperature during decomposition remains sufficiently low for the heat-sensitive compost worms. Unpleasant odors are avoided, but the disadvantage is that a lot of outdoor space is needed for shallow composting.
The outside walls of this composting system can be made from concrete slabs or wood itself. Since compost worms are sensitive to frost, the flat composter should be covered with cardboard or straw during the cold season. Compost worms love the dark and too much UV light can inhibit reproduction or kill the worms. The flat composter must also be secured against moles, voles or birds with wood or wire mesh.
Your own worm composter
While not everyone has enough space for a flat composter on their property, the low-maintenance level composter even fits on the balcony of a city apartment. An uncomplicated alternative for fans of worm composting is also a plain worm bin. Ready-made worm bins are available in garden centers or specialist markets for agricultural supplies – or from an appropriate Internet mail order company. Of course, you can also build your own worm bin.
Here is some information and tips worth knowing about the worm composter – also as a suggestion for your own household. Have fun reading!
The inhabitants in the worm composter

Many different creatures live and work together in a worm composter to create the valuable nutrient-rich worm humus. Some are so small they can’t even be seen with the naked eye. But these bacterial species, fungi and protozoa are just as important as the species that gave the worm composter its name: compost worms from the earthworm family.
The compost population also includes springtails, various species of soil mites, and small white annelids from the enchyte family. Centipedes, on the other hand, which consume the worm offspring, have no place in a worm composter and must be removed.
The compost worms
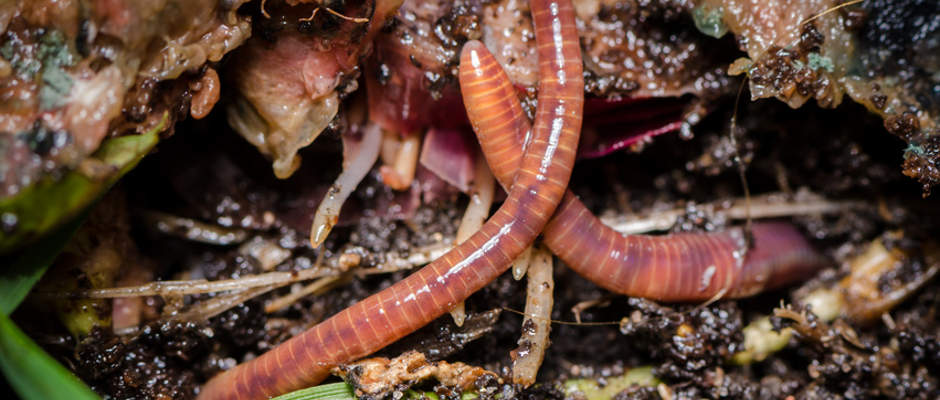
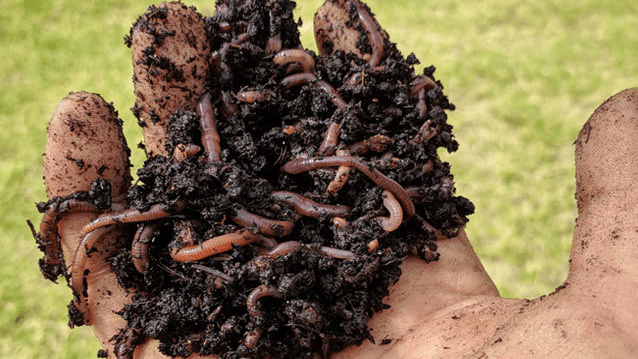
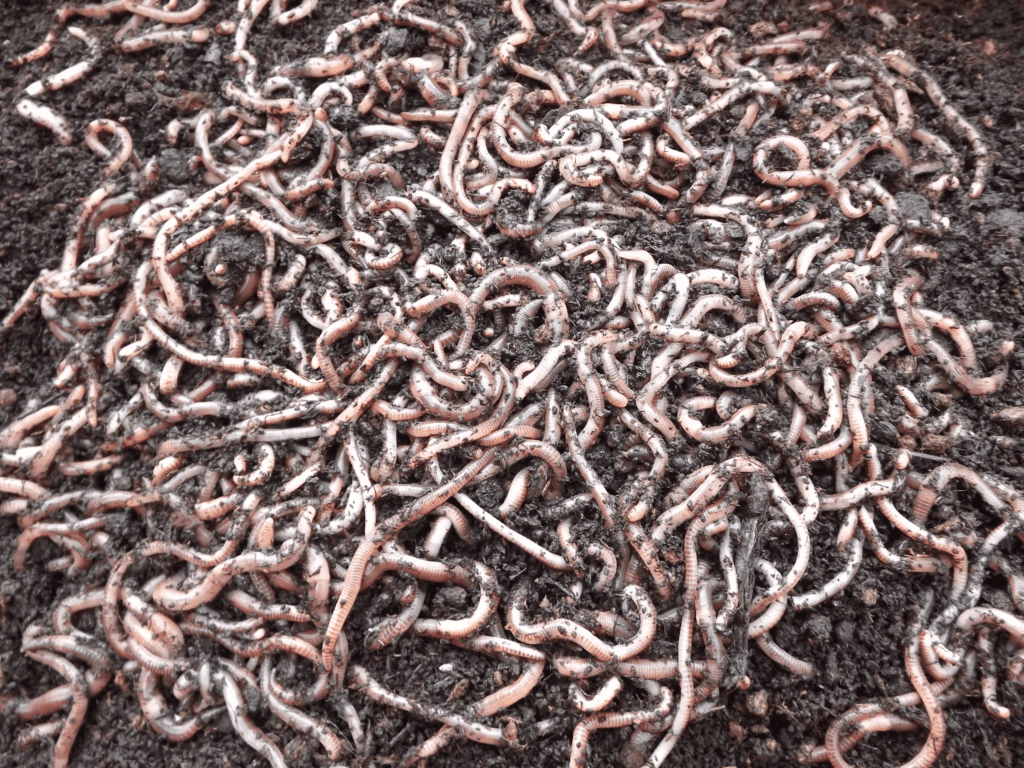
The most common compost worms are called “Eisenia fetida”. They grow to about 10 cm long and are reddish with a yellow tail tip. Other worm species that work well for compost are the reddish “Eisenia andrei” and the red giant red worm “Eisenia hortensis”. The latter is slightly larger and longer and easily eats paper and cardboard.
Compost worms, also called dung worms or stink worms, colonize the upper soil layers; there they find enough organic material to feed on, such as leaves or plant residues. An adult compost worm is always hungry and can eat half its body weight in a day. Compost worms feel most comfortable at 20 to 25°C; they cannot tolerate hot temperatures above 30°C.
Where to find the right compost worms?
The appropriate worm species for composting are bred in worm farms and can be purchased in specialized shops or online. Often, local garden clubs know the best local sources. When shipped online, the compost worms travel in small boxes or bags that are worm-proofed with some soil. To start a worm composter, about half a pound of worms is needed.
A home-made worm bin
The ideal worm bin is solid, closed all around and permeable to air.
Material
It is easy to nail a box together yourself from inexpensive, untreated wood. The advantage of wood is its air permeability. Although wood is not very durable, but afterwards again organically recyclable. Even old car tires stacked on top of each other can be used to make a sturdy, long-lasting worm composter. And galvanized tubs are a bit more expensive, but extremely sturdy and long-lasting. An inexpensive and good temporary solution is a worm composter made of plastic, for example in the form of a plastic bucket from the hardware store.
Drill air holes
For sufficient ventilation, drill 3 mm holes in the side walls and bottom of the worm bin. The lower 10 cm of the side walls are left blank. By the way, this applies to all materials. Natural wood is breathable, but the holes in the bottom are needed to obtain the liquid humus – the box is simply placed on legs or blocks, and a tray is placed underneath.
Size
Everyone can choose the size of his worm composter at will or space. The only thing is that the worm bin for compost worms should not be deeper than 60 cm. Good to know: On only 10 cm² can live up to half a kilogram of worms. Worm boxes with a viewing window are also nice; especially in kindergartens and schools, the composting process including humus formation can be observed live.
Location and arrangement of the worm bin
Compost worms do not tolerate excessive heat. Therefore, the ideal location for the worm composter is a cool, shady place. Compost worms feel comfortable in the basement, garage or even outside on the balcony. To create a comfortable home for the worms, a bed of soaked corrugated cardboard strips, egg cartons or newspaper shreds is placed at the bottom of the worm bin. Straw or hay is also suitable, so the worms get enough fiber and the worm composter is well ventilated. On top of this comes a layer of soil, then everything is thoroughly moistened.
The compost harvest
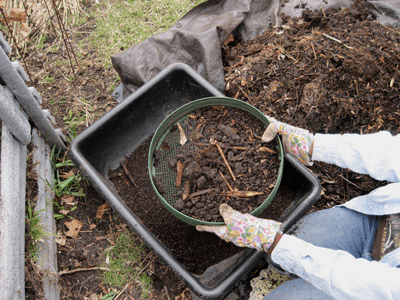
After about 3-6 months, so much worm compost has formed that it can be removed from the worm composter – it is “harvested”. Usually a few worms are discarded in the process, which is not a bad thing; they multiply quickly. Those who need continuous compost can also run two worm bin composters. Once the first box is filled, the next one is started. In this way, humus that has already been composted can be taken from the first box and the waste that has not yet decomposed can be packed into the second, a bit like the level composter.
If you only use one worm bin, after a while you simply move the waste to one side and fill the empty half with fresh fruit and vegetable scraps. The worm population soon helps itself to the new half. When this is also full, the first half with the mature worm humus is no longer moistened. After some time, the worms leave the dried out side. The mature, almost worm-free worm humus can be removed. Liquid fertilizer can also be used in a worm bin if a tray under the bin collects the liquid. If the box stands a little elevated, ants are prevented from finding their way into the worm composter at the same time.
Use and care: 4 golden rules for the worm composter at home
Under ideal living conditions in the worm composter – sufficient moisture, proper temperature, neutral pH and regular feeding – the compost inhabitants thrive excellently. Therefore, the number of microorganisms and small organisms in a worm composter is also much more concentrated than in normal garden soil. By the way, when rotting, the volume of kitchen scraps shrinks quite impressively. This is due to the fact that vegetable scraps, as plant parts, contain mainly water and nitrogen. From 10 l of original material, you get a maximum of 2 l of worm humus.
Keep moist
The most important thing is to keep the worm composter permanently moist. All compost inhabitants need moisture, and the microorganisms need a film of water to move around. The best way to do this is to spread a damp-wet mat of felt or hemp over the entire composter box and spray the surface with water every other day.
Favorable side effect: the annoying fruit flies are kept away and mold growth is prevented. A thin protective layer of fresh soil may also be placed over the material to be composted.
Observe temperature
The ideal temperature for a worm composter is 20°C, a common room temperature. This value (also called cold rot) is optimal for the activity of the compost inhabitants. If the temperature drops below 0°C or rises above 30°C permanently, the worms and microorganisms will perish.
Control pH-value
The pH value in the worm composter should be between 5 and 7, which is best for the worms. The rotting process can cause over-acidification, so it is important to check the pH regularly. You can get a test kit in a pharmacy or specialized trade, against overacidification special lime preparations from the garden center help.
Regular balanced feeding
In the beginning, it is sufficient to feed the newly arrived compost worms once a week with small portions of vegetable and fruit waste. Once they have multiplied, the worm composter residents will manage more than one liter of organic waste per 0.10m² every week. In general, all waste should be shredded and slightly moistened before being put into the worm composter. To make it easier for the worms to do their work and to prevent fruit flies, kitchen waste is best mixed in with the worm bed. About once a month, fiber material such as cardboard, hay or newspaper shreds should also be added.
Caution:
If the compost worms are overfed, the worm composter may smell unpleasant. A dangerous side effect of such overfeeding is also excessive heating of the worm bed, which causes the worms to die.
What can be put into the worm composter
Fruits and vegetables
Fruit and vegetable scraps are the classic ingredients for a worm composter. Finely ground grains, such as in oatmeal or More, also compost well; it’s best to moisten them first.
Green food
Garden waste and green clippings such as grass and clover increase the nitrogen content in the worm composter. Red carrot or beet leaves or discarded lettuce leaves also compost well.
Coffee and tea
If the filters are unbleached, the entire used coffee filter can go into the worm composter. Used tea bags are also compostable – of course, any metal staples should be sorted out first.
Paper waste
Dampened paper or cardboard may also be put into the worm composter, as long as it does not contain any heavy metals. Care should be taken with color-printed or glossy paper. Egg cartons or pizza boxes should be soaked and squeezed out for a day before adding them to the worm composter. Brown foods in particular increase the carbon and phosphate content of the worm humus, a desirable aspect. So, in addition to paper and cardboard, leaves and bread can be added to the worm composter.
Egg shells
The shells of raw eggs can also be added to the compost, preferably ground into small pieces. With their high calcium carbonate content (eggshells consist of 90 percent carbonic lime), they do not dissolve easily.
A practical tip for the kitchen
Since the worm composter will rarely be located directly in the kitchen, it is advisable to provide a collection container directly in the place where the compostable waste is generated: in the kitchen. This ensures that even small things like the apple peel in between or the parsley stalk left over from seasoning do not end up in the residual waste.
A good idea is a small compost bin with an airtight lid that keeps fruit flies out and traps odors. At the latest, when the compost bucket is full, everything ends up in the worm composter and the inside insert of the bucket is quickly cleaned.
What not to put in the worm composter
Beware of envelopes with a viewing window – this is made of plastic film. Worms do not like plastics. Ash, bones, meat and fish scraps, cheese and other dairy products, sausage, fat and the remains of cooked food also do not belong in the worm composter; this also applies to used cat litter, diapers or pet feces. Also to be avoided are leaves of conifers, laurel or eucalyptus, which are toxic to worms.
If garden waste or plant parts are infested with pests or diseased, they should be sealed in a bag and disposed of with household waste. Citrus fruits and rhubarb should be used sparingly because of their high acid content; care should also be taken with banana peels, which are often sprayed. In general, any plant parts containing pesticides, fungicides or herbicides must be disposed of elsewhere.
caution with animal manure
Already composted cow or horse manure is a treat for worm composter residents. However, this manure should be buried at least 8 inches deep. Fresh cow dung should not be placed in the worm composter – apart from possible pathogens, it will overheat the composter and kill the worms.

