You want to fertilize your plants ecologically and sustainably and ask yourself: how to make fertilizer from banana peels?
Very good, because in this article you will find exactly what you want to know:
a simple, step-by-step guide on how to make your own liquid or solid fertilizer from banana peels.

Fertilizer from banana peels you can easily make yourself. On the one hand, you can make solid fertilizer (similar to fertilizer sticks) by crushing and drying the banana peels. On the other hand, you can boil the crushed peels, let it brew for at least 12h and use the brew diluted with water as a liquid fertilizer.
Instructions: how to make your own fertilizer from banana peels
For fertilizer from banana peels you should use only organic or Demeter bananas, because these are not treated with fungicides like conventional bananas.
Organic bananas decompose more quickly in the garden because the peel is not preserved by sprays, and furthermore, when using organic bananas, no unwanted chemical substances enter the garden.
Furthermore, if you want to know more about the effect of banana peels as fertilizer and which plants can be fertilized with banana peels, check here.
In total, there are three different ways how to make fertilizer from banana peel itself.
- Solid fertilizer from banana peels
- Liquid fertilizer from banana peels
- Indirect fertilizing with banana peels
For each of these types, below you will find step-by-step instructions that will help you make fertilizer from banana peels.
Contents
Making solid fertilizer from banana peels
To use banana peels as a solid fertilizer, you only need to follow 4 steps:
Step 1
Chop the banana peels
You should shred the peels as much as possible, because this increases their surface area and the pieces decompose faster in the soil.
You can either do this the classic way with a knife or you can use a Thermomix or a universal shredder*.
The advantage of the universal shredder is that it cuts the banana peels much finer than is possible by hand.

Chop banana peels with blender

Left: crushed with a blender; Right: crushed with a knife

Chop banana peel with knife
Step 2
Dry the peels
Now the banana peel pieces must be dried in an airy place, preferably laid out on a plate, platter or grid.
In summer, when the sun is shining and temperatures are high, this is of course faster than in spring or towards autumn.
Another alternative to drying outdoors is to use the heat of the oven if you’re baking something anyway, for example.
Don’t worry if the banana peels turn dark or black as they dry. This simply indicates the decomposition process has already begun.

Air dry banana peels

Dry banana peels in the oven

Dried banana peels
Step 3
Use dried banana peel pieces as fertilizer
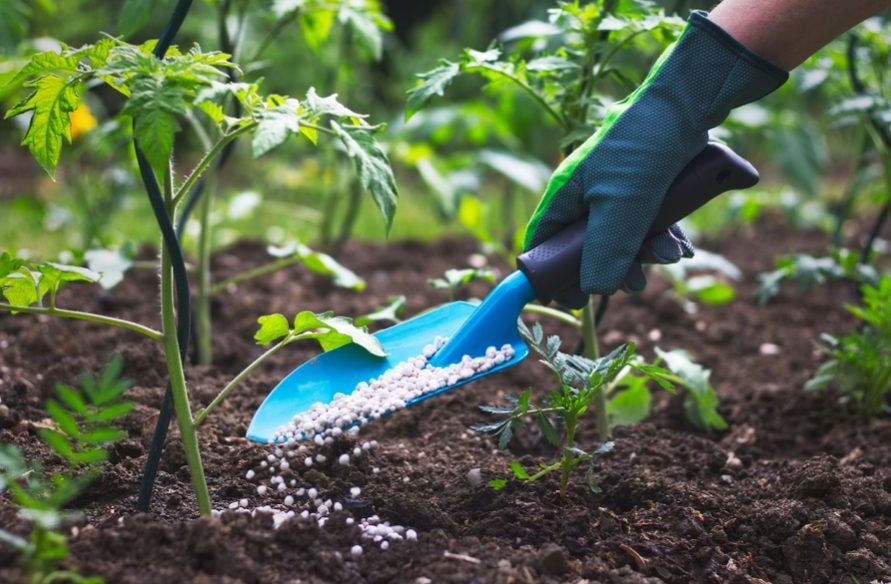
On the one hand, you can easily work the dried peel pieces into the soil when planting young plants or during the year in the beds, preferably near the roots.
Make sure the pieces are really in the soil and not on the surface. That way you’ll make sure they decompose faster and the potassium gets to the roots faster.
On the other hand, the shell pieces can also be used as mulch in the spring, preferably added to bark mulch, leaves, or grass clippings.
Step 4
Store remaining shell pieces
If you have chopped up and dried more peel pieces than you want to use for fertilizer initially, it is best to store the dried pieces in a jar or open bag.
From experience, jam jars (like these classic ones with the red and white checkered lids*) or even old cucumber jars work very well. But do not close the jar completely, so that possible residual moisture can escape.
Make liquid fertilizer from banana peels
Alternatively, you can use organic or Demeter banana peels as a liquid fertilizer, which you can make in just three steps:
Step 1
Grind the peels
Also with this variant you should first crush the banana peels. This increases the surface area, which allows more nutrients to escape from the peels more quickly when making the brew.
You can shred the peels with a sharp knife, but you can also use a Thermomix or a universal shredder (like this one from Bosch*).
Step 2
Make the banana peel decoction
You don’t have to dry the chopped peels this time, they can be boiled directly with hot water.
To do this, use 1 liter of water for 100 grams of peel. An average banana peel weighs about 50 grams fresh. So for one liter of water you can use 2 normal sized banana peels.
Let the peel brew for at least 12 hours, for example from the evening before until the next afternoon.

Step 3
Mix the banana peel water and apply it
After pulling, you can drain the boiled peel pieces and then simply dispose of them in the compost.
You should first mix the decoction with water in a ratio of 1:5, so to your liter of banana peel decoction you should add about 5 liters of water. You can easily use rainwater for this purpose.
It is recommended to make the mixture directly in a large watering can. If you don’t have such a big watering can at hand, you can of course use a smaller one. It is only important that the mixing ratio remains the same.
So, if you take only a quarter liter (250 ml) of the banana peel broth, you need to add 1.25 liters of water. Half a liter (500 ml) of the brew must be diluted with 2.5 liters of water.
Indirect fertilization with banana peels
Another alternative is indirect fertilization with banana peels. This is probably the simplest alternative that doesn’t require much instruction.
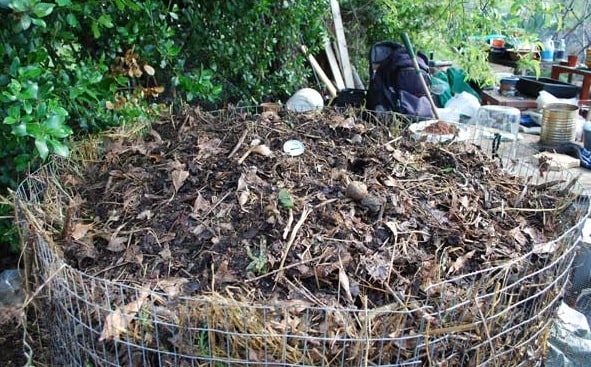
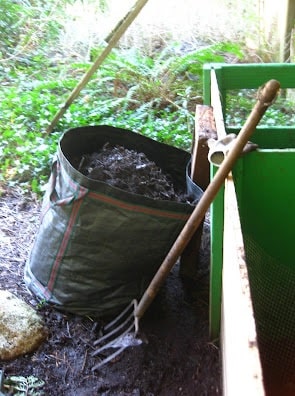
Because indirect fertilizing with banana peels simply means that you spread shredded banana peels on the compost.
This is an indirect method, because through the finished humus, the nutrients end up in the beds and thus to the plants, but they are not fertilized directly.
Since banana peels take 1-3 years to decompose, it is also recommended to shred the peels before composting with this method. The smaller the pieces of peel, the faster they will rot in the compost and release nutrients.
So as long as you use organic or Demeter bananas there is no problem disposing of them in the compost. Check here if you also want to know what else you can and can’t dispose of in the compost.
Advantages and disadvantages of liquid fertilizer, solid fertilizer or indirect fertilization with banana peels
Now that you know all three ways to make your own fertilizer from banana peels, you may be wondering which alternative is the best?
For this, let’s take a look at the advantages and disadvantages of the different ways of fertilizing with banana peels:
Banana peels as solid fertilizer | Banana peels as liquid fertilizer | Indirect fertilization with banana peels through the compost | |
|---|---|---|---|
| Advantages | Easy to make Can be made in stock (dry shells are easy to store) Direct fertilization, as the shells can be applied very close to the roots | Easy spreading by casting Larger quantities can be produced The boiled banana peels end up on the compost where they release the remaining nutrients | Very easy, as (crushed) shells are simply disposed of in the compost |
| Disadvantages | Elaborate, as the shell pieces have to be worked into the soil Many shells necessary Depending on size, shells take a long time to fully decompose | Somewhat more complex production Somewhat weaker effect, as never all minerals from the shells end up in the brew | Weakened effect, as minerals only act indirectly via humus and not specifically on individual plants Depending on size, shells take a long time to decompose completely |
It is certainly advisable that you try every alternative for fertilizing with bananas once. With the step-by-step instructions for making fertilizer from banana peels, this should not be a problem.
And that way you can decide for yourself which method works best or which method you get along with best.
Personally, I prefer using banana peels as a liquid fertilizer, that is, making banana peel brew. Why?
With this method, I kill two birds with one stone: first, making and spreading it is very easy and I don’t have small pieces of banana scattered in my beds. Second, the cooked pieces end up in my compost where they can rot. So I use as much as possible all the minerals from the peels once through the decoction and once on the compost.


