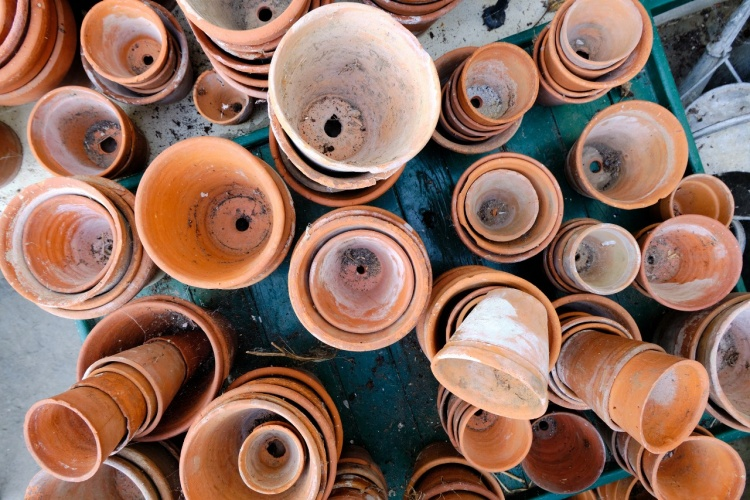
Terracotta pots are visually superior to vessels made of plastic. Unfortunately, over time, they acquire a patina – but this can be prevented.
Terracotta pots can be a beautiful addition to any garden or outdoor space. But, like all things, they require proper care and maintenance in order to keep them looking their best. In this article, we’ll explore the best ways to clean and care for terracotta pots so that they stay looking great for years to come. We’ll discuss the right cleaning materials and techniques, as well as tips for proper storage and protection from the elements. With these simple steps, you can ensure that your terracotta pots remain in top condition for many years to come.

The grayish-white lime efflorescence on terracotta pots comes from the lime dissolved in the water that evaporates through the fine pores in the fired but unglazed clay. If the pot also stands in cool, damp shade, green coatings of algae and other microorganisms follow soon after.
While some are happy about the vintage look and even promote the growth with a layer of yogurt or buttermilk, this patina finds little enthusiasm with others. Either way, however, you can remove the patina quite easily.
Terracotta pots are popular for gardening due to their natural, rustic appearance. Properly cleaning and caring for these pots helps maintain their appearance and longevity while ensuring a healthy environment for your plants. Here’s a step-by-step guide on how to clean and care for terracotta pots:
Contents
Cleaning Terracotta Pots:
Materials You’ll Need:
- Dirty terracotta pots
- Stiff brush or scrubbing brush
- Mild dish soap
- Water
- Bucket or basin
- Bleach (optional)
- Vinegar (optional)
Step-by-Step Cleaning:
- Empty the Pot: If the pot has plants in it, carefully remove the plant, being gentle with the roots. Place the plant in a temporary container.
- Remove Excess Soil: Use a brush or your hands to remove as much of the old soil as possible from the pot. Be gentle to avoid damaging the pot.
- Soak the Pot: Fill a bucket or basin with warm water and add a small amount of mild dish soap. Place the dirty pot in the soapy water and let it soak for at least 30 minutes. This helps soften and loosen any remaining soil and grime.
- Scrub the Pot: After soaking, use a stiff brush to scrub the inside and outside of the pot. Pay particular attention to areas with stubborn deposits. If needed, you can use a mixture of equal parts water and vinegar or water and bleach (1:10) for tougher stains. Be sure to rinse thoroughly after using vinegar or bleach.
- Rinse Well: Rinse the terracotta pot thoroughly with clean water to remove any soap or cleaning solutions.
- Air Dry: Allow the pot to air dry completely before repotting your plant. Ensure it’s completely dry to prevent potential mold or mildew growth.
Caring for Terracotta Pots:
- Prevent Overwatering: Terracotta is porous, which means it allows water to evaporate through the pot’s walls. While this can be beneficial for some plants, it can lead to quicker soil drying. Be mindful of watering and adjust your watering schedule accordingly.
- Seal the Inside (Optional): To reduce water loss through the pot’s walls, you can seal the inside with a waterproof sealant. Be sure to use a product suitable for use with terracotta.
- Store Indoors in Winter: If you experience freezing temperatures in your area, store your terracotta pots indoors during the winter. Terracotta can crack when exposed to freezing temperatures due to water expanding as it freezes.
- Repot Periodically: Over time, terracotta pots can develop salt deposits or mineral buildup on the surface. If this occurs, gently scrape off the deposits with a brush or replace the pot.
- Protect from Extreme Heat: In hot climates, terracotta pots can absorb and radiate heat, which may harm the roots of some plants. Move pots to shaded areas during extreme heat or use saucers to create a barrier between the pot and the ground.
- Replant with Fresh Soil: When repotting, use fresh potting soil. Over time, soil in terracotta pots can become compacted and less fertile, so it’s beneficial to replenish it.
Terracotta pots can add a charming and natural element to your garden, and with proper care and maintenance, they can last for many years. Regular cleaning and mindful care will help your terracotta pots remain both functional and visually appealing.
Caution, frost!
Since the impregnation closes the pores in the clay, vessels treated in this way are also largely frost-resistant. If an open-pored clay pot soaks up water in winter and it subsequently freezes, the water expands and cracks the vessel. This can be prevented with good water drainage, for example by placing the pot on tub feet, and a drainage layer in the container.
It is also helpful to water only on frost-free days and to place the pot against the house wall. There it is better protected from rain and cold. It is best, however, to use high-quality terracotta fired at more than 1,000 °C. This is particularly fine-pored and should be used only on frost-free days. This is particularly fine-pored and should therefore be frost-resistant.

