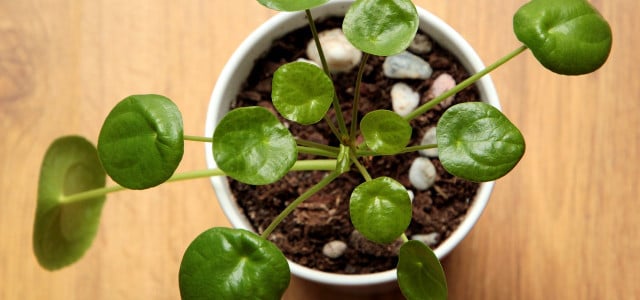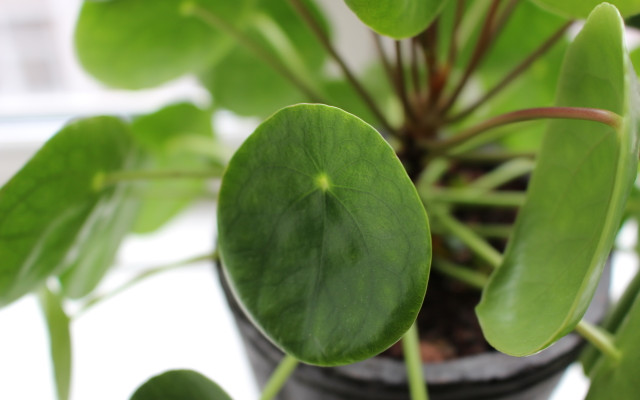
The Pilea is a popular ornamental and houseplant with its valley-shaped leaves. In this article we will show you how to plant and care for the pilea properly.
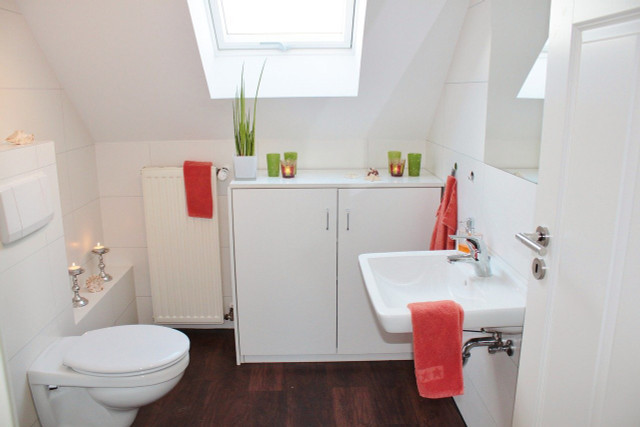
The pilea is also known by the names ufo plant, Chinese money tree, belly button plant, lucky thaler and pancake plant. In our latitudes, this rare ornamental plant from China is mainly cultivated as a houseplant. Because it needs high humidity to thrive, the Pilea is also very suitable as a plant for the bathroom. With a few tips, you can easily plant and care for this pretty ufo plant, even as a beginner.
How to plant the Pilea correctly

You can often find pileas in garden supply stores. If you want to plant a young plant in a pot, you should be very careful, because the pilea has a weak root system. With the following tips, nothing can go wrong when planting:
- The right soil: If you want to plant a pilea, you can put it in conventional houseplant soil. But make sure that the soil contains a lot of humus. It is also important that you only use well-drained soil to avoid waterlogging later. If the soil seems very firm, you can mix it with some sand in a separate container beforehand.
- The right location: The Pilea comes from Southeast Asia and therefore needs a lot of humidity. Therefore, you can also place it well in a bright bathroom. Ideal for them is a bright to semi-shaded place in your home, which is protected from full sun. Because the pilea is strongly oriented to the sun, you need to turn it occasionally.
Planting Pilea correctly: If you want to replant or repot the Pilea, you must be very careful not to damage the tender roots.
- Choose a shallow planter as the pilea roots very shallowly.
- Place a few shards of clay in the bottom of the container. They will later serve as a drainage layer through which excess water can better run off.
- Now fill a thin layer of humus-containing houseplant soil into the container.
- Carefully insert the pilea and fill the container with the remaining soil.
- Finally, water the soil generously.
Did you know? The Pilea is not only pretty to look at, it can also improve your indoor air through its air-purifying effect.
The right care for the Pilea

The Pilea is actually a very low-maintenance houseplant. Only when watering you have to be a little more careful, because the ufo plant does not tolerate waterlogging very well. With the following tips, you won’t go wrong when caring for your Pilea.
- Watering: If you water your Pilea too often, waterlogging can quickly develop in the pot. Before watering, you should therefore always test with your finger whether the top layer of soil has already dried slightly. It is best to water the houseplant only with rainwater. Also, be careful not to water the leaves of the pilea, because black spots can form on them.
- Fertilize: From April to September, you can support the Pilea every two weeks with some liquid fertilizer. It is best to use organic fertilizer, which you can simply add to the water.
- Wintering: In winter, you should place the Pilea in a cool place where the temperature is between 10 and 14 degrees Celsius. It does not tolerate heated air. Water the plant only a little during this time so that the root ball does not dry out. You can completely do without fertilizer in the winter.
Propagation: The easiest way to propagate Pilea is to take cuttings. The best time to do this is in April or May. Even when your plant gets older and grows less, you can use cuttings to grow new plants from it.
- Cut off a few shoot tips about seven inches long.
- Remove the lower leaves from the shoots.
- Fill a shallow planter with a mixture of sand and peat.
- Now put the cutting into the sand-peat mixture.
- Now place a large glass jar over the container. Periodically lift it slightly to provide fresh air.
- Now place the container in a bright place without direct sunlight and with temperatures between 15 and 25 degrees Celsius.
- Keep the soil evenly slightly moist for the next few weeks.
After two to three weeks, the cuttings will form roots. If the root system is strong enough, you can plant the cuttings individually in shallow planting trays.

