Last updated on October 23rd, 2023 at 08:39 pm
Planting okra is also possible in Europe under the right circumstances. We show you how to grow, care for and harvest the delicious pods.
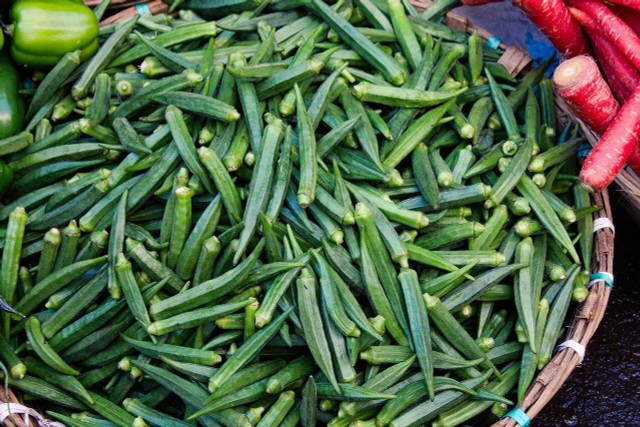
Okra is a heat-loving vegetable that originated in Ethiopia. Okra pods are a staple in the cuisine of several African and Asian countries. But they also play a role in Southern cooking in the United States, for example as an ingredient in the traditional gumbo stew. Because they are used to warm temperatures, they are difficult to grow in Europe. In principle, however, you can plant and harvest okra in this country as well.
Contents
Plant okra: Best in a greenhouse
in most some regions it is only possible to grow okra in a greenhouse. The only exceptions are some particularly warm regions, for example the Rhine valley. If you live in a wine-growing region, it might also be possible to grow okra in a tub instead of a greenhouse. The prerequisite for this is a sunny, warm and protected location.
Before you try to cultivate okra outside of a greenhouse, however, it is better to seek advice from a local specialty store. There you can also get the necessary seeds in the spring. Sometimes okra seeds are sold in this country under the name “vegetable marshmallow”.
If you want to plant okra successfully, the right soil quality is also important. Both in the greenhouse and in the tub, the soil should be loose, well-drained and nutrient-rich, with a high humus content.
From the beginning of April you can preplant the okra.
- First soak the seeds in lukewarm water for 24 hours.
- Then sow them in small pots with growing soil. Plant the seeds about one centimeter deep in the soil, cover them and moisten the soil well.
- For the seeds to germinate, they need constant temperatures between 22 and 25 degrees. It is best to place the seed pots on a windowsill.
- Within ten days, the first germs should appear. Let them grow for another week and then separate them.
Planting okra
You can plant the pre-pulled seedlings in the bed from mid-May onwards. Proceed as follows:
- First loosen the bed and remove weeds. Work some compost into the soil to increase the nutrient content.
- Then dig planting holes large enough to accommodate the root ball of the seedlings. The individual planting holes should be spaced 30 centimeters apart. If you are planting multiple rows, the distance between each row should be 90 centimeters.
- Then carefully release the seedlings from the seedling pots and place them in the planting holes.
- Gently press the soil around the edge of the holes and water the okra plants well.
The right care for okra plants

You need to take good care of okra plants so that they can thrive:
- The most important thing is that you water them regularly and sufficiently, because okra is very sensitive to drought. The soil should therefore never dry out completely. On hot summer days you can even water the okra plants daily, preferably always in the early morning.
- In addition, okra needs a lot of nutrients to develop its pods. To help them do this, you should fertilize them at least three times during the summer: Once before planting, once after flowering, and once after you harvest the first pods. Better yet, provide them with some fertilizer weekly. It’s best to use compost or another organic slow-release fertilizer for this purpose.
- With proper care, okra plants will begin to flower in July. If you have planted the seedlings in mid-May, you should be able to harvest the first pods in July. As a rule of thumb, there is an average of two months between planting and the first harvest.
Harvesting and propagating okra pods
When the first pods appear on the okra plants, you should not harvest them immediately, but wait until they have reached a length of eight to ten centimeters.
- To harvest, use a very sharp knife and cut the okra pods just below the stem. This will allow new pods to form throughout the summer.
- It’s best to wear gloves when harvesting so you don’t cut yourself or injure yourself on the plant’s prickly hairs.
- Towards the end of the summer, okra plants fade. After the flowering fades, you can harvest the last pods for about two more weeks.
- Although they are edible raw, they taste best cooked or boiled.
- Okra plants are annuals. If you want to grow okra pods again the following year, you can let some pods mature on the plant and then let them dry out. Harvest them only when the pods open on their own and then carefully remove the seeds. Let them air dry and store them in a cool, dry place until spring. From April you can use them again for growing.


