Growing fresh microgreens, herbs and sprouts is accessible to everyone, with very little effort. Plus, growing these superfoods can save you a lot of money! Follow our instructions!
Growing plants gives us a real sense of satisfaction and provides us with delicious, healthy food in the shortest possible way! As with any hobby, the trick is to start small and encourage the whole family to participate. Live in an apartment or the weather outside is awful? Here are three types of crops that are easy to do in any situation.
Growing fresh microgreens, herbs and sprouts is accessible to anyone, even with no experience and very little effort. Plus, growing these superfoods can save you a lot of money. Follow our instructions!
Sprouts in the house
Micro sprouts are seeds in their first days of germination. They are tasty, very fresh and extremely healthy. And it doesn’t get any faster than this: some go from seed to ready-to-eat in less than 5 days. Sprouts are so quick and easy to grow that even those who don’t have a green thumb could start without any embarrassment: growing them is more like cooking than gardening.
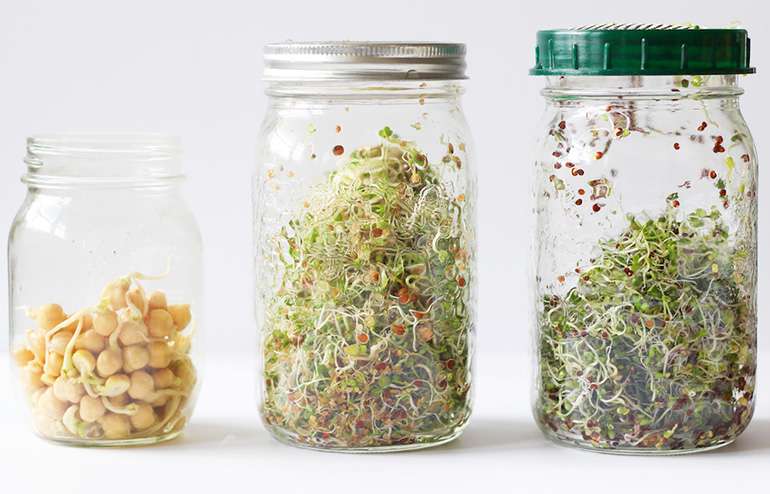
Sprouted seeds provide enzymes, chlorophyll and essential nutrients, produced right on the windowsill, even in the dead of winter. Although they require a small amount of daily care, they are much less expensive than those you’ll find in most grocery stores.
To get started, you must first obtain seeds and make sure they are specifically “sprouted seeds”. There are many different varieties and flavors. While all are healthy, some varieties can be quite bland, bitter or spicy; radish, arugula and mustard seeds, for example, will have a strong taste.
Although sprouts are available for bulk purchase in some stores, beginners can do better with packaged products, which contain helpful annotations. You can also find them online.
How to grow sprouts at home
Once you’ve got the seeds, setting up the crop is very simple. Here’s the ideal setup: a small countertop spot by a window and a Masson pot. As your sprouts and interest grow, you can accessorize your production kit if you wish. Here are the steps:
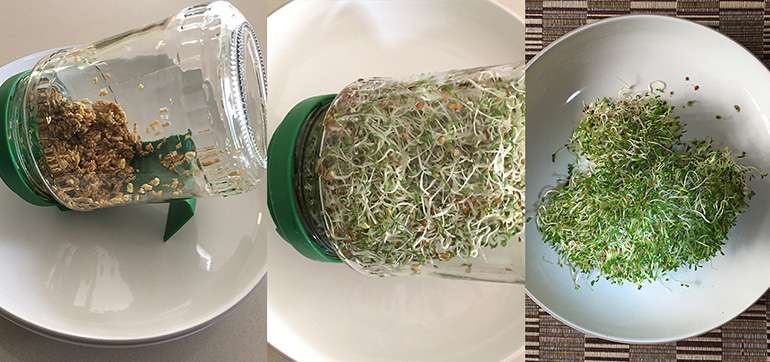
- Put about 2 or 3 tablespoons of seeds in a jar, mix with a cup or two of water. Cover the mouth of the jar with perforated plastic wrap or a piece of cheesecloth held together with a rubber band; this will help with drainage, but will not let the seeds out. A small sieve can also be used for drainage.
- Let the mixture soak for at least 6-8 hours, or overnight.
- Drain the seeds, pour in fresh water, swirl slightly, and drain again.
- Place the pot, with a slight downward angle so that there is no accumulation of water at the bottom.
- Before the seeds germinate, it is best to keep them in the dark. You could place the container in a cabinet, but the old adage is true; out of sight, out of mind. It will be wiser for the beginner to leave the pot on a counter and cover it with a thick cloth or towel, so it won’t be forgotten.
- Re-soak and drain it morning and night to keep it moist. Once you see the beginnings of a growth form, you can let them see the light. That’s how it happens in nature – a seed in soil where it’s moist and dark starts to sprout, then it wants sunlight.
- Continue your soaking program twice a day for about 3-5 days, at which point you will have a pot full of thick green sprouts ready to eat. (If you prefer white sprouts, make sure they stay hidden in the dark after each rinse).
- Uneaten sprouts can be stored, well drained, in the refrigerator for a few days.
Assuming you like to have the luxury of eating fresh, nutritious food every day with minimal effort (and that doesn’t take up space in the fridge), it’s great to have a few jars in rotation, at different stages of production. They will provide you with a daily supply.

Growing sprouts at home
Micro sprouts are the first shoots of leafy greens or vegetables that we normally grow and eat; the difference being that they are harvested before the plant matures. Some plants may come from the same seed as the sprouts that grow on the windowsill; the difference being that they are sown in the soil rather than exploiting only moisture and light to grow.
When harvesting, you won’t eat all of the seeds and plants, as you would with sprouts. Instead, as a general rule, you’ll leave the root structure in place and simply trim some greenery with scissors about a month after germination, when the plants are only 2 inches tall.
Microgreens are high in fiber and have a higher nutritional value and vitamin count than mature plants, so they are considered a superfood. Because they are soft in texture, sprouts in sandwiches and salads will not provide the crunch you get from sprouts.
How to grow green shoots at home
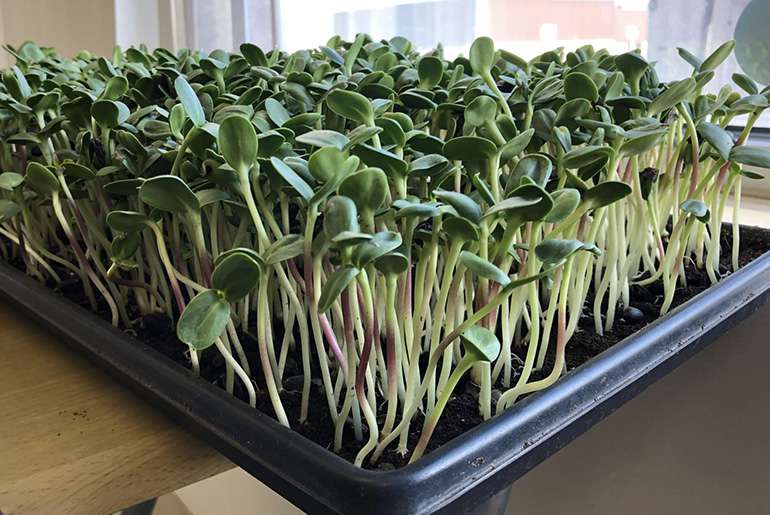
How to grow microgreens indoors – a small space near a window is all you need
As with growing sprouts, growing microgreens is a very easy process that doesn’t require much equipment or experience. With very little equipment and effort, you can have greens ready to harvest in less than a month. Here’s how:
What you need:
Potting soil;
Shallow trays or containers, such as deep pie plates or even disposable take-out containers;
Seeds;
A window with about 4 hours (or more) of direct sunlight per day.
Steps for growing microgreens at home
Take the time to read the instructions on the seed package. The ideal growth process may vary a bit depending on the type of plant.
Place about an inch and a half of potting soil in a tray, level it, but do not compact it.
Spread the seeds over the surface of the soil and gently push them into the soil with your hand or a piece of cardboard.
Once the seeds are in the soil, cover the entire surface with a thin layer of soil and wet the top surface (a spray bottle is ideal).
Mist them twice a day, but don’t overwater them; do this for 3 to 5 days until sprouts appear.
Continue spraying them once a day after they sprout.
Micro sprouts need about 4 hours a day of direct sunlight to thrive. If they look spindly and pale, it indicates that they need more light than they are getting. If you don’t have a south-facing window, but really want to produce them, you can always get a small grow light.
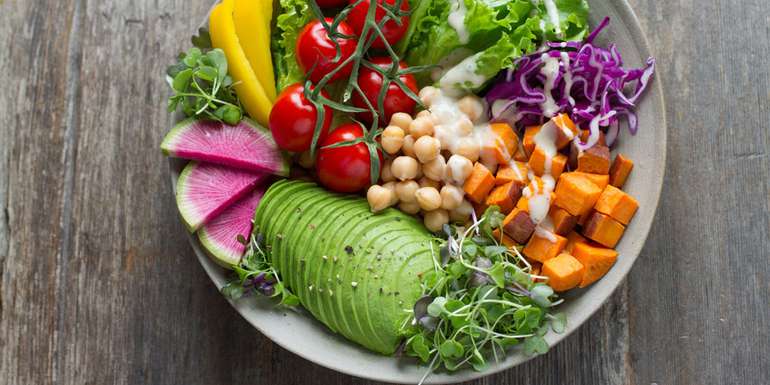
Which plants are easiest to grow indoors?
A windowsill micro-garden of sprouts can be started with leafy vegetables, salad greens, herbs. You can either do a mono crop, with one type, or mix a few. Some of the easiest plants to grow are lettuce, kale, radishes, beets, broccoli or even some edible flowers, such as sunflowers.
The best idea is to start with separate seeds to identify the flavors you like best, then mix and match as you see fit. Seeds will also have different growth rates, so make sure the harvest time for seed mixes is about the same. Egg cartons are an easy way to try different varieties; fill the indentations with soil and follow the instructions mentioned earlier. If space is limited, try two or three types in each box and use popsicle sticks broken in half to identify the seeds.
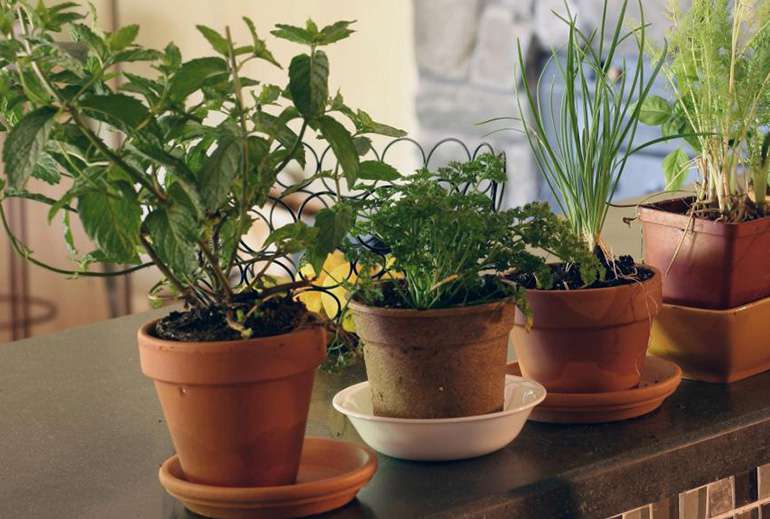
Houseplants are a beautiful addition to any home, their green abundance is very pleasing to the eye, so why not add some herbs? Also, herbs in the kitchen give off appetizing scents that complement any space, especially the kitchen.
In a container at least 3 or 4 inches deep and in diameter, sow parsley or basil. Parsley will be slow to sprout, but delicious on a kitchen windowsill. And both of these plants are great to have on hand. Also try chives and rosemary, mint or any fragrant herbs you like to cook with, or like to look at!


