The gray alder is a native deciduous tree that is popular not only in public spaces but also in private gardens. Read here how you can recognize the plant and how you can plant it in your garden.
The gray alder, with scientific name Alnus incana, is a native plant in Central Europe. Like the black and green alder, it belongs to the alder genus and the birch family.
Recognize gray alder: Here’s what it looks like
If you know the main external characteristics of the gray alder, it is easy to recognize it. The plant is characterized by the following features:
- Gray alder is a deciduous plant, which means it bears leaves only during the summer.
- It can develop into a tree with a pyramidal crown or an uneven large shrub with several trunks.
- Gray alders average up to ten feet tall and up to eight feet wide.
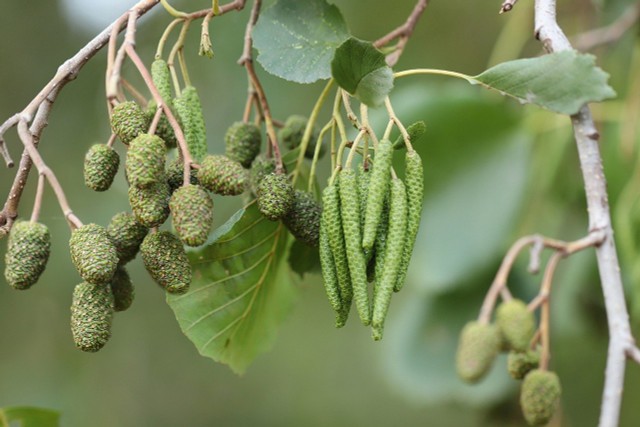
- Leaves are about five to nine inches long. The upper surfaces of the leaves are dark green. The undersides are covered with a whitish-gray felt. The leaf shape is relatively pointed, ovate and double serrated at the edge. In the fall, the leaves do not change color conspicuously; instead, they remain green for a long time.
- The bark of the gray alder is whitish-gray and smooth.
Planting gray alder: location and procedure

When looking for a suitable location for your future gray alder, look for sunny spots. If you can’t find a suitable spot, the gray alder will also thrive in partial shade. The soil can be moist to very moist, but you should avoid permanently wet soils. The plant also likes nutrient-rich, slightly acidic and calcareous soil.
In principle, you can plant gray alder from a pot all year round, but autumn is best.
- Dig a planting hole at least twice the circumference of the root ball.
- If necessary, you can add some compost or humus to the excavation. This will give it more nutrients. By the way, if you don’t know what your soil is like in the first place, a soil test is a good idea. Read more about it here: Soil test in the garden: what you should know.
- Place the plant centrally and upright in the hole and fill in the excavated soil.
- Press the whole thing down well so that the plant stands firm.
- Do not forget to water!
Important: When the gray alder is well established, it does not need any additional care from you. Only in the first year and during very long dry periods should you water it regularly and generously.
Gray alder: How it is used
The gray alder belongs to the pioneer plants and is therefore often used for the stabilization of banks and embankments as well as for the planting of landfills and dumps. It also decorates parks, roads and highways, especially in public areas. In private gardens, it is mainly suitable as a specimen plant in moist locations. Small varieties can be cultivated in tubs and thus also used for greening large terraces.

