As a gardener, it is important to make the garden your friend. You can save yourself a lot of work by working with it and not against it. If you do it right, sometimes you can even make it work for you.
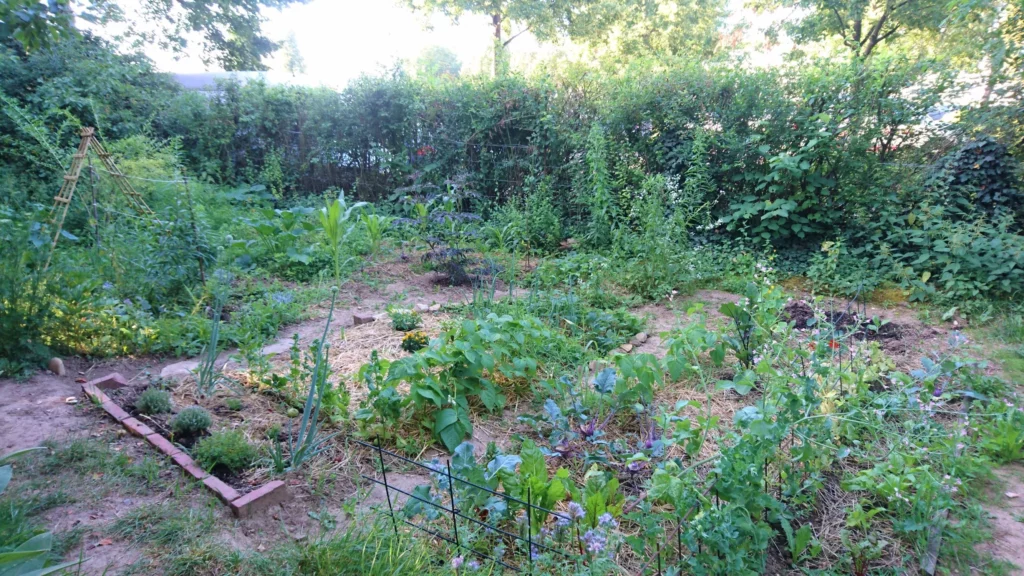
In this article, I want to show you how to create a vegetable garden in harmony with nature. As an example, I’ll talk about the wild community garden that I maintain according to permaculture principles.
Contents
- 1 Everything begins with a piece of land
- 2 Insect pasture for pollinators
- 3 What can already be used?
- 4 The idea of community
- 5 What kind of soil do I have?
- 6 How can I as a gardener contribute to soil fertility?
- 7 Create vegetable beds
- 8 Loosening the soil
- 9 Mulching
- 10 Select suitable plants
- 11 The right plants for your soil
- 12 Author
Everything begins with a piece of land
Last spring, a small garden came into my life, quite unexpectedly, but all the more delightful because of it. Unbelievable what a flood of ideas this piece of land brought with it. I wanted to start right away and design it according to my wishes. But first I took some time to really explore my new garden. Take this time, it is incredibly important and determines the further development of your garden!
Insect pasture for pollinators
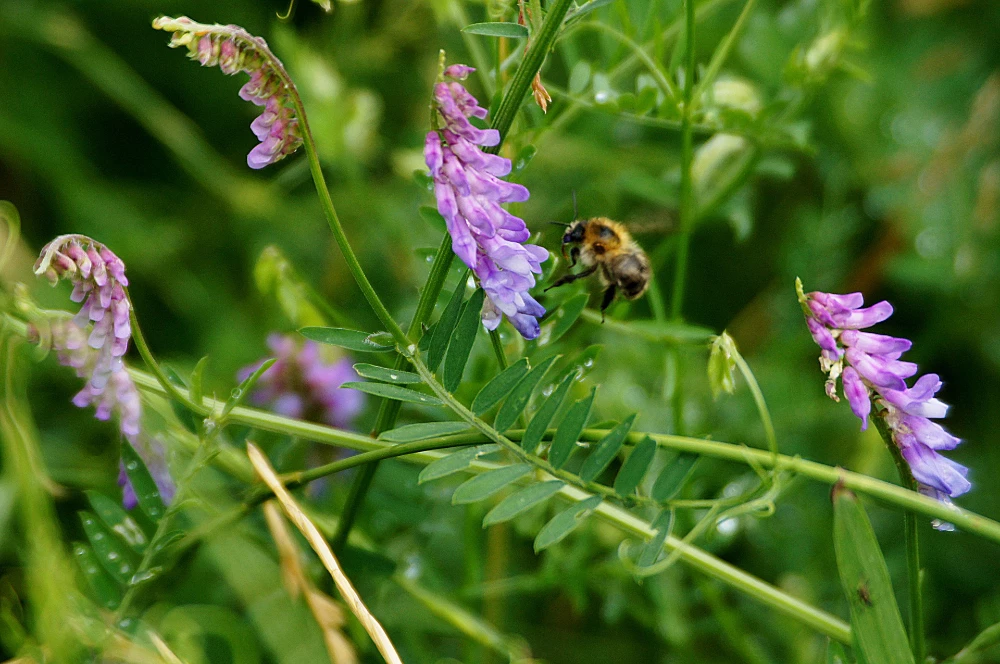
Whether you prefer your garden “clean” or a little wilder, pollinating insects are indispensable to your gardening success. If no pollinators are to be found far and wide, the flowers of your vegetable plants cannot be pollinated and consequently no fruit can be formed. To attract bees, bumblebees and other beneficial insects, you can provide them with food in the form of flowering plants.
Now you can consider leaving a few insect-friendly plants from the wild spectrum of your garden or transplanting them. For example, I leave a wild strip in my garden where legumes, lemon balm and other wild herbs abound. In addition, I plant flowering mixtures for insects at the edge of the strip and in various open spaces in the garden. Not only the insects are happy, but also my vegetable plants, which are later abundantly pollinated.

What can already be used?
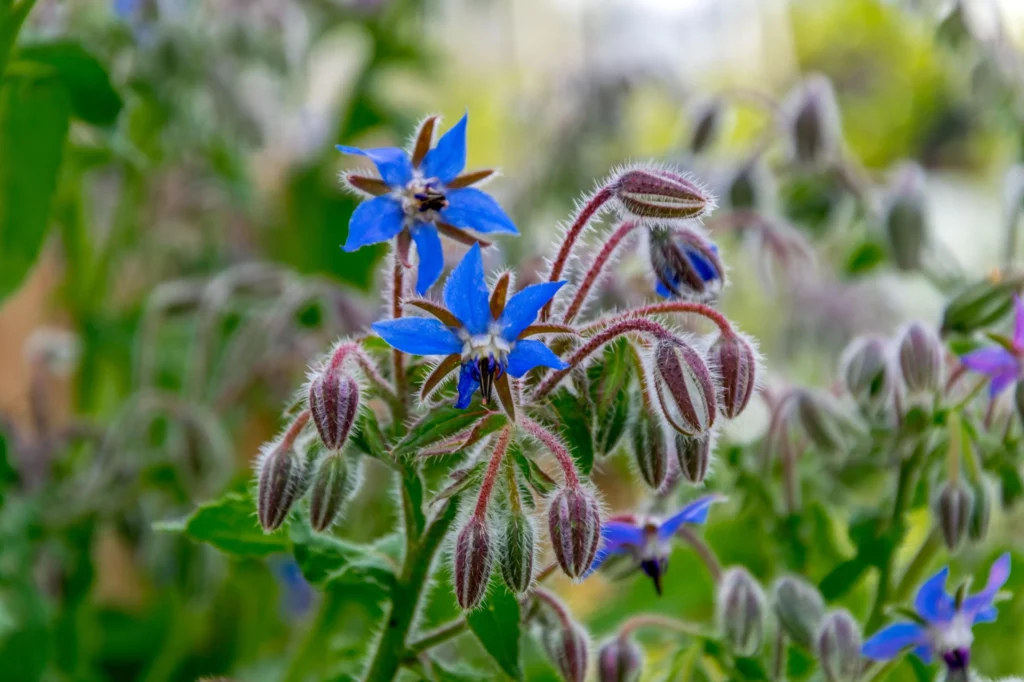
Anyone who has already dealt with edible wild herbs and medicinal plants knows what wealth nature offers us here. In my garden I found everything that can already be used: Wild strawberries, goutweed, dandelion, wild garlic, wild lemon balm and much more. The generations of students before me also left some behind: Berry bushes, rhubarb, Jerusalem artichoke, and various herbs like arugula and borage. The list is long, and I’m still discovering new features in the wild little patch to this day. Much of it I probably would never have noticed if I hadn’t looked so closely. If you look at your garden this way, you will always be surprised by nature.
The idea of community
On earth, all life is interconnected in complex cycles. In this structure we humans also have our place, but it is not that of a ruler. The laws of life are not made by us humans, we can only live and work with these laws. So the goal in the garden should always be to work WITH nature, never against it. This is about a considerate approach to our world and our fellow creatures. After all, every living being fulfills its purpose in the grand scheme of things and ensures that our ecosystems function.

There are many different soil types, but a rough distinction is made between heavy and light soils. The soil type will later have a significant influence on the growth of your vegetable plants. Root vegetables, for example, thrive better in light soils, because their coarse pores make them easier to root through.
What kind of soil do I have?
To get an immediate impression of your soil, you can do a simple finger test. To do this, simply take a bit of soil between your thumb and forefinger and rub it, the soil should be a bit moist. If you feel a lot of coarse grains, you have a rather sandy soil. However, if the soil smears when you grind it, you have a more clayey soil. For a better assessment of soil conditions, you can do this simple soil test.
Also at this point, it can be interesting to take a closer look at your own garden. There are so-called “indicator plants” that reflect which substances are contained in the soil. Nettle and dandelion, for example, indicate a soil containing nitrogen. It is not for nothing that a nettle liquid manure is often used for fertilizing in the hobby garden sector; the nettle herb is very rich in nutrients!
How can I as a gardener contribute to soil fertility?
In a natural garden, it is primarily the soil life that is nourished, not the vegetable plants. You feed the soil, so to speak, and the soil in turn feeds the vegetable plants. Especially in the case of heavy feeders, it is important to ensure a sufficient supply of nutrients.
First of all, you can use what the garden already offers you, e.g. mulch from grass cuttings or nettles. For a stronger fertilizing effect, you can easily make your own nettle liquid manure. In addition, I use horn shavings as a slow-release fertilizer. The coarse particles do not dissolve directly and can therefore be decomposed by the microorganisms in the soil over a longer period of time.
When fertilizing, I would generally advise against using chemical fertilizer salts, as they do not provide any nourishment for the soil life. Due to the non-utilizable nutrients, the soil organisms may even retreat! The result: even more fertilizer must be used, because the natural “fertilizer producers” disappear. Fortunately, there are also natural methods to supply your soil with nutrients and to improve it sustainably. Here you will find everything else about natural soil improvement and organic fertilizing.
Create vegetable beds
In this step-by-step guide to planting your vegetable beds, all the individual steps are described in detail. Here, however, I will only deal with the ecologically relevant aspects.
- Choose a place
- Create paths
- Remove wild vegetation: 2 variants
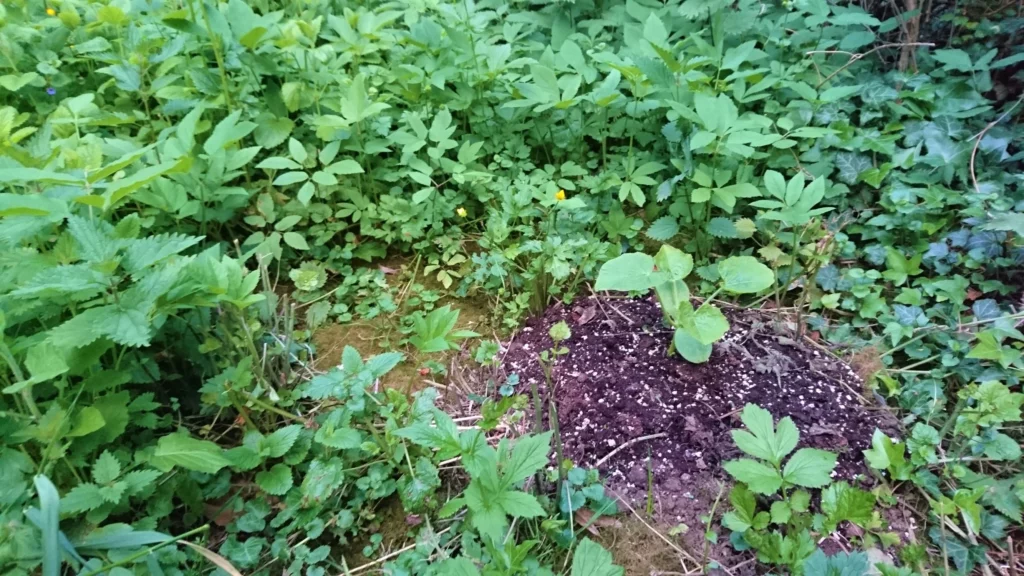
(1) A very interesting method to open up new places in the garden is the so-called “sheet mulching”. Here the original vegetation is covered with unprinted cardboard, jute bags or other decaying natural materials. It is important that the material does not seal the soil airtight, but allows it to continue to breathe. We don’t want to suffocate the soil organisms underneath; on the contrary, we want them to decompose the dying plants under the cover. To keep the cover from blowing away, cover it with soil and mulch. The mulch layer can then either be sown directly or left alone for now. The roots of the seeded plants then penetrate the decomposing cover over time and can siphon off the nutrients underneath. This method beautifully demonstrates that we gardeners:in can work as partners with nature. We give food to the soil creatures and they help us open up new areas in the garden while producing nutrients for the seeded vegetable plants.
(2) This is how you can integrate vegetable plants into the natural spectrum of your garden: To start, pluck out the wild weeds only superficially and leave them as mulch for now. This suppresses the vegetation underneath and at the same time protects your soil until you plant it. Here you can either leave special plants that you would like to keep or plant them in another location. Another benefit to this method is that you get to know the soil and the natural structure of the garden better. Sometimes there are already “bare spots” under the plant cover that are only superficially covered and not rooted. These are, of course, particularly suitable for planting, as cultivated plants can be integrated into the natural spectrum of the garden without much effort. Here it is nevertheless important that the wild herbs around it do not grow unhindered. They should be cut over the summer but the one or other time superficially, so that they do not form seeds and spread further. When cutting, anything that has not yet formed seeds can then be used as mulch material. To be on the safe side, I use only the non-flowering grasses and nettles for other beds. I use the rest directly on site or for compost. Once the soil of the “bare spots” is loosened, I mix it with proper compost – now only need to plant.

Loosening the soil
Here we usually talk about digging over, but be careful: digging over puts a lot of strain on your soil and disturbs the habitats of the soil organisms in it. If the soil structure is very firm, it can sometimes be helpful to loosen the soil a bit with a spade. However, you should not lever and turn the soil clods. It is best if everything in the soil stays in place as much as possible! Very gently, the soil can also be loosened with a pitchfork. The advantage of this loosening method is that the habitats of the soil organisms are not disturbed too much.
Mulching
After loosening, be sure to mulch your soil to maintain the loose soil structure. This is because there is no such thing as bare soil in nature. Native flora always forms a protective layer when they have the chance. This keeps the soil underneath nice and moist and the soil life active.
In nature, bare soil is like a wound that leaves the soil defenseless against environmental elements. A living plant cover or mulch layer thus protects the soil like a skin. It is therefore advisable to remove the wild herbs only when you also want to plant the soil! It should not be exposed to unprotected sun and erosion longer than necessary. For direct seeding, mulch must be removed during germination to allow the plants to grow undisturbed. When planting with pre-seeded plants, the bed can remain permanently mulched, as the young plants already protrude above the layer.
Apart from the classic organic mulch materials (e.g. straw, grass clippings, etc.), there are also mulch films made of polyethylene or bioplastics. The advantage of polyethylene films is their durability, but they are not biodegradable. The bio-films have the advantage of being completely compostable, but they therefore last “only” about 3 months. In general, however, it makes more sense for the soil life not to use synthetic materials, but plant mulch.
Select suitable plants
Not all vegetable plants need full sun for their development. You might be surprised, because there are some vegetable plants and herbs that like to grow in partial shade. Whether a plant does better in full sun or partial shade depends largely on its origin. For example, Mediterranean herbs such as rosemary and thyme require more sun than wild garlic, which is found in the woods:
Herb Examples:
Full sun: rosemary, thyme, marjoram, sage, cilantro.
Partial shade: Wild garlic, mint, dill, parsley, chives.
With vegetables, it’s basically the same: the tomato, a classic crop, originated in Central/South America. Since it is warmer there and the sunlight is much stronger, tomatoes only really grow well in full sun in our country. However, there are a number of vegetable plants that are happy with a little cooling shade.
Vegetable examples:
Full sun: tomatoes, peppers, potatoes, eggplant, cucumbers, zucchini, melon, corn.
Partial shade: lettuces, spinach, chard, cabbage, garlic, leeks, onions, radishes, radish, beet, carrots, parsnips, bush beans, peas.
Caution: little light does not mean NO light! So your vegetable patch should be in partial shade at most, but not in full shade.
The right plants for your soil
As you have already learned, a rough distinction is made between heavy and light soils. Each type of soil has its advantages and disadvantages:
Light soils, for example, have the advantage of warming up quickly, which is especially important in the spring. This property allows early sowing and reduces the risk of rot. However, when temperatures rise, you soon notice the first disadvantage: light soils dry out very quickly because they have little storage capacity. The same applies to the storage of nutrients, they are easily washed out through the coarse pores into the groundwater. A sandy soil therefore requires greater or more regular water and fertilizer application. Nevertheless, there are a number of crops that produce good harvests even on sandy soils. Root crops even benefit from the large pores of a light soil and can form nice thickenings. Also recommended are:
- Lettuce
- Swiss chard
- beans, peas
- asparagus
- Winter onion, garlic
General: plants with short cultivation period
The disadvantages of a light soil are also the advantages of a heavy one: Heavy soils can hold water and nutrients relatively well. However, in the spring, the moisture can make it easier for rot to occur (e.g., with lettuce). With adequate soil loosening, most vegetable plants actually grow quite well in heavier soils. Especially the heavy growers can profit here: tomato, cabbage, cucumber, zucchini and Co. feel very well here! In general, crops with a long growth phase are ideal here. With root vegetables, you should be careful to choose varieties that do not penetrate too deeply into the soil. Radishes, for example, will have an easier time than the long radish. The narrow pores of a clayey soil are not so easily conquered by roots.
Ecological gardening doesn’t have to be complicated, in principle it’s just a matter of taking a good look at your garden. The better you get to know your garden, the more you can understand it. As your understanding grows, it becomes easier and easier to intuitively know what your garden needs and how best to care for it.


