Hey there, garden friends! Over the years, I’ve planted more roses than I can count—each one bringing a little more beauty (and scent!) to my outdoor space. But here’s the thing: roses need a bit of special care right from the start. If you want them to thrive, not just survive, you’ve got to give them the right conditions from day one.
Whether you’re working with bare-root roses in spring or fall, or grabbing a potted container rose mid-season, these three simple tricks will help your roses take root quickly and flourish beautifully.
Contents
1. Give Your Roses a Proper Soak Before Planting
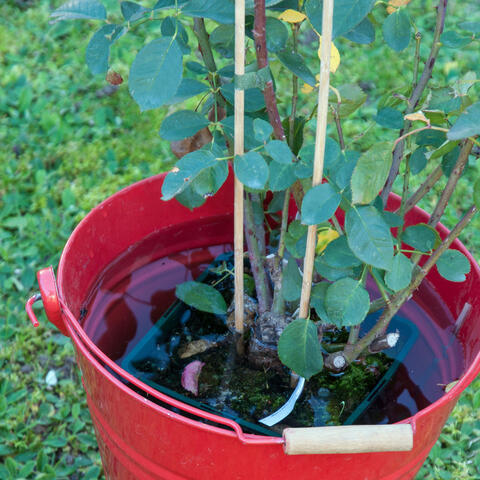
No matter if it’s a sunny spring day or a cloudy fall afternoon, thorough watering is an absolute must before planting. Even if it’s raining—don’t skip this step!
For container roses:
I always dunk the entire pot into a bucket of water until it’s fully submerged and no air bubbles rise to the top. That’s when you know the root ball is saturated and ready for the ground.
For bare-root roses:
In autumn, I place the bare-root roses in a bucket of water for 6 to 8 hours, making sure the roots are fully submerged. They soak it up like sponges, and you’ll see the difference later!
Spring-planted bare-root roses are typically stored in cold rooms and come out very thirsty. I give them a full 24-hour soak to rehydrate thoroughly.
Before planting, I trim the shoots down to about 20 cm and lightly clip the root tips. Any damaged roots? Snip them off completely. Healthy roots are the key to strong growth.
2. Prepare the Soil Properly
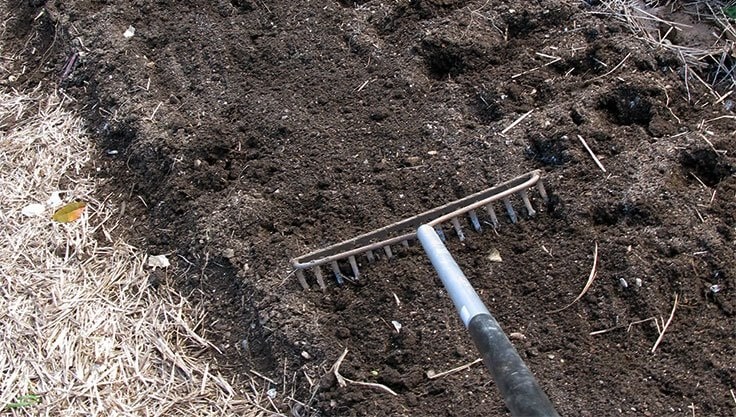
Roses are deep drinkers—they send their roots far and wide. That means they need loose, nutrient-rich, and deep soil to really flourish.
For container roses:
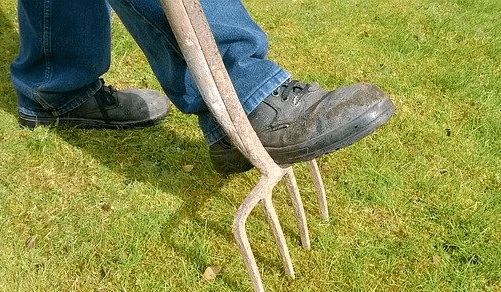
I dig a hole that’s twice as wide and deep as the root ball. Then I loosen up the bottom and sides of the hole using a spade or garden fork. This helps the roots spread easily into the surrounding soil.
For bare-root roses:
The planting hole needs to be deep enough that the roots can fit without bending. I always make sure there’s loose soil all around the root system to encourage healthy growth.
Tip: Roses absolutely love humus-rich soil. I always mix the dug-out soil with well-rotted compost or high-quality planting soil and add in a handful of horn shavings for a slow nutrient release.
Whatever you do, avoid fresh manure or chemical fertilizers in the planting hole—they can burn the young roots.
3. Plant Roses Deep Enough for Lasting Health
Getting the planting depth right is super important. And here’s where many gardeners go wrong.
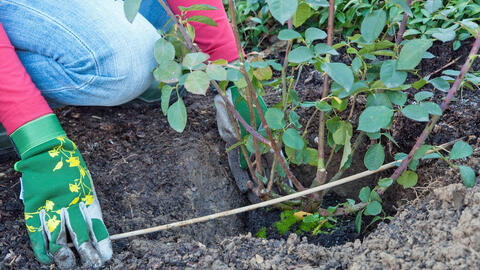
The key is the graft union—that little bump between the roots and the shoots. After planting, this should sit about 5 cm (roughly three fingers) below the surface of the soil.
Here’s how I check:
I lay a stick or thin piece of wood across the planting hole, use it as a soil-level guide, and make sure the graft is a few centimeters below it.
Even if I’m planting a container rose (where the graft often sits above the soil line), I still plant it deeper than the pot soil level. Unlike most plants, roses benefit from being planted lower, which protects the graft union from frost and encourages strong root growth.
Final Thoughts: A Strong Start for a Stunning Rose Garden
With these three tried-and-true tricks, your roses will have everything they need to get off to a great start—plenty of hydration, rich soil, and the perfect planting depth.
I’ve used these steps for years, and they’ve never failed me. Whether you’re a new gardener or a seasoned rose enthusiast, a little extra care at planting time goes a long way. Come summer, you’ll be thanking yourself when those fragrant blooms start showing off.
Stay tuned for more rose-growing tips, pruning advice, and seasonal care guides. Until then—happy planting, and may your garden be full of blooms!


