Laying polygonal slabs always seemed like a daunting task to me—random shapes, uneven edges, and the patience of a saint required to make it look good. But after tackling a few garden projects myself, I discovered that with the right preparation, tools, and mindset, it’s actually a satisfying and even enjoyable process. In this guide, I’ll walk you through everything I’ve learned about working with polygonal slabs—from choosing the right materials to fitting them together like a giant outdoor puzzle.
Polygonal slabs are a popular and justified choice for outdoor flooring in the garden. However, their installation differs from that of regular paving stones. Here’s how to do it right.
Polygonal slabs are durable, long-lasting, and offer a natural charm with eye-catching joints. And if you enjoy puzzles, laying polygonal slabs might be just the project for you.
Contents
What Are Polygonal Slabs?
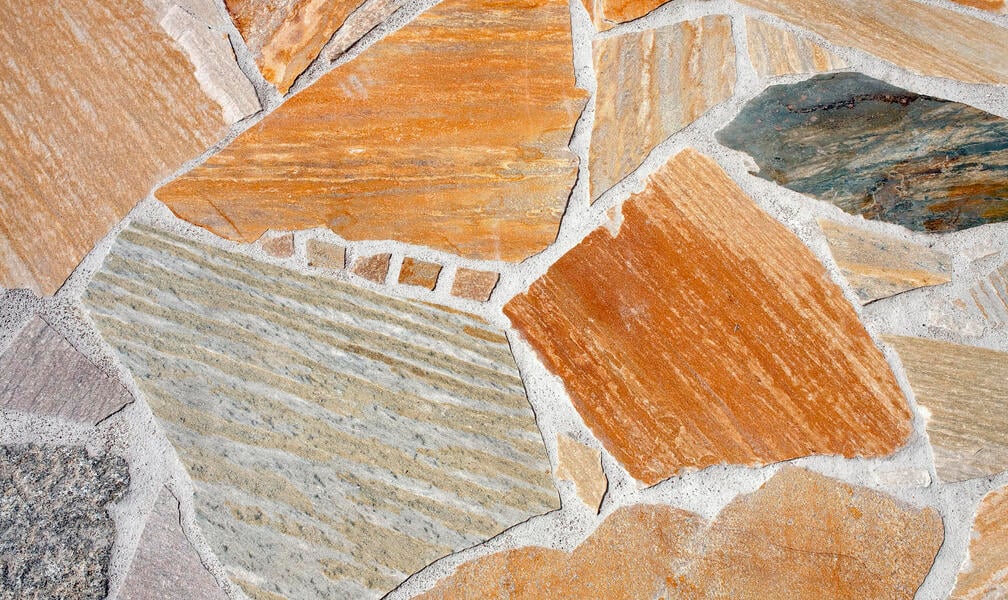
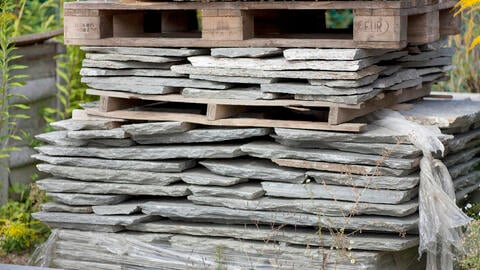
As the name suggests, polygonal slabs have a polygonal, irregular shape. They are broken or trimmed slabs made from natural stone (or occasionally ceramic) and are commonly used outdoors—less frequently as wall cladding.
In gardens, these slabs are typically made of natural stone with a rough, broken surface. They range from 1 to 5 cm thick and up to 40 cm long. Since they’re leftover pieces, even slabs of the same stone type vary in shape, veining, and color. When laid out, they form a large mosaic, giving the surface a relaxed and natural look. The irregular shape is compensated with wide, uneven joints—this is intentional and defines the slab’s unique character. However, you can’t overdo the joint width—you still want a surface made of slabs, not just joint filler.
What Can You Do with Polygonal Slabs?
These natural stone slabs are ideal for garden paths, patios, seating areas, and even pool surrounds. Thanks to their rough surfaces, many are slip-resistant, even when wet. However, thin and large slabs may crack under heavy loads, so they’re not recommended for driveways unless laid over a very stable substructure.
For patios and paths, there’s no risk of breakage if installed properly. Their natural look also makes them easy to combine with materials like wood, glass, or metal.
Tip: You can choose between calibrated slabs (with uniform thickness) and uncalibrated slabs (with varied thickness). Calibrated ones can even be used to clad walls with the help of special adhesives and temporary supports.
Types of Polygonal Slabs
Polygonal slabs are available in various stones, including granite, quartzite, porphyry, basalt, gneiss, sandstone, and slate—all typically weather- and frost-resistant. Here’s a look at some common types:
- Quartzite: These white-gray or yellow-reddish slabs are usually split-faced and have rough edges. Great for flooring and pool surrounds due to their slip resistance. Attractive formats include 3–6 or 6–9 pieces per square meter.
- Granite: Extremely robust, durable, and easy to maintain. Available in many colors (gray, black, white, bluish). Affordable slabs are usually leftovers from precision-cut granite, leading to mixed colors. Uniform color costs more.
- Sandstone: Affordable but porous and often soft. Look for harder varieties. Not suitable for areas with de-icing salt exposure.
- Slate: Dark gray, robust, but sensitive to acids. Naturally rough and slip-resistant—great for walkways. Be aware: they absorb heat in direct sunlight.
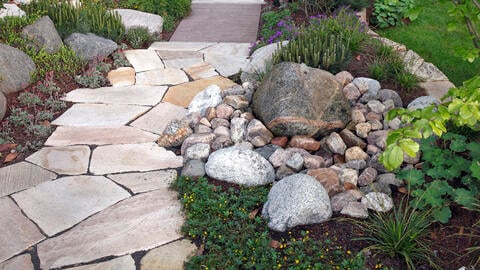
Storage Tip: Stack small slabs flat on pallets; stand larger ones upright to avoid breakage.
What to Consider When Buying
Unlike paving stones, you can’t order polygonal slabs in specific sizes. Instead, you buy them based on how many slabs cover one square meter. More pieces per m² means smaller slabs.
Smaller slabs (e.g., 14–20 pieces/m²) may be cheaper, but they take longer to install and require more joint filler. Although polygonal slabs are often cheaper than natural stone pavers, the higher installation effort can offset any savings—making DIY a worthwhile option.
Step-by-Step: How to Lay Polygonal Slabs
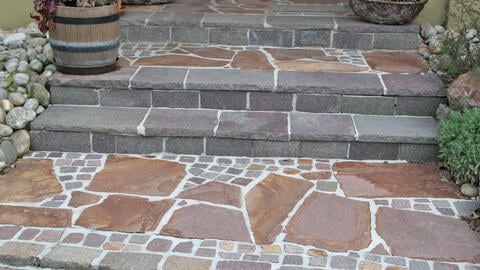
You can lay polygonal slabs either unbound (in sand or gravel) or bound (in a mortar bed). Bound laying is more labor-intensive but produces a smoother surface with fewer weed issues, making it ideal for patios. Be aware: bound installation seals the surface, preventing water from soaking into the ground.
Base Layer
You’ll need:
- A 25 cm thick layer of well-compacted gravel
- At least 5 cm of leveling gravel
- For bound installation: add a 15 cm concrete slab on top
Ensure a 2% slope away from the house to allow rainwater drainage. Finish by filling the joints with joint compound.
Note: Laying polygonal slabs is like assembling a giant puzzle. Time and patience are required to achieve a harmonious result—both in shape and color.
Tips for Arrangement
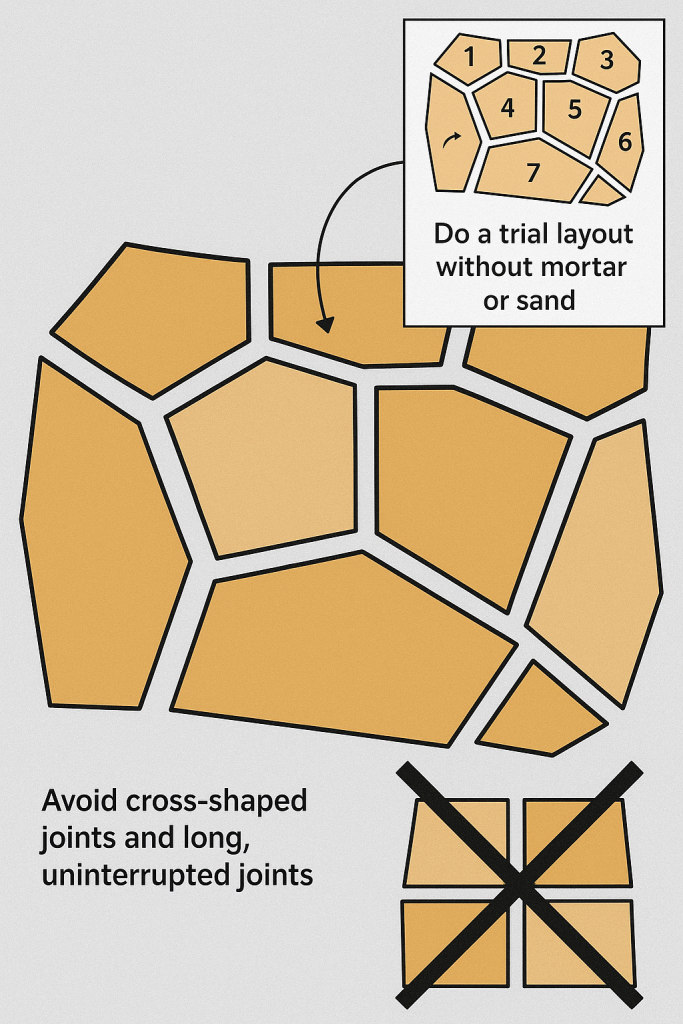
Start with a trial layout. Lay the slabs dry without mortar. Use numbered stickers and take a photo for reference. This helps speed up the final laying and reduces errors.
- Mortar thickness: 4 cm helps compensate for uneven slab thickness
- Rubber mallet: Use to gently tap slabs into mortar
- Pattern: Mix large and small slabs for a natural look and keep joint widths even
You can break slabs with a hammer to fit shapes better, but avoid placing two fragments from the same slab side by side—it will stand out. Also:
- Avoid four stones meeting in a cross joint
- Don’t let joints run more than three slab lengths without interruption

