With Jerusalem artichokes from your own garden, you always have fresh vegetables ready in winter to enrich your menu. Learn here how to grow Jerusalem artichokes properly.
Its elongated yellow petals already give it away: the Jerusalem artichoke plant is related to the sunflower. Moreover, Jerusalem artichoke belongs to the root vegetable group, because it forms edible root tubers. These are usually pear-, apple- or spindle-shaped and grow as large as potatoes. Their fine, thin tuber skin can take on a beige, yellow or pink hue, and the tuber’s flesh is white. Jerusalem artichoke tastes slightly nutty and, when cooked, sweeter than potatoes.
Jerusalem artichoke is a perennial herbaceous plant that can reach a height of up to three meters. In winter, it tolerates temperatures well below freezing.
Contents
Planting Jerusalem artichoke: location and soil
A sunny to semi-shady location is recommended for your Jerusalem artichoke plant. It should offer plenty of space, as the perennial can proliferate.
Jerusalem artichoke is not very demanding on the soil. It can be rich in nutrients, but not necessarily. In addition, well loosened soil is best suited.
Before you plant Jerusalem artichoke, you can prepare the soil:
- First, consider creating a root barrier. Root barriers are designed to prevent roots from spreading too much. With sprawling plants like Jerusalem artichoke, this is important to prevent it from growing uncontrollably. They are usually made of solid plastic, available in roll form at hardware stores. Simply dig a hole at least 40 centimeters deep. Spread the tarp in it and now fill it up again with soil.
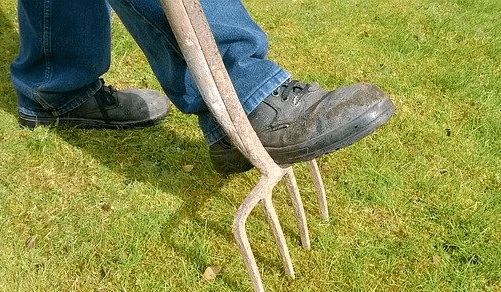
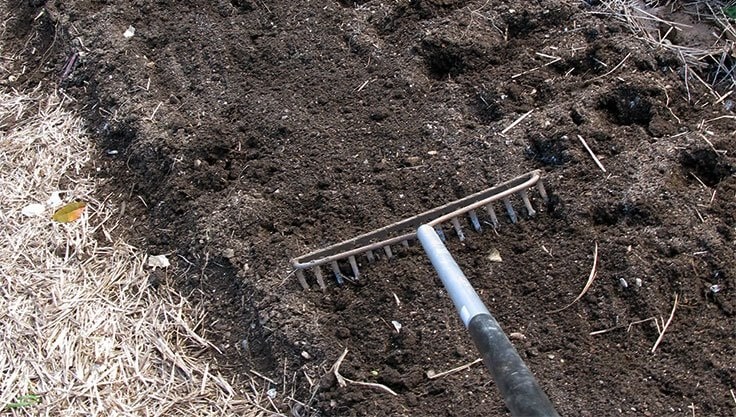
- Loosen the soil: Dig up the soil with a shovel. Add some sand to the loosened soil if the soil is heavy, for example, because it contains a lot of clay.
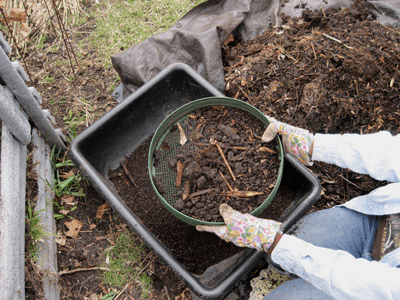
- If the soil contains few nutrients, you can enrich it with compost.
- Remove weeds and stones from the bed.
- Tip: If you don’t want to plant a root barrier for Jerusalem artichoke, you can also grow the root vegetable in a planter. This should measure at least 40 centimeters in diameter and be sufficiently deep.
Planting Jerusalem artichoke: Timing and planting
Timing: It is best to plant Jerusalem artichokes in the spring from mid-March to late April or in the fall from October to November.
Planting: If you want to plant Jerusalem artichoke, you can use the same cultivation technique as for potatoes. That is, you can simply plant the tuber. Make sure that the Jerusalem artichoke tuber is not damaged.
- Plant Jerusalem artichokes in rows: The distance between each plant in the row should be 30 to 40 centimeters. The rows should be 60 to 80 centimeters apart.
- Plant the tubers about 10 to 15 centimeters deep in the soil.
- Caring for Jerusalem artichokes: tips for a bountiful harvest
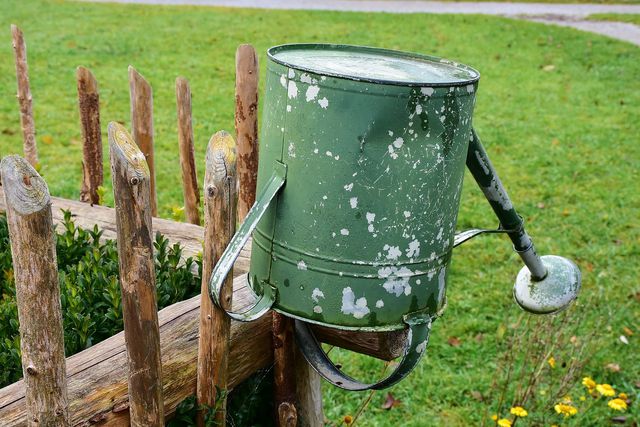
Jerusalem artichoke requires little care. Most of the time it takes to regularly weed the weeds in the spring. When the plant has grown larger, it will prevent excessive weeds from growing near it. In the spring, you can also remove excess shoots so that the tubers grow larger and you can harvest more.
Water Jerusalem artichokes regularly in the summer – especially if the plants are growing in sandy soil. However, you should avoid waterlogging at all costs.
You do not necessarily need to fertilize Jerusalem artichokes. If the soil is quite poor in nutrients, you can mix in some mature compost. Nitrogen-rich fertilizers are not very suitable for Jerusalem artichokes, as nitrogen can cause the tubers to rot.
Harvesting Jerusalem artichokes: Here’s what you should keep in mind
Depending on the variety, the harvest time for Jerusalem artichokes starts in October. You can tell when the tubers are ripe by the fact that the cabbage turns brown. As long as the ground does not freeze, you can harvest Jerusalem artichokes until March and April.
After harvesting, a few tubers remain in the soil to form the crop for next year. Jerusalem artichoke can remain in the same location for several years and is harvested annually.
Storing and using Jerusalem artichokes: Tips and ideas
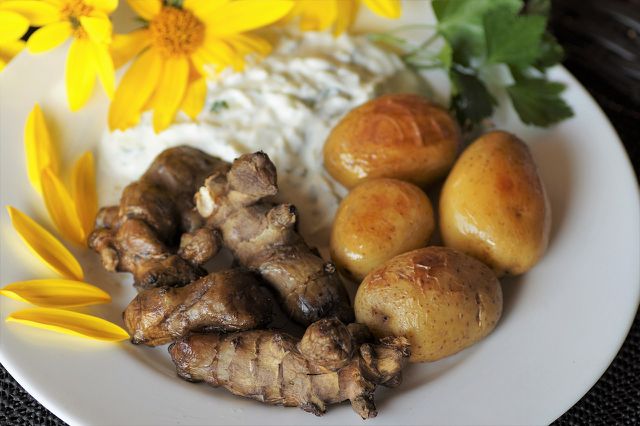
You can store Jerusalem artichokes open for about one to two weeks. After that, the tubers quickly become shriveled. Airtight packed and stored in the refrigerator or cellar, Jerusalem artichoke keeps fresh for about a month.
You can enjoy Jerusalem artichoke both raw, for example in salad. However, there are numerous other ways to cook Jerusalem artichoke: Roast, bake or steam it, or process the plant into soup, spread or stew. You don’t have to throw away the peel, you can just eat it too.


