Artichokes are very popular with many gardeners due to their special appearance and delicate taste. They are not only popular in vegetable gardens, but also in ornamental gardens. In this article you will learn what to consider when growing artichokes!
Habitat: full sun & protected from wind
Soil: rich in humus & nutrients
Water requirement: high, no waterlogging
Pre-cultivation: from mid-January
Planting out: after the Ice Saints in mid-May
Planting distance: 150 x 75 cm
Good neighbors: fennel, cabbage, lettuce
Bad neighbors: celery, garlic, chives, onions, as well as related species with strong root growth (salsify, Jerusalem artichoke and chicory)
Contents
The artichoke plant
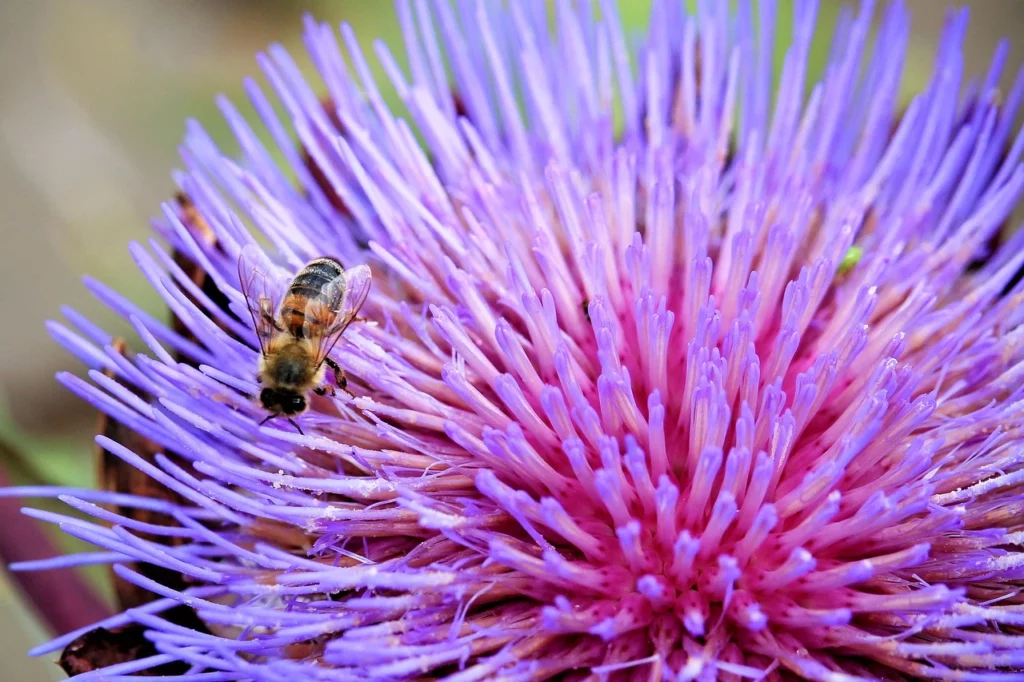
The artichoke (Cynara scolymus) belongs to the daisy family (Asteraceae) and is therefore closely related to various lettuces, chicory, salsify and Jerusalem artichoke. In the kitchen, the artichoke delights with its fleshy flower base, also called heart, which is excellent for pickling. It is also said to have a digestive, cholesterol-lowering effect. The artichoke plant originates from the Mediterranean region, but in mild regions it can also be cultivated perennially in our latitudes. Because of its decorative, thistle-like appearance, it is also popular in ornamental gardens. The thorny, gray-haired leaves give the artichoke a truly special appearance. Its flower is also very impressive and its sweet fragrance makes it popular with many insects. Mature plants can produce numerous cup-like inflorescences throughout the summer. A healthy artichoke plant will produce flowers for about three to five years.

Artichoke varieties
The artichoke is by nature a perennial plant. Since it originated in Mediterranean areas, it is not hardy and can only overwinter in mild viticultural climates with additional protection. Varieties such as ‘Orlando’, ‘Great of Laon’, ‘Violetto Chiogga’ or ‘Green Globe’ are suitable for this purpose. However, those who are not blessed with such a mild climate need not fret now! Special varieties such as ‘Vert de Provence’, ‘Vert Globe’ and ‘Imperial Star’ are specially designed for harsher locations. They produce abundant inflorescences in the very first year and can therefore be cultivated as annuals. In areas that are too cold, artichoke plants can also be overwintered indoors.
The right location
Artichoke plants are very heat-dependent and therefore require a wind-protected, full-sun location. They prefer to grow in a well-fertilized soil, so prepare it with plenty of compost before planting. Waterlogging should be avoided in any case, especially in winter. Once an artichoke is established, it can grow in this location for several years. Over time, it will open up deeper and deeper soil layers and form more and more flower buds. In cooler locations, a black mulch film can help provide warm “underfoot” heating.
Sowing & planting artichokes
To ensure that your artichoke plants grow vigorously and produce abundant inflorescences, you should begin sowing seeds early in the year. Alternatively, you can buy seedlings in garden stores. As early as mid-January, you can sow the seeds in multi-pot plates or small pots. Then place them in a bright, warm place and keep them evenly moist. The soil should be as loose and humusy as possible, growing soil is usually a good choice. A heated greenhouse is the ideal place to grow artichoke plants. When growing indoors, be sure to use the brightest windowsill so the young plants have enough light and don’t stretch out too much. The goal is to grow plants that are as compact as possible. Put the seeds in warm water one day before sowing, so they germinate better. At temperatures of about 18 – 20 °C, the seeds will germinate within two to three weeks. If your artichoke plants become too big for their pots, you should move them to larger pots.
After the Ice Saints in mid-May, when the last night frosts are over, you can transplant your pre-cultivated young plants into a sunny bed. The plants should have developed about three to five leaves by then. Enrich the soil with a good amount of compost beforehand and loosen it with a digging fork if necessary. Plant the artichokes 150 x 75 cm apart. The large gaps can be planted nicely with fast-growing mixed culture partners. Here, for example, radishes or lettuce are suitable. In the early phase of growing, make sure to keep the soil nice and moist. Once the plants are established, you won’t need to water as much. When planting, remember that artichokes will stay in the same spot for several years and can grow up to six feet tall. So choose their spot wisely.
Tip: Homegrown artichoke perennials make great gifts for friends and family! Simply sow all the seeds you have collected from your plants and give them away later in small pots. More information on seed collection can be found at the end of this article.

Mixed culture with artichokes
Good neighbors: fennel, cabbage and lettuce.
Bad neighbors: celery, garlic, chives, onions, and related species with vigorous root growth (salsify, Jerusalem artichoke, and chicory)
Care & fertilize artichokes
Artichokes are heavy feeders; they are very hungry for water and nutrients. Even before planting, the soil should be prepared with compost, and a small handful of horn shavings per plant will provide proper long-term fertilization. Over the course of the season, you can top dress with nettle manure up to two times as needed. Also, make sure your artichoke plants always have enough water available. Especially in the early stages, the soil around the plants should never dry out. Mulch can help keep the soil around the plant moist. Later plants develop deep roots, tapping into larger reserves of water in the soil. Generally, artichoke plants don’t bear abundant flower buds until the second year, so overwintering is the biggest challenge here. For more info, see ‘Overwintering & Propagating Artichokes’.
Diseases & Pests
Artichokes are largely resistant to diseases, but there are some pests that can get a hold of the thistle-like plants. The leaves are infested by aphids or the black bean aphid (dark discoloration). These can build large populations, so it’s best to act quickly if you have an infestation. Shower the plants thoroughly with a hose and spray them with neem oil. Another option is to use beneficial insects: Ladybugs, ichneumon wasps and lacewings or their larvae will help you control pests here. Other uninvited guests are slugs and voles. For slugs, regular collection or framing the bed with a slug fence will help. A wire mesh fence can also help to keep voles away from the roots of the artichokes. However, this should be buried deep enough and completely enclose the root system.
Harvest & prepare artichokes
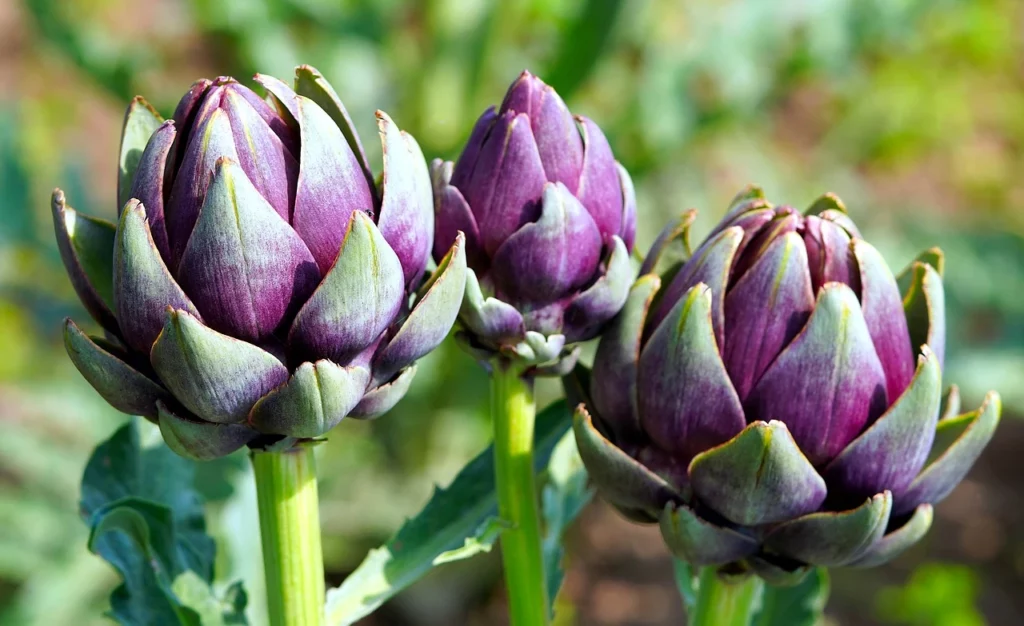
Artichoke buds are harvested mainly from August to September. Mature plants yield up to twelve buds per season. Harvest the buds while they are still closed and before the bracts begin to turn purple. Start your harvest with the main flower so the other flowers can continue to grow a bit.
If the flower buds are harvested too late, the purple inflorescences will open and cannot be eaten. The fine, fleshy flower base becomes tough and tastes dry rather than juicy. If you ever miss the right time, however, it’s no big deal. The impressive purple tubular flowers are a real treat for the eye and attract bees, bumblebees and other insects. So it’s always worth leaving a few blossoms.
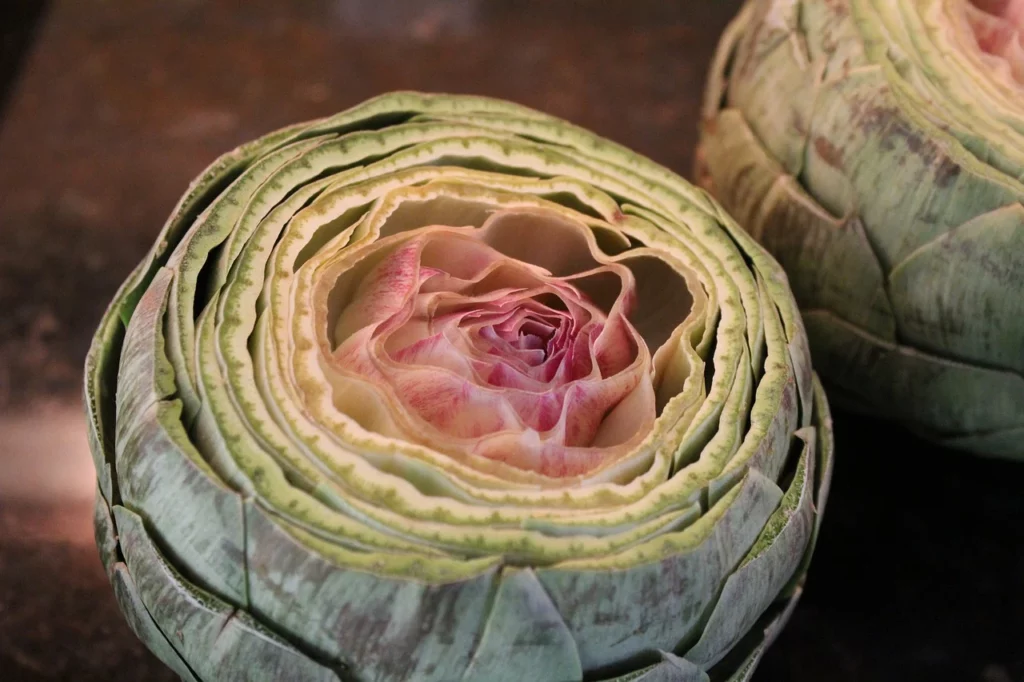
Artichokes are very easy to prepare: the flower buds are washed and then boiled in salted water for about 30 minutes. Then the whole bud is served together with a delicious garlic dip or a light vinaigrette with lemon and herbs. The individual scales can be easily detached and the tender flesh enjoyed at the base. This leaves the tough part of the scale. The best comes at the end: the artichoke heart.
Overwintering & propagating artichokes
In mild winters, artichokes can be overwintered outside. Tie the leaves tightly or cut them off. Then cover the root system with plenty of straw, leaves, or a warming fleece to prevent frosts. In colder regions, artichoke plants can also be overwintered indoors. To do this, dig them up and place them in boxes or large pots with moist sand. At about 15 °C, they can be brought through the winter in the cellar, for example. From April, the stored plants are put back outside or the covers are removed.
Although artichoke plants can grow relatively old, they only bear flowers in the first three to five years. So that you can harvest the delicious buds every year, you should think about propagation in time. There are two ways to propagate artichokes: by seed or division. Usually artichokes are propagated by seeds. To do this, simply leave a flower to complete its development. Remove the dark seeds in the fall and store them in a cool, dry place. The following year you can start sowing your own seeds as described above. Vegetative propagation by division is a bit trickier, but has the advantage that the offshoots are already very strong and can form flower buds already in the same year. For this you need a strong artichoke perennial that is at least two years old. Select a part of the plant that has at least two shoots and a strong root. You can then separate this part cleanly from the mother plant with a spade and plant it separately. Again, make sure there is sufficient planting distance from other specimens. Spring is the best time to make new cuttings.


