I’ve always loved cherry laurel for its dense greenery and reliability as a hedge plant. A while ago, I realized one of my cherry laurels wasn’t in the right spot anymore—it had simply outgrown its space. That’s when I started looking into how to transplant it properly. After doing some research and trying it myself, I learned a few key tricks that made the move a success. If you’re in the same boat, here are my top three tips to help you transplant your cherry laurel without stress.
Cherry laurel is a popular hedge shrub often used as a privacy screen and windbreaker. If a specimen is poorly placed or has grown too large, it’s time to transplant it. With these tips, it will be a success!
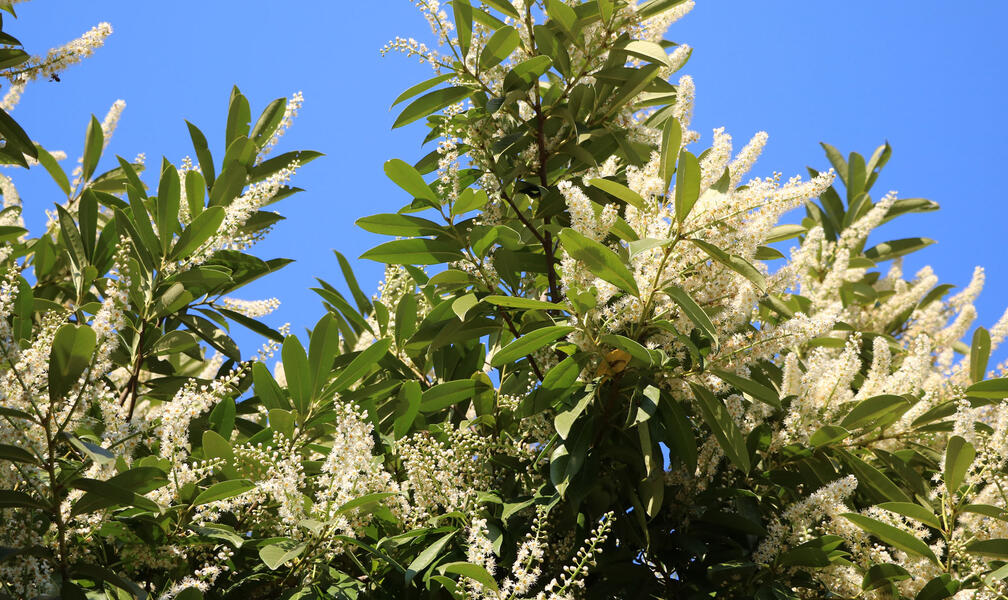
Cherry laurel doesn’t have as many adaptation issues due to climate change as, for example, thuja. Both the well-established cherry laurel (Prunus laurocerasus) and the Mediterranean Portuguese cherry laurel (Prunus lusitanica) are highly heat-tolerant and can be considered future-proof plants for the garden. The great thing is: if you need to move a cherry laurel to a different spot in the garden, it’s not a problem—if done at the right time and with our tips.
Contents
Tip 1: Transplant Cherry Laurel in Spring or Autumn
Transplanting a cherry laurel works best in spring or during the traditional planting season for shrubs in autumn. Moving cherry laurel in March or April has two major advantages: usually, there is enough moisture in the soil from the winter months, and the fresh spring growth supports rooting. For larger specimens, spring is often the better time.
Has your laurel cherry (Prunus laurocerasus) practically grown over your head? Then simply plant the shrub in a new, suitable place in the garden.
The second favorable time to move a cherry laurel to a new garden spot is late August to September. The soil is still warm, but it’s no longer as hot as it can be in some springs and early summers in recent years. Before the first frost arrives, the transplanted cherry laurel has ample time to take root. These are ideal conditions. The plant doesn’t have to invest energy in new shoots and can focus entirely on forming roots and establishing itself in its new home.
How to proceed with the move: First, prepare the planting hole at the new location in the garden. The depth should match the root ball of the cherry laurel being moved. Later, the top of the root ball should sit no more than five centimeters below ground level. The width doesn’t need to exceed that of the root ball since cherry laurels are deep-rooters. Loosen the soil at the bottom of the hole with a spade and pour in a watering can of water.
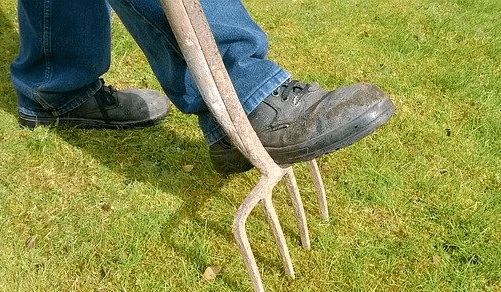
Next, turn your attention to the cherry laurel. Tie the plant together to make it easier to handle. Use a sharp spade to cut around the root ball. Place the dug-up cherry laurel in the center of the new planting hole. Then fill in the hole. Another tip: mix the excavated soil with compost or potting soil and press the plant in firmly. Professionals step on the soil to the left and right of the root ball to secure it. This helps the plant stand firm. Finally, water the cherry laurel thoroughly. It’s ideal to form a watering ring so that water reaches the roots directly and doesn’t run off during future watering.
Tip 2: Prune Before Moving, Water Well Afterwards
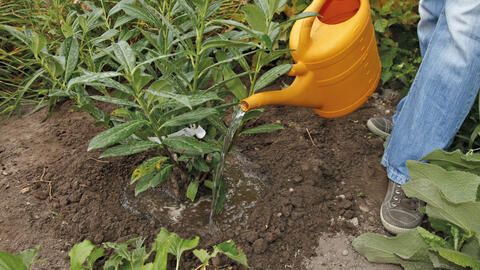
Especially for larger cherry laurels, it’s best to prune the plant before digging and transplanting it. This makes the shrub easier to handle and reduces leaf surface area, which minimizes water loss. If transplanting in spring, a strong cut—up to half of the plant—is possible. But keep in mind that the plant’s roots will be damaged during the process. Less root mass means the cherry laurel can’t absorb as much water during the establishment phase. At the same time, spring temperatures rise quickly. That’s why it’s especially important to keep the transplanted cherry laurel well-watered during this phase.
For autumn transplanting, reduce the leaf mass by no more than one-third. If the cherry laurel suffers frost damage at the new location, you can cut it back heavily in early spring before new growth begins. Important: stay in the “green zone.” The farther you cut into brown, woody growth, the greater the risk that the cherry laurel won’t sprout again from those areas.
Tip 3: Protect Transplanted Cherry Laurel in Winter
If you plan to transplant cherry laurel in autumn, don’t forget to protect the plant afterward from winter sun and drying out. The reason: because this hardy shrub is evergreen, it continues to lose moisture through its leaves even in winter. During severe ground frost, the roots can’t draw up water. In long cold spells, the plant might dry out and freeze. So after moving it in autumn, protect the cherry laurel with a shading net or winter fleece. Use ground staples to secure the fleece in place. After transplanting, it’s also helpful to cover the root area with mulch or leaves. This keeps the soil from freezing quickly—or ideally, at all—so you can continue to water the plant even during prolonged frosty periods.
Transplanting a cherry laurel might seem like a big task at first, but with the right timing and preparation, it’s absolutely doable. For me, following these steps made all the difference—my plant settled in well and continued to thrive. I hope these tips help you feel more confident about giving your cherry laurel a new home. Good luck with your gardening project!

