Sharpening a hedge trimmer can be expensive in the long run. But you can easily do this step yourself, We show you what to look for when you want to sharpen your hedge trimmers at home.
Contents
Sharpening hedge shears: Different types of shears
It’s very important to sharpen your hedge shears regularly to keep them working properly when you’re cutting your hedges. But before you set to work yourself, you should know what kind of shears you actually own. Depending on this, the procedure for sharpening the hedge trimmer will differ.
In general, two types can be distinguished:
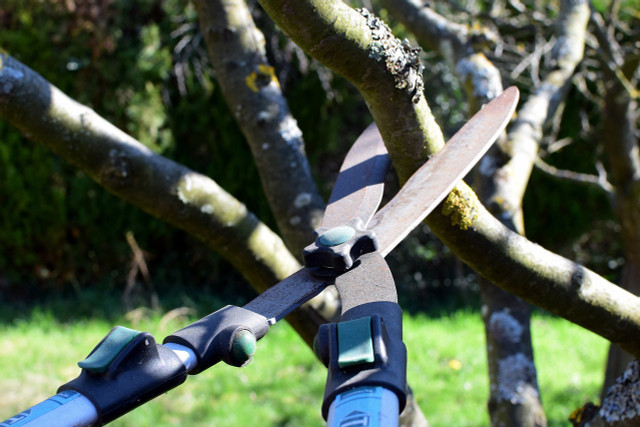
- Manually operated hedge trimmers look like larger garden shears with a long handle and longer, straight cutting surfaces. Sharpening these hedge trimmers is very easy and quickly done.
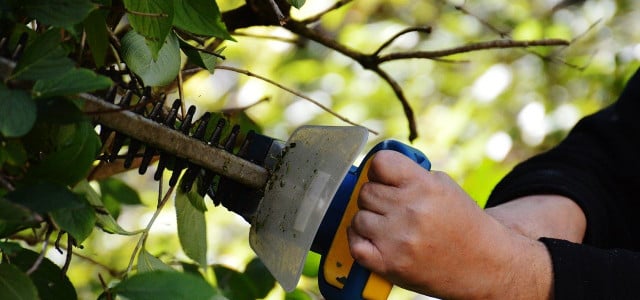
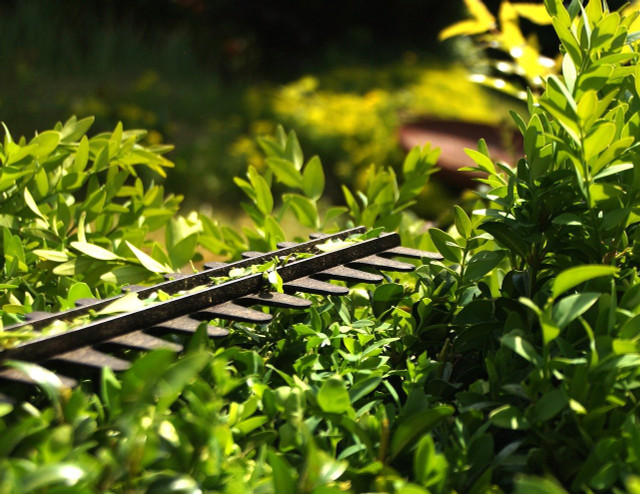
- Motorized hedge trimmers always run on a specific motorized drive. There are electric hedge trimmers, gasoline hedge trimmers and hedge trimmers with rechargeable batteries. All three types have similar cutting blades despite having different power sources. These consist of several prongs, all of which are sharpened individually. That’s why it takes a little more effort to sharpen a powered hedge trimmer. However, it is still worth it.
- Important: If you want to sharpen a motor-driven hedge trimmer, you must always first remove the power source or disconnect the device from the power supply. Otherwise, you run the risk of the shears turning on during sharpening.
Manually operated hedge trimmer sharpening: Step-by-step

To sharpen a manually operated hedge trimmer, you’ll need the following tools:
- Gloves
- a wrench or screwdriver
- a coarse and a fine grinding stone
- bucket with water
- dry cotton cloth
- oil (for example, chainsaw oil)
Here’s how to go about sharpening properly:
- Clean: Put on gloves first. Before sharpening, check the blades of your hedge trimmer for residues of tree resin and other substances. To remove the resin, you can use a discarded toothbrush or metal brush. Dip it in cooking oil and rub the blades with it. Let the cleaner work for a short time before scrubbing off the resin with the brush. For more stubborn cases, you can use oven cleaner instead of oil.
- Disassemble: First, unscrew the hedge trimmer. Use a wrench or screwdriver.
- Grinding: First dip the coarse grindstone into the water and grind the two cutting blades of the hedge trimmer in circular movements. Make sure that you place the grindstone at the smallest possible angle to the blade. Then repeat the process with the fine grinding stone.
- Dry: Now dry both blades with the cotton cloth. Be very careful not to hurt yourself.
- Oil: Finally, put some chainsaw oil in the cloth and oil the hedge trimmer blades with it.
- Reassemble: Now screw the hedge trimmer back together and finally oil the joints and screw connections.
Sharpening motorized hedge trimmer: Step by step

If you want to sharpen a motor-driven hedge trimmer, you should have the following tools ready:
- Gloves
- Safety goggles
- Wrench or screwdriver
- flat file
- dry cotton cloth
- wooden block or a screw clamp to hold the hedge trimmer in place
- oil (for example chainsaw oil)
- some sandpaper (optional)
Here’s how to go about sharpening properly:
- Disconnect the hedge trimmer from the power source: Caution comes first and that’s why you should put on gloves and safety goggles. Then make sure that the hedge trimmer cannot start during sharpening. For an electric hedge trimmer, simply unplug it, for a battery hedge trimmer, remove the battery, and for a gasoline hedge trimmer, remove the spark plug.
- Disassemble the hedge trimmer (optional): On some hedge trimmers, you can separate the cutting blades from the holder for easier and more thorough sharpening. Once you’ve disassembled the hedge trimmer, place one cutting blade on a block of wood and then sharpen the part that extends beyond the block at a time. If you can’t disassemble your hedge trimmer, secure it in a vise as best you can.
- Sharpen cutting blades: Place the file on the top prong of the cutting blade and file it from top to bottom. File evenly in one direction at a time and keep the angle as small as possible. Work your way forward one prong at a time and file all the prongs of the exposed side in one direction.
- Sharpen the other side: If you were unable to take your hedge trimmer apart, you will now need to briefly turn the trimmer back on. Turn it on briefly and then stop it where the prongs cover the already sharpened side. Now file the other side.
- Clean the back of the blade (optional): Once you’ve disassembled the hedge trimmer, you can turn the cutting blade over and file down the entire back side. This will remove dirt and rust.
- Sharpen the second blade: Now repeat the process with the other cutting blade.
- Cleaning: If you have a disassembled hedge trimmer, now rub the shaft that the cutting blades sit on with some sandpaper. Then spray the blades and the shaft with a little oil and rub everything with the cotton cloth. If you couldn’t disassemble the hedge trimmer, spray only the cutting blades with oil and then dry the blades with the cloth.
- Reassembly (optional): If you have disassembled your hedge trimmer for sharpening, you will need to reassemble it at the end.

