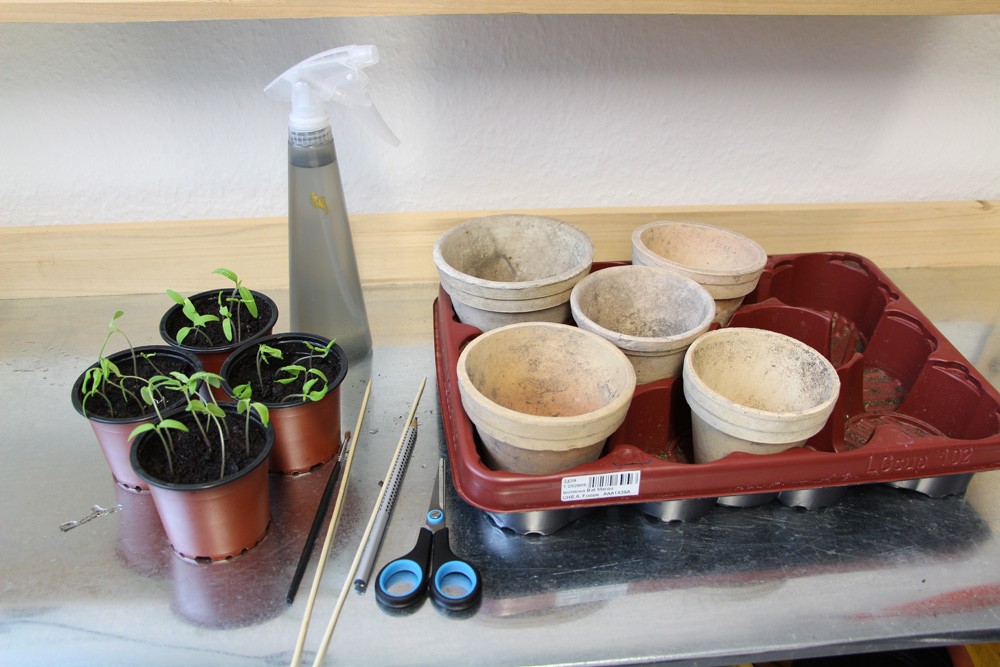
Repotting tomato plants is an essential part of care – if the tomatoes were previously sown. Read here when and how best to repot tomatoes!
Tomato plants are basically cultivated as annuals in local regions, which is why repotting is usually not a regular maintenance task. However, if you sow your tomatoes yourself, you will need to prick them out after they have been grown. In this case, they are placed in their own and, above all, larger containers. This gives the roots more space and makes them grow faster, which in turn has a positive effect on plant growth.
When
There is no set date for repotting seedlings, because the optimal time depends on the growth of the plants. As a rule, the seedlings grow out of the soil about 10 to 14 days after sowing. However, the seedlings remain in the growing tray for about one to two weeks. This is because the seedlings are not repotted until they show the following characteristics:
- the first leaves have formed
- but not cotyledons, but “real” leaves
- plant is about 15-20 cm tall
Container
Choosing the right pot is essential for the further growth of tomato plants. Because the more space available to the roots, the better and faster they grow – and also the plant! Accordingly, the new container should be chosen relatively large and have the following characteristics:
- Pot about 12-14 cm in diameter.
- Pot at least 20 liters, better 40 liters
- bottom opening must be present
- so that excess water can drain off
Soil
Ideally, special growing soil is used for cultivation, because it is low in nutrients and gentle on the roots. However, when pricking out the seedlings are placed in something more nutritious, so that they are already supplied with nutrients. After all, the plantlets should reach a height of 30 to 50 centimeters by the time they are planted out in May and form a flower spike. Therefore, the seedlings are best placed in a substrate with the following characteristics:
- Tomato soil
- or mixture of clayey soil with compost
- additionally improve with horn shavings and sand
- Instructions in 4 steps
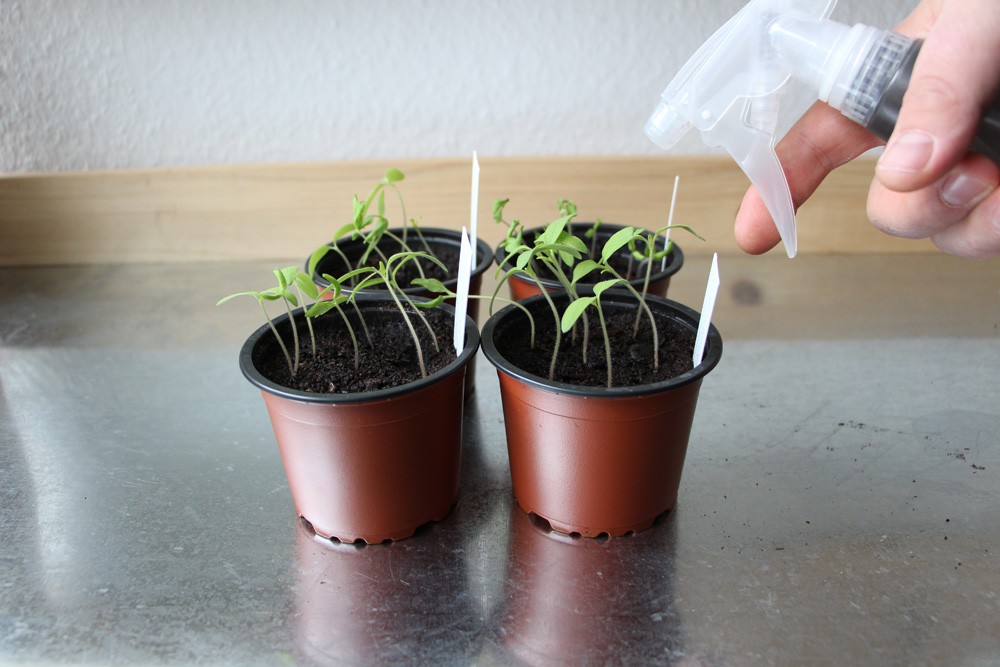
For the (still) weak plantlets repotting is quite stressful, so it should be done as gently as possible. Therefore, it is advisable to fertilize the seedlings weakly with a liquid fertilizer the day before. About two to three hours before transplanting, the plants should also be watered sufficiently so that their water supply is filled. Then the plantlets are best transplanted as follows:
Contents
Step 1: Prepare container
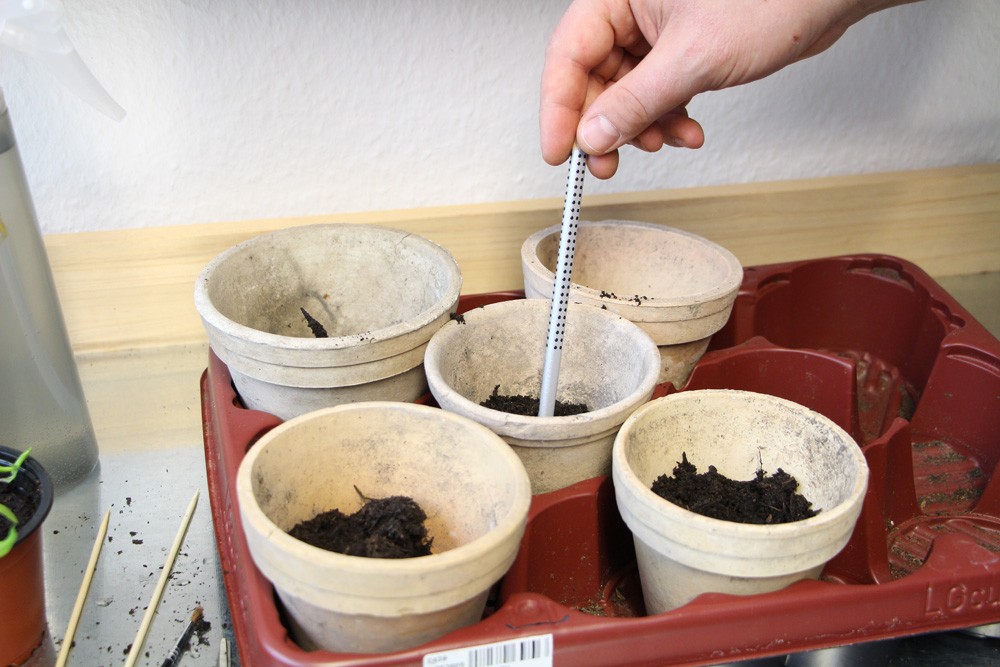
Before the new containers are used, they should definitely be cleaned. In addition, at this point it is advisable to clean additional equipment such as climbing aids or pricking rods. Then place a drainage layer in the container so that the drainage hole does not become clogged.
- Drainage of gravel, chippings or clay shards
- Fill substrate into vessel
- Layer of soil about 4-5 cm
Step 2: Remove plant
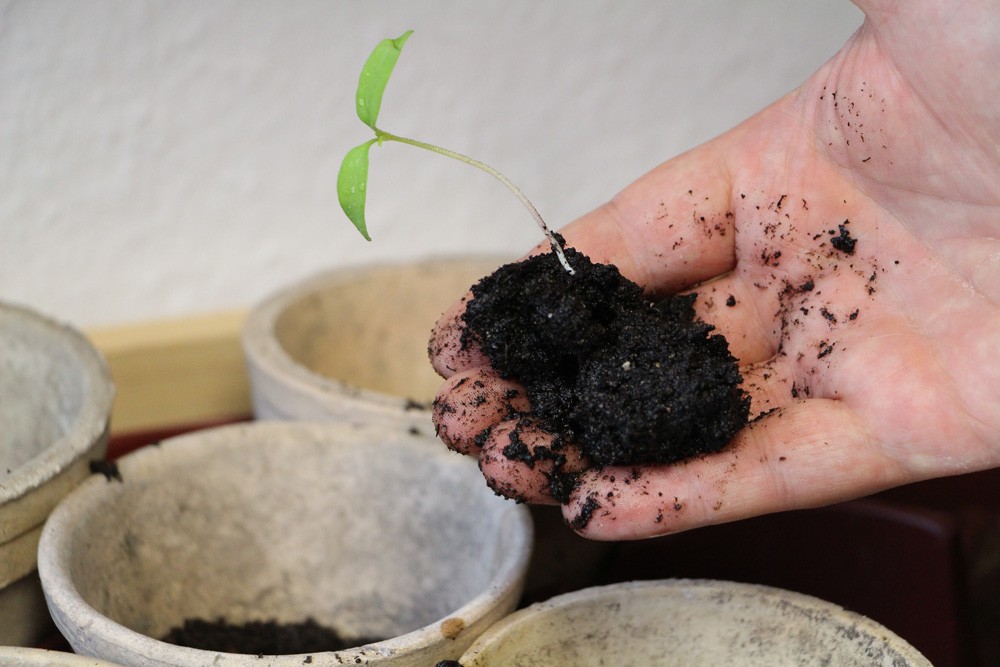
To repot as gently as possible for the seedlings should always work plant by plant. Because this ensures that the seedlings do not have to spend unnecessary time outside the (protected) soil.
- Remove the lowest leaves
- carefully loosen the soil
- a pricking rod or a spoon is suitable for this purpose
- carefully remove the seedling from the container
- but do not pull to avoid damaging the root.
Step 3: Check the roots
The seedling is now cleaned and freed from excess soil so that the roots can be checked. This is because the condition of the roots often provides information about the health of the plant.
- ideally, roots are white and strong
- shorten roots to about 2 cm
- this stimulates root growth
- and healthy development is encouraged
Note: It is advisable to transplant only healthy plants, so seedlings with thin and/or brown roots can be discarded at this point.
Step 4: Insert seedling
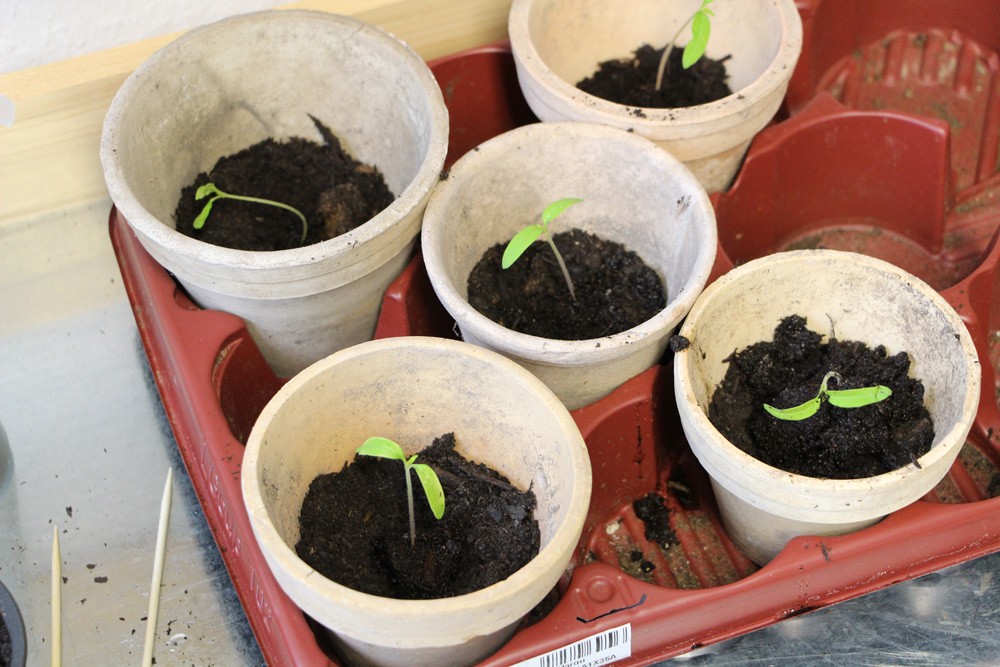
After the roots are trimmed, the seedling can be placed in the new container. Here it is important to make sure that it is placed as deep as possible into the soil. This is because the deeper the seedling is placed, the more roots will form and the better the growth will be.
- Center the seedling
- Insert the climbing aid as well
- Fill the container with substrate
- always press down lightly in between
- Leave the watering edge free
- Finally, gently press down the soil once again
- water extensively

