Last updated on October 23rd, 2023 at 08:45 pm
Pricking radishes is an important step to maximize the yield of this delicious vegetable. In this article you will find 5 tips on how to separate the seedlings.
- Separate radishes with tweezers
- prick out after formation of a pair of leaves
- weed out weak and space-consuming seedlings
Contents
Necessary tools
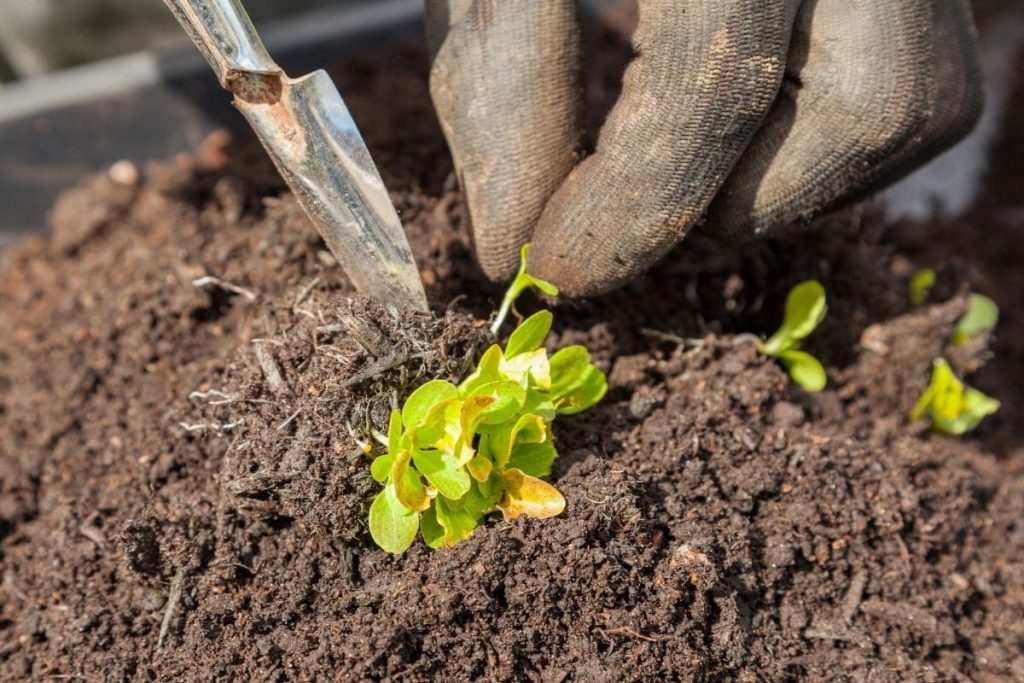
To prick radishes, you need the right tools. The plants are very delicate and do not like to be disturbed, which is prevented by using the appropriate tools. In any case, you will need tweezers, with which you can pull the seedlings out of the ground. Furthermore, a pricking rod is necessary so that you can fix the specimen selected for further cultivation back into the soil.

Best time
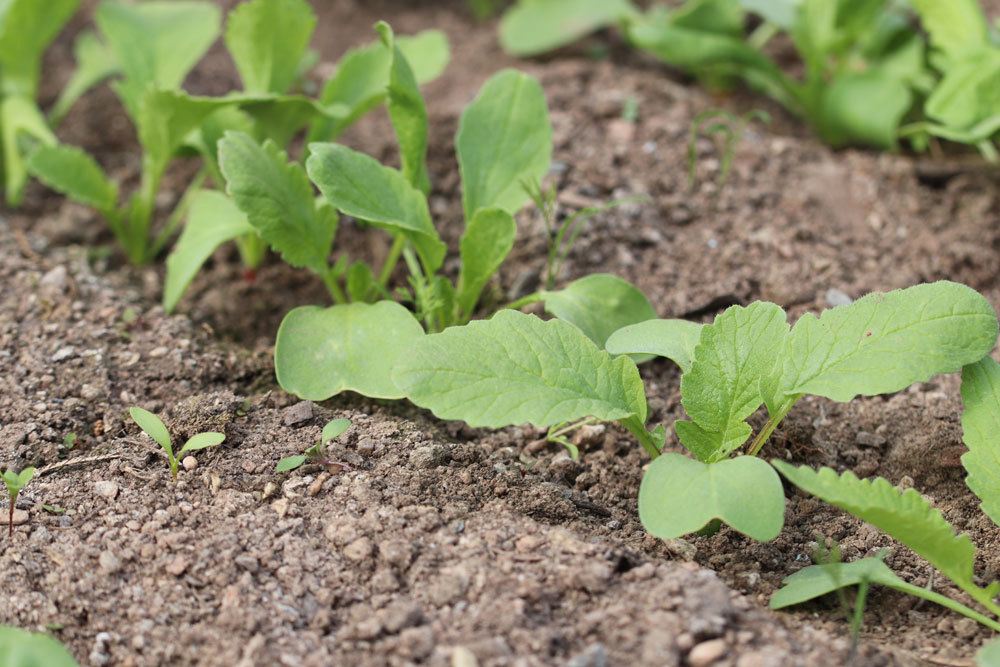
In addition to the utensils, the right period is important to prick the radishes. Since there is no direct date for pricking radishes, you need to pay attention to the seedlings. After they are sown, you need to wait until the first cotyledons are formed. Ideally, this will be a pair of leaves. On average, the first pairs of leaves are formed after 10-14 days, which makes the waiting time bearable. Some varieties take a little longer to germinate than others.
Note: If you want to play it safe and not damage the seedlings, feel free to let them grow for another two weeks. They will grow a bit larger, but the root system is not too developed yet, which makes pricking possible later.
Pricking radishes: Instructions
If the radishes were happily sprouting, now it’s time to separate them. To make it easier for you to prick radishes, you will find clear instructions in this tip:
- Check seedlings for vigor and size
- prick out seedlings that take up too much space
- as well as too small and weak
- leave suitable specimens
- carefully pull out unsuitable seedlings
- place tweezers at the base
- then press the good seedlings again
- use the pricking out stick for this

Use alternative method of germination
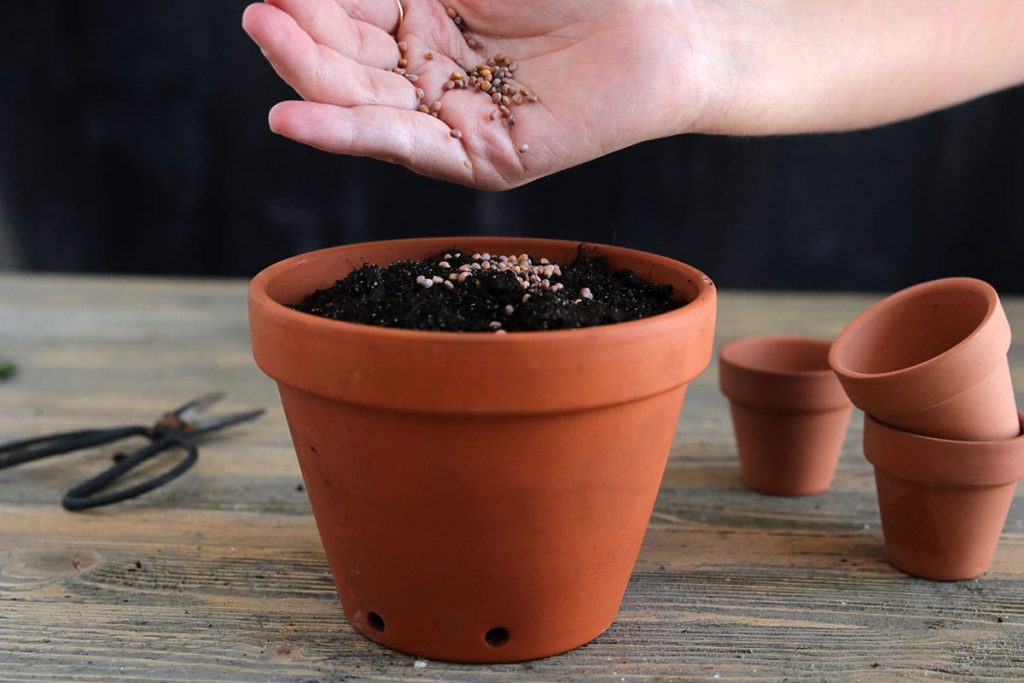
You can simplify in advance the laborious separation of radishes in the substrate. After all, the plantlets easily pre-germinate on a kitchen towel, which offers a great advantage: They are automatically separated. Since you do not pour the seeds into a groove, but place them individually on the kitchen towel by hand, you ideally do not have to separate them at all. All healthy seeds will have enough space. Pre-sprouting is done as follows:
- Use 3 to 4 sheets of kitchen paper
- put them on top of each other
- moisten well
- squeeze carefully
- place seeds with sufficient distance
- again moisten 3 to 4 sheets of kitchen paper
- place on the seeds
- do not press together
- place in a freezer bag
- place in a suitable location
- check regularly for moisture and germination
Plant pre-sprouted radishes
If you use the variant presented in the previous paragraph for germination, you must then plant the radishes. After the leaves can be seen, you can check to see if you can spot any particularly weak specimens. You should discard these, as they are usually not strong enough. The others are placed either in the open ground or plant pots with a suitable substrate. Since the seeds were not sown together, this option does not require pricking out the radishes due to space limitations. If you choose the open ground, prepare the bed as follows:

- Create individual gutters
- Depth: 1 cm
- distance to the next gutter: 10 cm
- Loosen well
- Soil should be loose-crumbly in texture
If you use plant pots instead, you will need a suitable planting substrate. However, remember that radishes grow much better in the open ground. The following are the most important points to keep in pots:
- choose classic potting soil
- should be humus
- work in quartz sand
- Tub should have drainage holes
- observe the depth of the gutter in the open
Note: Plant the seedlings among strawberries, garden beans, carrots, peas, lettuces or chives to increase yields. These are excellent neighbors for the tubers.
Frequently asked questions
Which varieties produce the greatest yields?
If you want to increase the yields of your radish sowings, you should give preference to varieties that belong to the group of spring or fall varieties. They require less sun, which makes the tubers not so woody and the flavor more intense. If you are aiming for an early harvest, varieties such as ‘Saxa 2’ or ‘Flamboyant’ are a good choice. In the fall, sow fast-growing varieties like ‘Celesta’.
Can the discarded seedlings still be used?
Yes, you do not have to dispose of the seedlings. Radish seedlings are a delicious ingredient for salads and can simply be added directly to food after pricking. Just don’t forget to wash them beforehand. Of course, you can put the sprouts on the compost and use them that way. However, they are too good for the organic waste.
What are bad neighbors for radishes?
After singling, it is important not to put the seedlings near bad neighbors. Radishes get along with a variety of different crops, but they should never be planted with cucumbers. Melons and other cucumber plants are equally problematic. The reason is the thirst of cucumber plants, as a result of which the radishes quickly dry up and become woody.


